Hi! This is Shelly from Sew Shelly Sew, and I am super excited to be guest posting here at Twig + Tale!
We are obsessed with all the Animal Add-on Patterns in our house! Today I'm showing you how to insert a hidden zipper under the Button Strip piece of any of the Twig + Tale coat patterns .
![]()
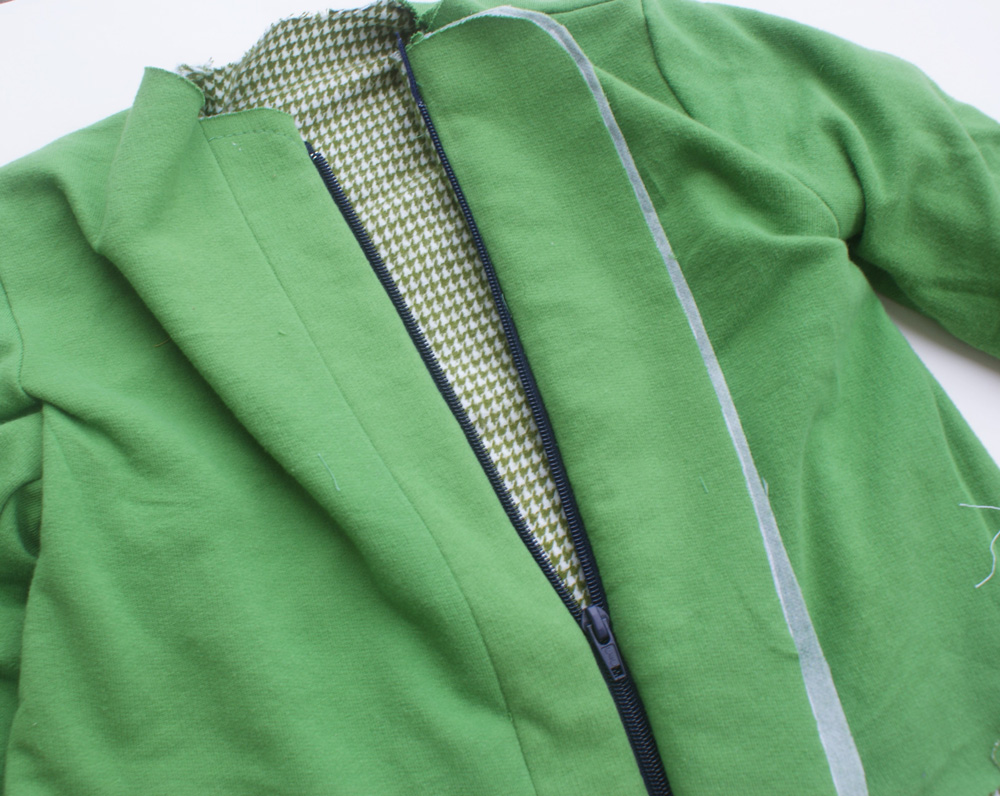
I sewed my Blog Tour Animal Coat this way and I recently made my son this Dinosaur Animal Coat to show the process. I used French Terry with very little stretch for the outer and green houndstooth flannel for the lining.

This tutorial covers the few extra steps needed to add a concealed zipper to your Twig + Tale garment with button strips (Pixie Pea Coat, Pathfinder Vest, or Animal Coat/Vest).
You will need:
- One of the Twig + Tale Coat or Vest Patterns with a separate button strip pattern piece.
- Cut everything according to your original pattern except the button strips.
One mirrored pair of button strip pieces need to be about 1/2” wider than the other. Technically it’s more correct to take 1/2” off one pair, as the zipper will add about 1/2”, but I added the extra 1/2” because I wanted chunky buttons going down that strip and didn’t want it too narrow.
If you are using the button loops or smaller buttons, simply make one pair of button strip pieces 1/2” narrower than the other.
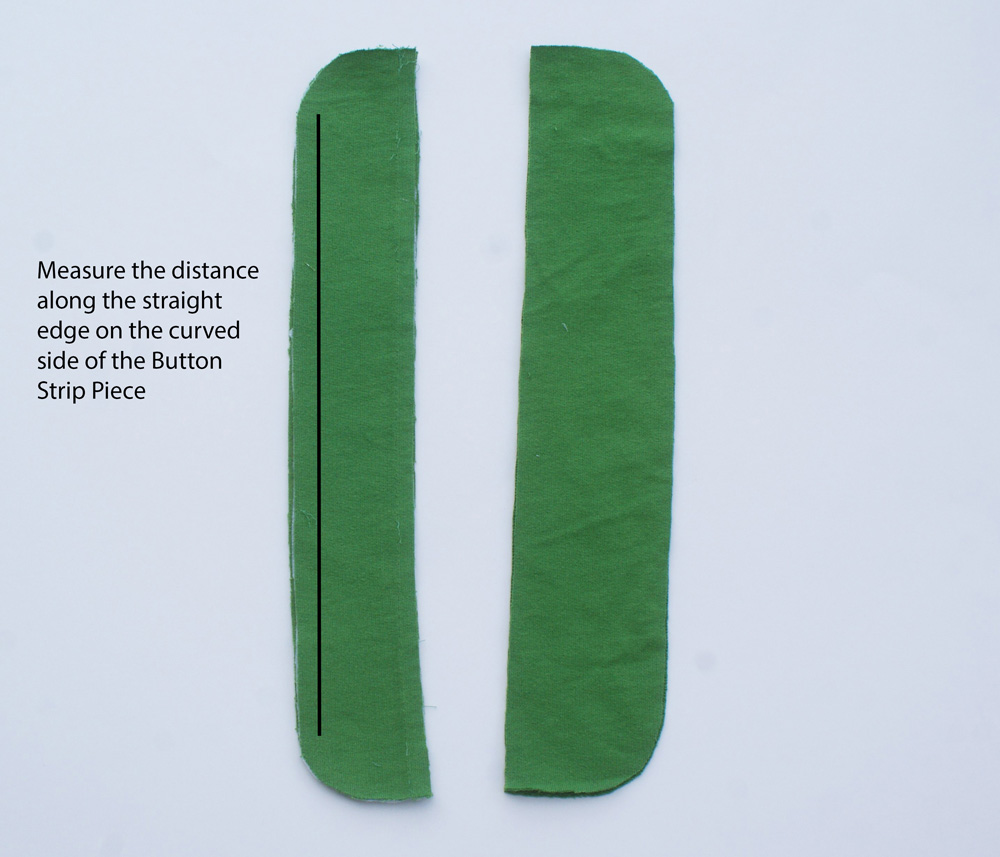
- The zipper needs to be length of the straight portion of the curved side of button strip. Since the zipper is hidden, it’s ok if the zipper does not go all the way down to the very bottom. If your lining is not zipper friendly such as fur, you will need to piece a strip of the outer fabric to the edge of the lining.
For my Blog Tour Animal Coat, I squared off the Button Strip piece, then used a zipper that measured 2 seam allowances (3/4") shorter than the length of that rectangle piece.
- Interfacing. I interfaced all of my Button Strip pieces, but you can definitely just interface the two pieces that get the zipper sewn on (1 of each pair).
Using your original pattern tutorial - omitting the button strip pieces. Sew exterior coat pieces together, and then repeat for the lining pieces.
Now we are ready to get started. This tutorial is showing the steps for a coat with the wearer’s left side overlapping the right.
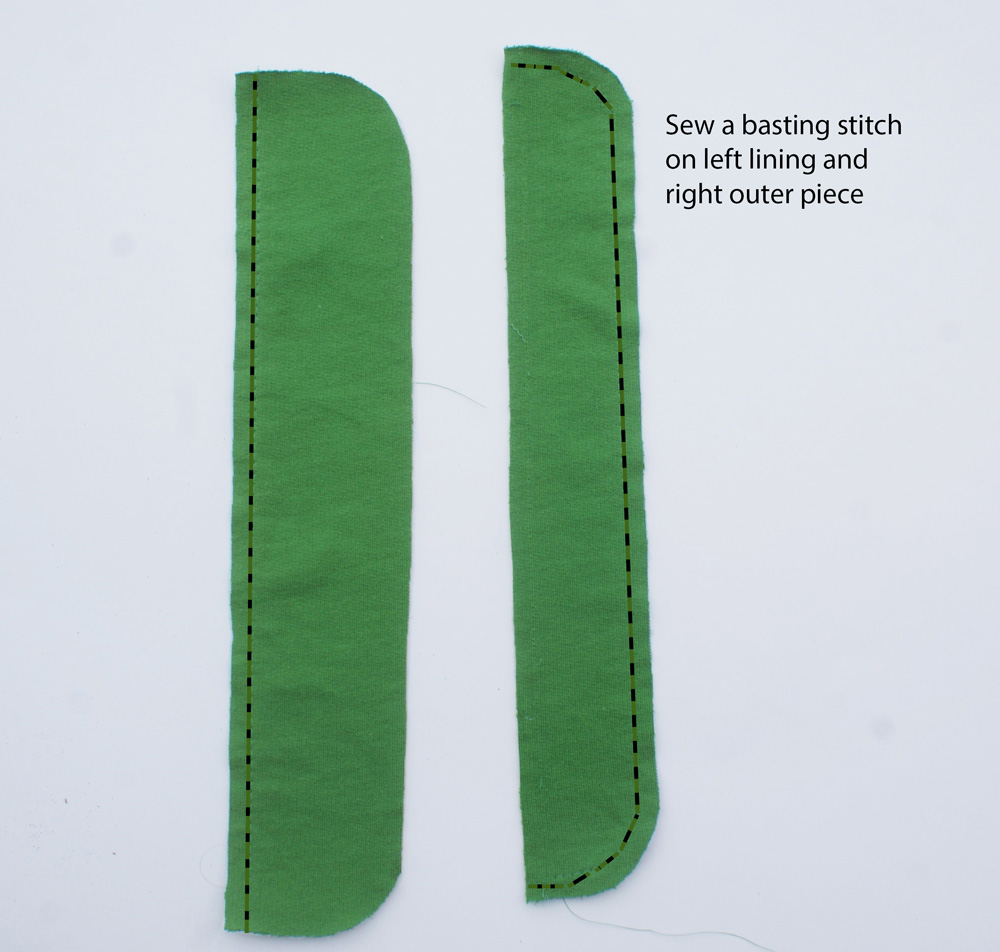
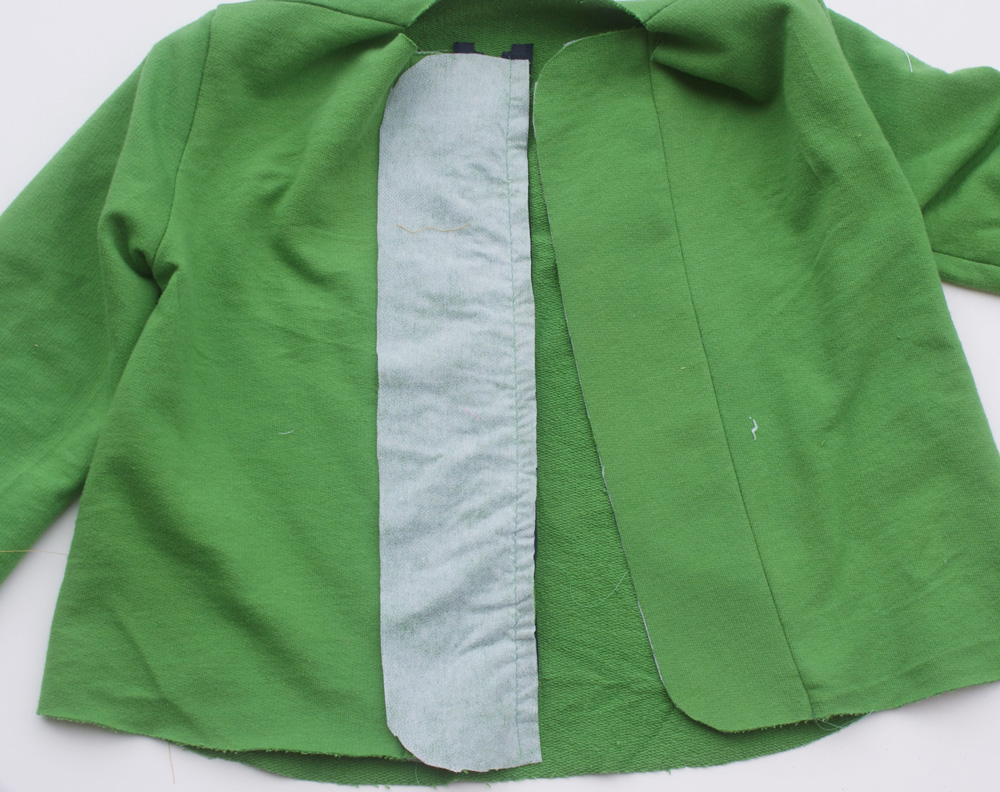
Take your pair of wider button strip pieces. Figure out which of these will get sewn to the wearer’s left lining piece. The right side of the lining touches the child’s body, so when figuring out which side is which, it helps to turn the lining inside out. Add interfacing to this piece. Run a basting stitch along the straight edge of this left wider button strip as indicated by the left strip in the below pic.
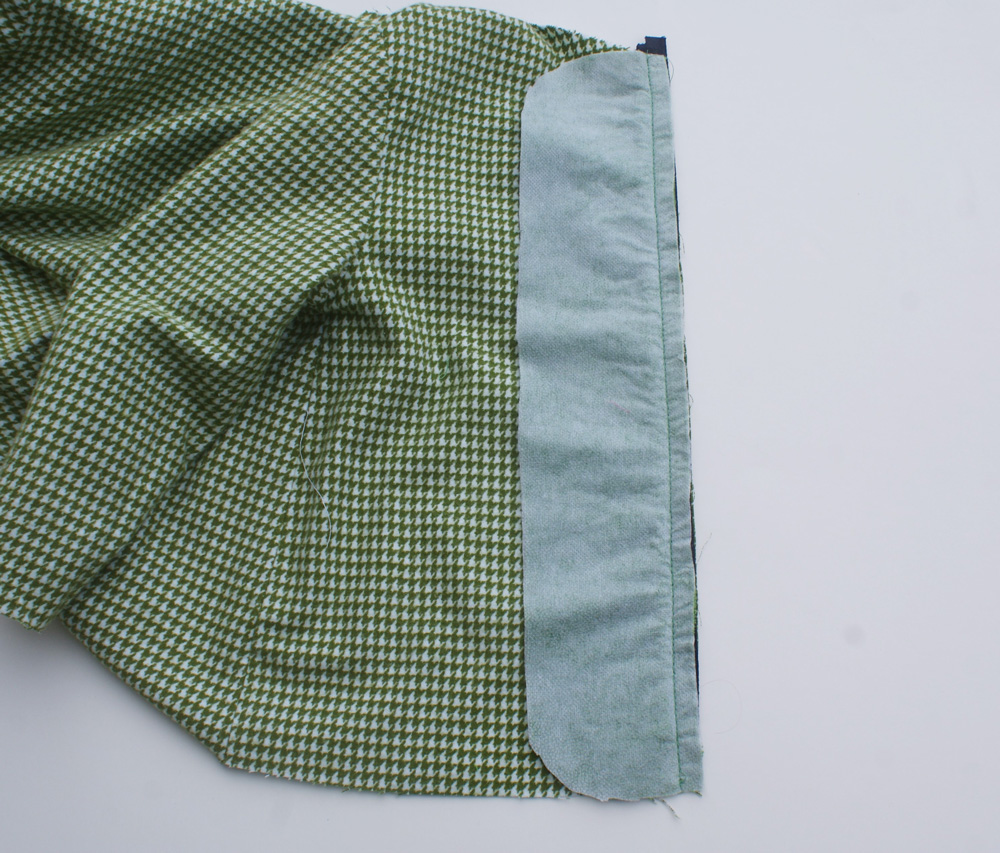
Take your pair of narrower button strip pieces. Figure out which will get sewn on the wearer’s right outer front. Interface this piece. Run a basting stitch along the curved edge of this piece as indicated by the right strip in the below pic.
From now on, I will refer to the pieces as:
- narrow button strip with basting
- narrow button strip without basting
- wide button strip with basting
- wide button strip without basting
Sew the narrow button strip with basting onto the wearer’s right front outer piece (left for a left handed wearer), right sides together.
Then sew the narrow button strip without basting onto the wearer’s right front lining piece (left for a left handed wearer) and the wide button strip with no basting onto the wearer’s left front outer piece (right for a left handed wearer).
Do not sew the wide button strip with basting yet. The left front lining piece (right for a left handed wearer) will not have a button strip. This will be referred to as the unsewn front lining edge.
Take the wearer’s right side of the zipper (left for a left handed wearer) and sew it right sides together onto the narrow button strip with basting with a 3/8” seam allowance (or right along your basting stitch). I use Wonder-tape to tape it down where you are going to sew. It makes it easier to position the zip.
Sew the other (unsewn) side of the zipper to the straight edge of the wide button strip with basting.
To make sure everything is lined up properly, first zip the other half of the zipper back onto the half you have already sewed on. Then get the wide button strip with basting and use wonder tape to tape it in place right sides together on the other (unsewn) side of the zipper.
Once it is placed so the top and bottom of the strip are even with the top and bottom of the narrow button strip with basting (the one with the other side of the zipper already sewn on), sew right along the basting.
Sew the wide button strip with basting (and now zipper) to the unsewn front lining edge, with the zipper sandwiched between the button strip and the front lining, right side of the button strip facing the right side of the lining front.
Sew right along the same stitching line that you previously made.
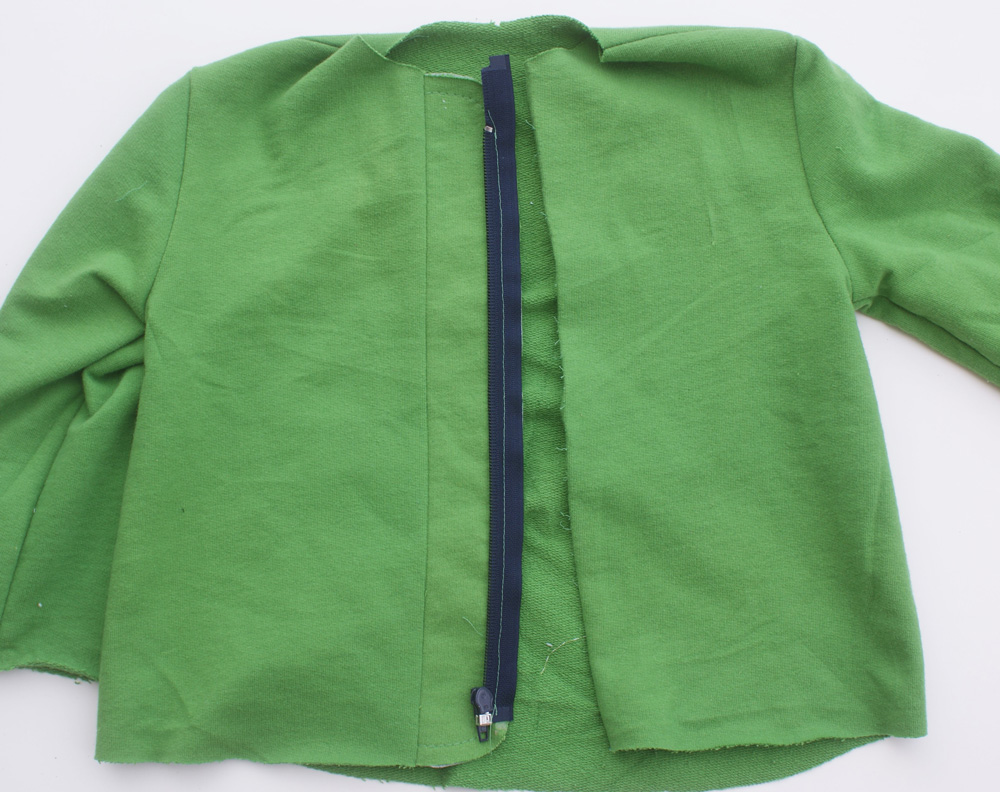
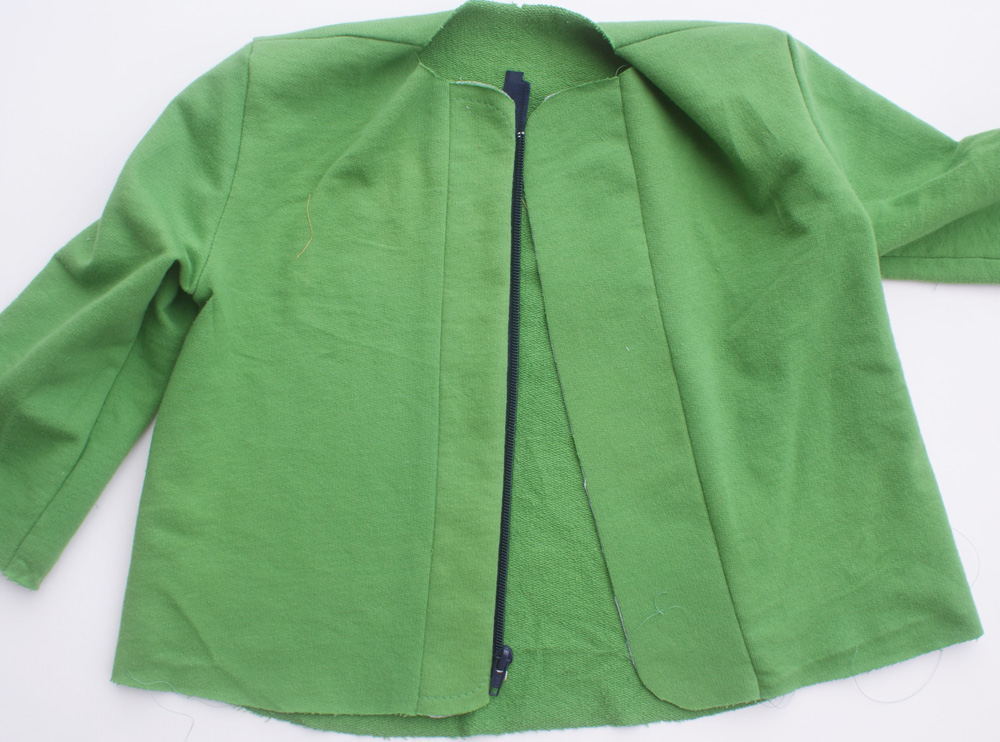
Now you should have your outer coat that looks like this...
and your lining coat that looks like this...
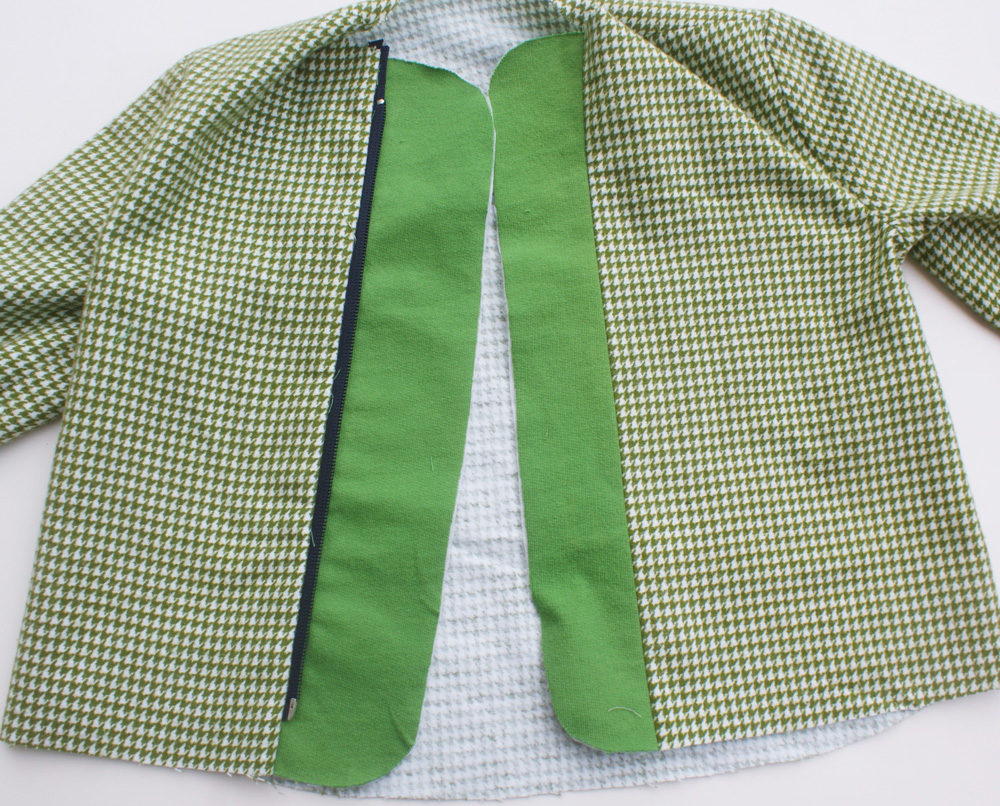
Almost there!
To make sure you have configured everything properly, turn the lining inside out and place it inside the outer piece. Zip the zipper and make sure everything is how it should be. It should look like this (opposite for a left handed wearer).
Continue on with sewing the rest of your coat according to the pattern instructions.
Yay! You now have a lovely coat with a hidden zipper. Now it is time to show it off - join the Twig + Tale Community Sewing Group on Facebook and share it with us!

ROAR! Give yourself a pat on the back and take that baby out to play!

Shelly is a stay-at-home-mom to four children by day, and at night after they go to bed, she loves to spend time sewing clothing for both her children and herself. Shelly has two awesome big boys, a little girl, and a wee little baby boy.
Read more at sewshellysew.wordpress.com
![]()


