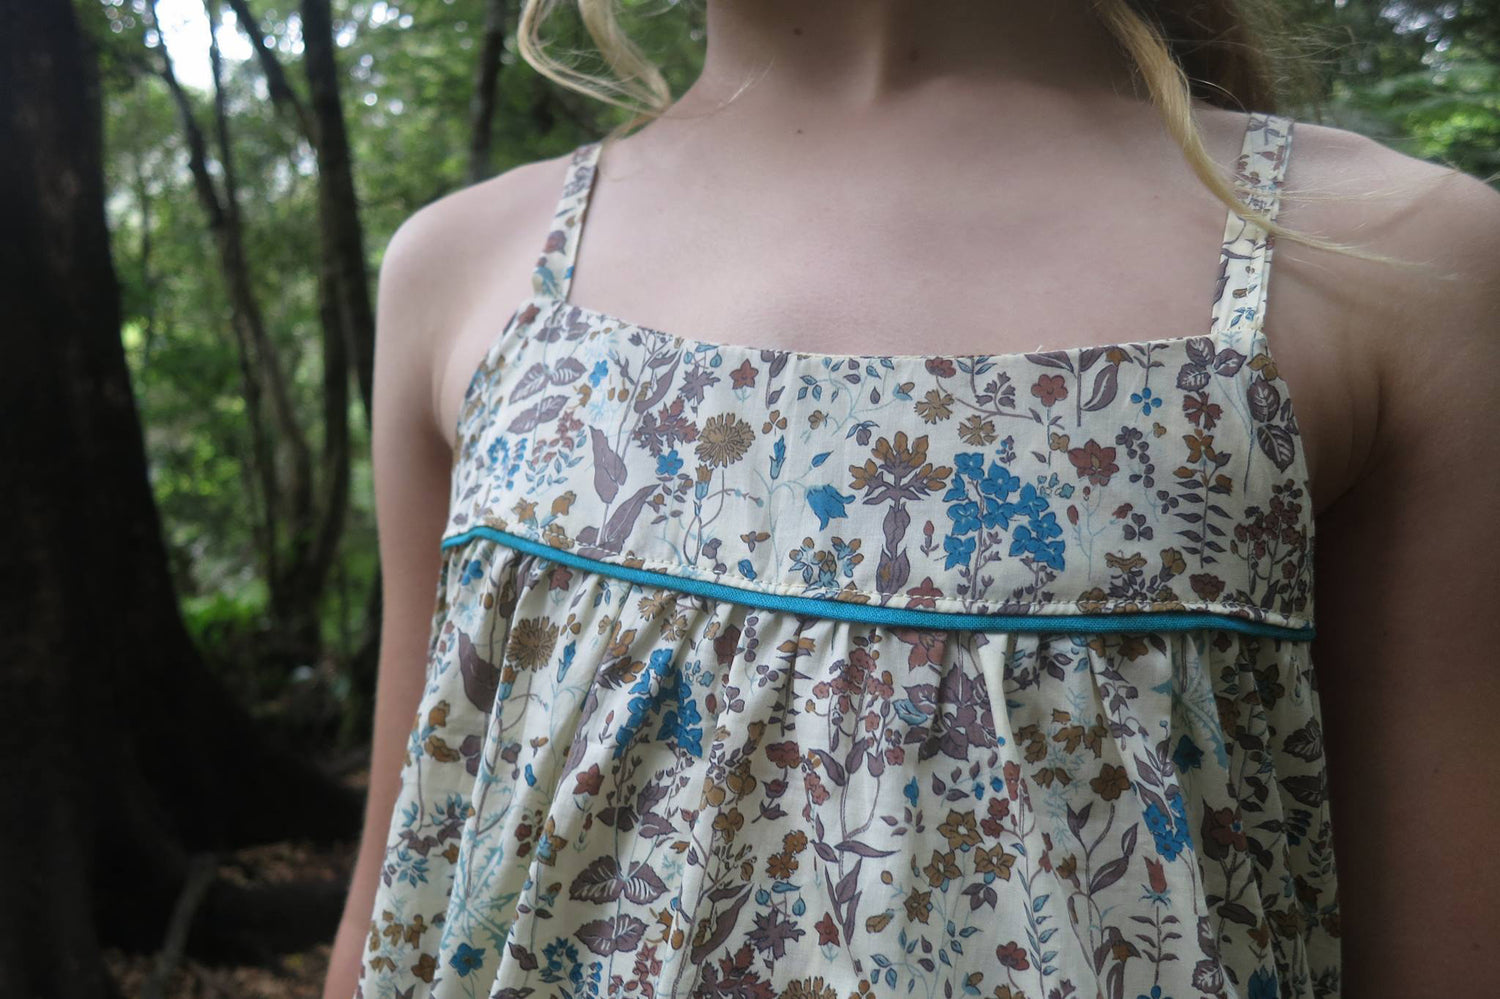
A touch of piping is such a lovely, decorative detail, and is so quick and easy to add! Here, we're using it to highlight the yoke seam of the gathered-front Barefoot Romper and add a little pop of contrast colour.
![]()
Materials:
- a short length of piping (store-bought or homemade), enough to go along the bottom edge of the Front Yoke piece, with a little bit of overhang at either end.
- a zipper foot or piping foot for sewing machine.
Sewing instructions:
1. Gather the Front Main Body piece, as described in step a (page 29) of the Barefoot Romper tutorial.

2. Line up the raw edge of the piping with the bottom edge of the Yoke and pin in place.

3. Switch the foot on your sewing machine to a zipper foot or piping foot, and move the needle over to the left position so that it lines up with the stitch line on the piping.
Stitch along the piping, snugging the stitch line up right next to the corded portion of the piping.

4. Pin the Yoke piece with piping applied, to the top gathered edge of the Front Main Body piece and sew with a 3/8" (1cm) seam allowance as described in step b (page 29) of the Barefoot Romper tutorial. I like to leave my zipper foot on the machine to get the stitch line right next to the piping.

5. Trim the excess piping off both ends.

You now have a lovely line of contrast piping! Continue sewing the romper as described in the tutorial.

![]()
Please join us at the Twig + Tale Facebook group to look for inspiration, ask questions, and of course, share photos of your lovely creations.


