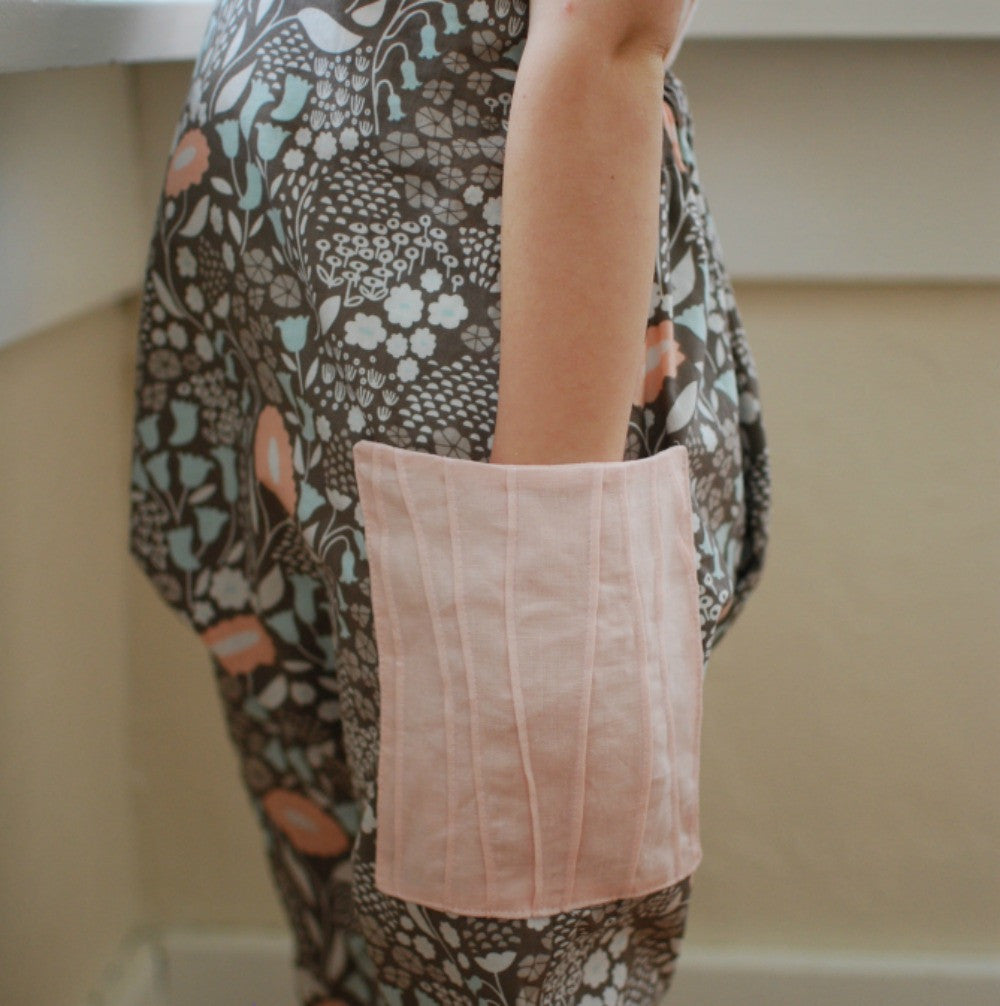
The side treasure pockets on the Barefoot Romper + Barefoot Dress provide a wonderful opportunity to customize the garment by adding personalized decorative elements. In this case, I used pintucks to add detail and texture to an otherwise plain linen pocket.
![]()
Here are instructions for sewing a pin-tucked pocket two ways - the first method creates evenly-spaced, parallel pin-tucks. The second is a freehand method, which creates uneven, slightly curved pin-tucks. Change the depth, spacing, and number of pin-tucks for a completely different look - have fun experimenting!
Method 1 - Sewing basic pin-tucks
1. Add 5cm to the Side Pocket pattern piece - the actual width needed will vary depending on the number and depth of pintucks you choose to make, but adding 10cm in total will provide some room to play around. Cut the pocket piece on the fold as in the romper/dress instructions.

2. Starting in the middle of the pocket piece and working toward the outer edges, make markings along the top and bottom edge of the pocket piece every 2cm.

3. Fold the pocket vertically between two corresponding markings and press. Sew along this folded edge using a small seam allowance - in this case my stitching was 2-3mm from the folded edge (I line it up with a marking on my presser foot). Press the pintuck to one side. Continue folding, pressing, and stitching until you have created the number of pintucks you would like.


Method 2 - Sewing freehand pintucks
1. To create freehand pintucks, fold your pocket piece vertically, but do not press. Lower your needle into the fabric about 2-3mm from the folded edge. As you stitch the pintuck, use your thumb and forefinger to shift the top and bottom layers of the fabric slightly to create subtle curves. Press the pintuck to one side.

2. Continue folding, stitching, and pressing pintucks, varying the distance between them, the angle and direction of the curves, and the direction that you press them. Have fun experimenting!
Finishing the pocket
The linen I used for the pockets on my romper was very lightweight and quite transparent, so I chose to back the pockets. If you are using a heavier fabric, it is probably not necessary to back the pocket.
1. Trim your pintucked pocket piece to the size of the Side Pocket pattern piece. Since the pattern piece allows for the top edge of the pocket to be folded over twice, I cut an extra ⅜” off at the top of the pocket (along the solid line on the pattern piece). Cut a second pocket piece to use as a lining.
2. Pin your pintucked outer pocket to the lining piece, right sides together. Stitch them together around the edges using a ⅜” seam allowance, but leave a 1.5” opening along the bottom edge.

3. Clip the corners of the pocket, turn it right side out, and press. Make sure the edges of the opening at the bottom are pressed neatly. This opening will be sewed closed when you attach the pocket to the romper piece.

4. Stitch the pocket to the romper/dress as in the pattern instruction.
![]()
Angela Schade lives in a little town in the mountains of British Columbia with her daughter and husband. She can usually be found sewing or with knitting needles in her hands, but also enjoys exploring forests, lakes, and rivers with her family. You can find her at Snippet.


