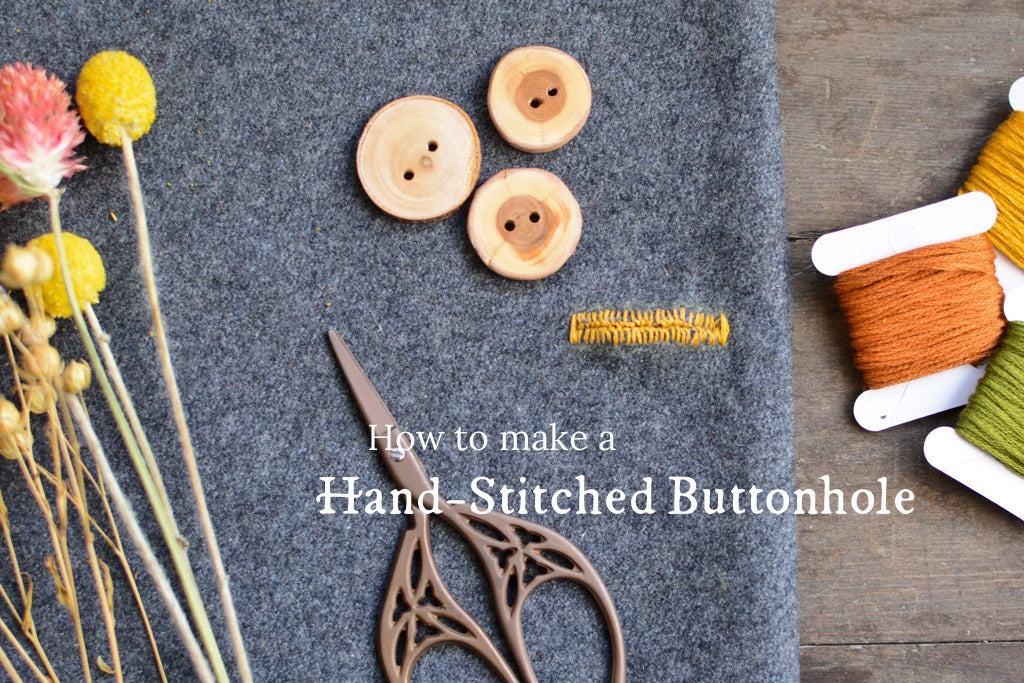
Have you ever tried making hand-stitched buttonholes?
They can be particularly useful when sewing a garment - such as a Grove Coat or Pathfinder Vest - out of thick fabric. Sometimes, home sewing machines balk at the thick fabric and struggle to make a neat buttonhole.
But, you needn't forgo the buttonholes if your machine won't cooperate. Here's a technique for making beautiful hand-stitched buttonholes.
![]()
Materials
- buttons
- ruler
- marking pen/pencil
- needle
- thread (regular sewing thread, embroidery floss, Perle cotton - choose a thread that works well with the weight of the fabric)
- small, sharp scissors to cut buttonhole
- beeswax to wax thread (optional)
When making a buttonhole with a sewing machine, the buttonhole is stitched first, then the buttonhole is cut. When hand-stitching buttonholes, the order is reversed - we will cut the buttonhole first, then bind it with small stitches.
If you've never hand stitched a buttonhole, give it a try on some scrap fabric first!

Measure twice, cut once!
First, mark the buttonhole placement. Measure the button, and mark the buttonhole just a wee bit longer than the button. Mark the centre line and the ends of the buttonhole using a fabric pen or pencil.

Then, mark the long edges of the buttonhole about 1/8" (3mm) from the centre line - these lines will serve as a guide for our stitching. The distance of these lines from the centre may vary depending on the weight of fabric and size of button being used, for example a small buttonhole on lighter fabric could be 1/16" (1.5mm). Make sure you're certain about the placement!

If you're making a coat or vest, it is likely that the garment will be lined, so the buttonhole stitching will go through the exterior fabric and the lining. Baste around the buttonhole with some hand stitches so that the layers don't shift around when you're cutting and stitching the buttonhole (the basting stitches will be removed when the buttonhole is done).

Next, cut open the buttonhole. I started my hole using a sharp seam ripper...

...then finished cutting to the marked ends of the buttonhole using small, sharp scissors.

Here is the buttonhole - cut and ready to stitch.

Stitch the Buttonhole
We'll use a buttonhole stitch (very similar to a blanket stitch) to stitch bind the raw edges of the buttonhole so that the fabric doesn't fray. You may wish to wax your thread before stitching to avoid tangles.
Knot thread and bring needle up through fabric from the back.

For the first stitch only, bring the thread back up at the same place as the first stitch, and pull part way through to form a small loop. Pass the needle through the loop, ensuring the loop is not twisted.
 Pull thread through. The loop will close, leaving a little stitch along the edge of the buttonhole.
 Continue making closely spaced stitches, bringing the thread up from the back of the work, and passing the needle through the loop to bind the edge of the buttonhole.

When you've stitched all the way to one end of the buttonhole, make a few longer bar tack stitches to stabilize the end of the buttonhole.

Continue stitching along the other edge of the buttonhole, then create a bar tack at the end.

Options: The buttonhole may be flat (with bar tacks) on either end. Or, one or both of the ends may be rounded with the stitches fanned out. Traditionally, the round end of a horizontal buttonhole would point towards the centre edge of the coat - this is the end where the button will sit when fastened.
I hope you enjoy sewing your hand stitched buttonholes, and wearing your beautiful finished garment now it has just a little extra love sewn into it!
![]()
Read more T+T sewing tutorials here:


