French seams are a simple finishing technique that result in a clean, professional-looking finish, completely enclosing raw fabric edges. They work beautifully for finishing lightweight fabric, which can be finicky to zigzag or serge.
I learned to sew French seams early on because my vintage sewing machine, inherited from my grandmother, only did a straight stitch. Despite the fact that I can now zigzag and overlock to my heart's content, French seams remain one of my favourite finishing techniques.

Here is a quick primer on how to sew French seams. Be sure to take the time to press your seams well at each step - it does make a difference to the final result!
1. Line up the fabric edges with the wrong sides together and pin or clip. This may seem counterintuitive, but it will work!

2. Sew along the fabric edge with a 1/4” (6mm) seam allowance.

3. Trim the seam allowance to 1/8” (3mm).

4. Press the seam to one side.

5. Fold one layer of fabric over so that right sides are facing, lining up the seam along the fold. Press.

6. Sew with a 1/4” (6mm) seam allowance.

7. Press the seam to one side.

The result is a beautifully-finished, professional looking seam that is strong and won’t fray. Your project will look almost as beautiful on the inside as on the outside!
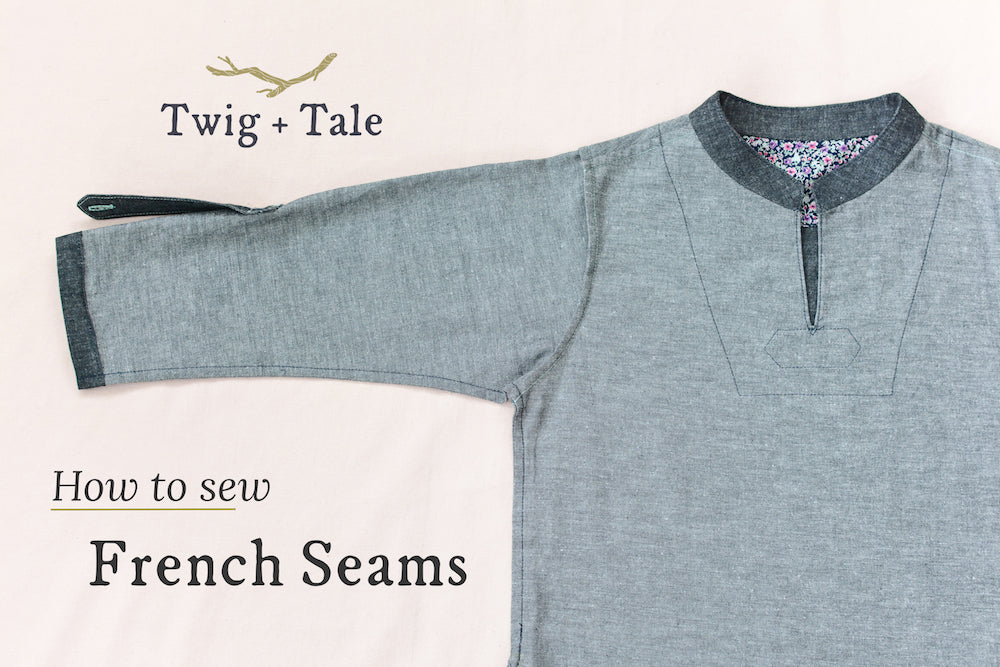
French seams are used in the construction of the Breeze Shirt, and can be applied to many other projects. Just make sure to consider the seam allowance of your pattern when sewing French seams. The technique described here uses a total of 1/2” of seam allowance (1/4" + 1/4"). I like to use French seams when making Tree Climber Pantaloons - the addition of beautiful finishing elevates a simple project to something extra special.
![]()
Please join us in the Twig + Tale Facebook group to ask questions, look for inspiration, and of course to share photos of your lovely projects.


