You've chosen a beautiful embroidery pattern and have all your supplies ready to go. Now, how to transfer the design onto fabric?
Here are some suggestions for simple, low-tech methods for transferring embroidery patterns. Experiment with these techniques to figure out what works best for your design and the type of fabric you're embroidering on.
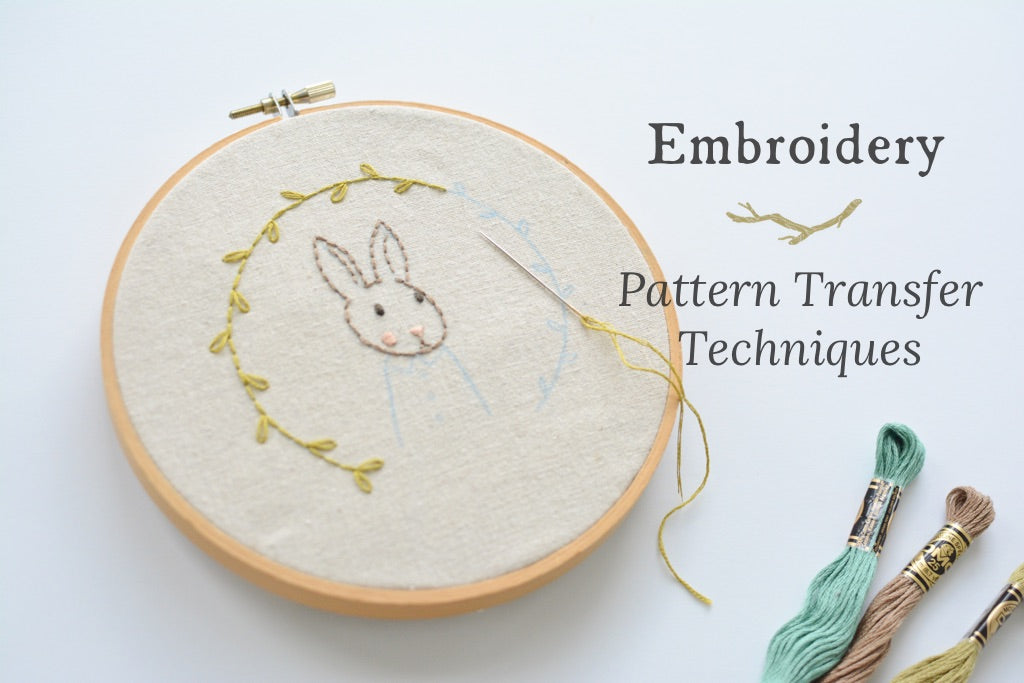
Looking for charming, beginner-friendly embroidery patterns? Have a look at the Twig + Tale embroidery collection.
![]()
Tracing to fabric
How it works: Draw the embroidery design directly onto the fabric. This is a simple, direct method that does not reverse the image.
When to use this method: This works well when using a light-weight, light-coloured fabric that is semi-transparent when held up to a light source.
How to do it:
Begin by taping the pattern to a window (or light box, if you happen to have one).
Then, position the fabric over top of the pattern, so that the lines show when the light shines through. If the lines on the paper are too faint to see through the fabric, try going over them with a fine-tipped black marker. Tape the fabric in place.
Simply trace over the design with a fine-tipped, washable fabric pencil or marker. I find a mechanical pencil works well too - it creates such fine lines that the embroidery thread will cover up the markings when the stitching is finished.
![]()
Transfer/Carbon Paper
How it works: Pigment from the transfer paper is pressed onto the fabric with a pen or stylus. This method does not reverse the image.
When to use this method: Transfer paper is a good choice for copying patterns onto a variety of colours or thicknesses of fabric with a flat surface - it doesn't work well for fabrics with a fuzzy surface, like wool. Transfer paper produces a light, fine line. Light-coloured paper (such as white or yellow) is a good option for transferring designs onto dark-coloured fabric.
How to do it:
Transfer paper comes in a variety of colours and has a waxy feel, with pigment on one side only. Choose a colour that will provide good contrast with the fabric.
![]()
Position the paper on top of the fabric, with the pigment side down. Then position the embroidery pattern right side up, over top of the transfer paper. Use a pen, pencil, or stylus to trace over. Make sure you have a nice hard surface underneath.
![]()
Practice on a piece of scrap paper to experiment with the amount of pressure needed to transfer the pigment. I find that it is necessary to press quite hard.
Tracing Paper
How it works: Create a pattern template on tracing paper, then stitch right through the paper and fabric together.
When to use this method: This works well with thicker fabric with a fuzzy surface, such as wool or corduroy. Other transfer methods tend not to show up well on a fuzzy surface.
How to do it:
Trace the embroidery pattern onto thin tracing paper, then baste the tracing paper to the fabric.
Embroider through the tracing paper and the fabric.
When embroidery is finished, carefully tear away the tracing paper.
![]()
Heat Transfer Pen/Pencil
How it works: Trace over the embroidery design to create an iron-on transfer. Keep in mind that this method does reverse the image.
When to use this method: This works well on most natural-fibre fabrics with a flat surface, though it doesn't show up well on very dark colours.
How to do it:
Use a heat transfer pen or pencil to trace over the printed embroidery design. Press fairly hard - if the lines are too faint, the design won't transfer.
![]()
Position design with the traced side down on the fabric. Press with iron at a high temperature (without steam) to transfer the image. My ironing board is quite padded, so I find it useful to put a hard surface underneath my fabric to ensure the design transfers evenly.
Practice on scrap fabric first until you've learned how your transfer pencil works.
Washaway Stabiliser
How it works: Trace or print the embroidery design onto the washaway stabiliser, then baste or adhere it to fabric. Embroider the design right through the stabiliser and fabric. The stabiliser is removed when the embroidery is complete.
When to use this method: Washaway stabiliser works on all types of fabric and ensures the embroidery pattern is transferred precisely. It can be particularly useful for transferring patterns onto fabric that is thick or has a textured surface, such as wool or corduroy, or a dark-coloured fabric that is difficult to trace onto.
How to do it:
Use a specialized washaway stabiliser product, such as Sulky Fabri-Solvy or Fabri-Solvy Sticky.
Trace your embroidery design onto the stabiliser, or if you're using Fabri-Solvy Sticky (with a paper backing) use your computer printer to print the design onto the stabiliser.

Baste or adhere (if using sticky product) your design to the fabric, positioned where you'd like the embroidery to be. Embroider your design through the stabiliser and fabric. When the embroidery is complete, rinse or wash the fabric and the stabiliser will dissolve.

Experiment with these transfer methods to see which ones you prefer - depending on the type of materials you are using for your embroidery projects, they can all be useful.
![]()
Have you signed up for the Twig + Tale Learn to Embroider series? We'd love to help you get started with embroidery!
View Twig + Tale embroidery patterns here
If you have any questions or would like to share pictures your projects, please join us at the Twig + Tale Chat Facebook group.


