This adjustment is for sewists for whom the shoulder seam length is correct, but for whom more (or less) space between the shoulder blades is needed for comfort. A broad back adjustment is especially helpful when the wearer feels restricted by their garment when reaching forward. If you find that you have a lot of excess fabric or drag lines vertically down the back of your top, especially near the sleeves, then you may need a narrow back adjustment.
The broad back adjustment is common in traditional menswear tailoring, and it often appears as pleats in the back of a shirt. If you look at modern Ready To Wear (RTW) dress shirts, frequently you will see rear side pleats - also called knife pleats - near each armscye, and workwear will routinely feature a box pleat in the centre back. These pleats in RTW are a standard ½” (1.25cm) wide, which adds 2”(5cm) of fabric to allow for a greater range of motion.
In adjustment order, you would look at doing this after checking for or doing a broad/narrow shoulder adjustment and a rounded upper back adjustment. Some people will find they need a combination of adjustments, and for some they may seem competing. For example, you may need both a narrow shoulder and a broad back adjustment, or vice versa. Everyone’s body is different, and being able to customise your clothing to fit you well is one of the great advantages and joys of sewing.
![]()
Materials
- Front and Back pattern pieces (we're demonstrating with the Grove Coat)
- A Toile/Muslin
- Tape Measure
- Scissors
- Tape
- Ruler
- Pencil
- Scrap paper
Finding your Broad Back Adjustment Measurement
For a broad back adjustment, there are a few methods you can use to attain the measurement of how much you need to add to your pattern.
The slash method is the most straight forward, however it is done by slicing your assembled toile (also known as a muslin) and requires another person to take the measurements. Slice your toile vertically down the centre back from near the neckline, down to the small of the back. Put on the toile, and stand straight, in your usual relaxed posture, with your arms slightly toward the front. Measure the opening that the fabric has parted.
Since the pattern piece you will be working with is half the width of the back (because it is cut on the fold), divide the opening measurement in half. This will be your pattern adjustment measurement.
An alternative method, which preserves your toile if you would like to attempt to keep it wearable, is to start by adding a large amount to your pattern. This works well if you require 2” (5cm) or less extra space. Add 2” (5cm) to the back using the Broad Back Adjustment instructions, put on the toile and then proceed as if you were doing a Narrow Back Adjustment (see below).
You may encounter some guides that recommend you add in ½” (1.25cm) increments and test it every time. Though this technique will bring success, and is easy to execute if you are alone, I have not personally been a fan of this method as it uses a lot of fabric.
![]()
Broad Back Adjustment
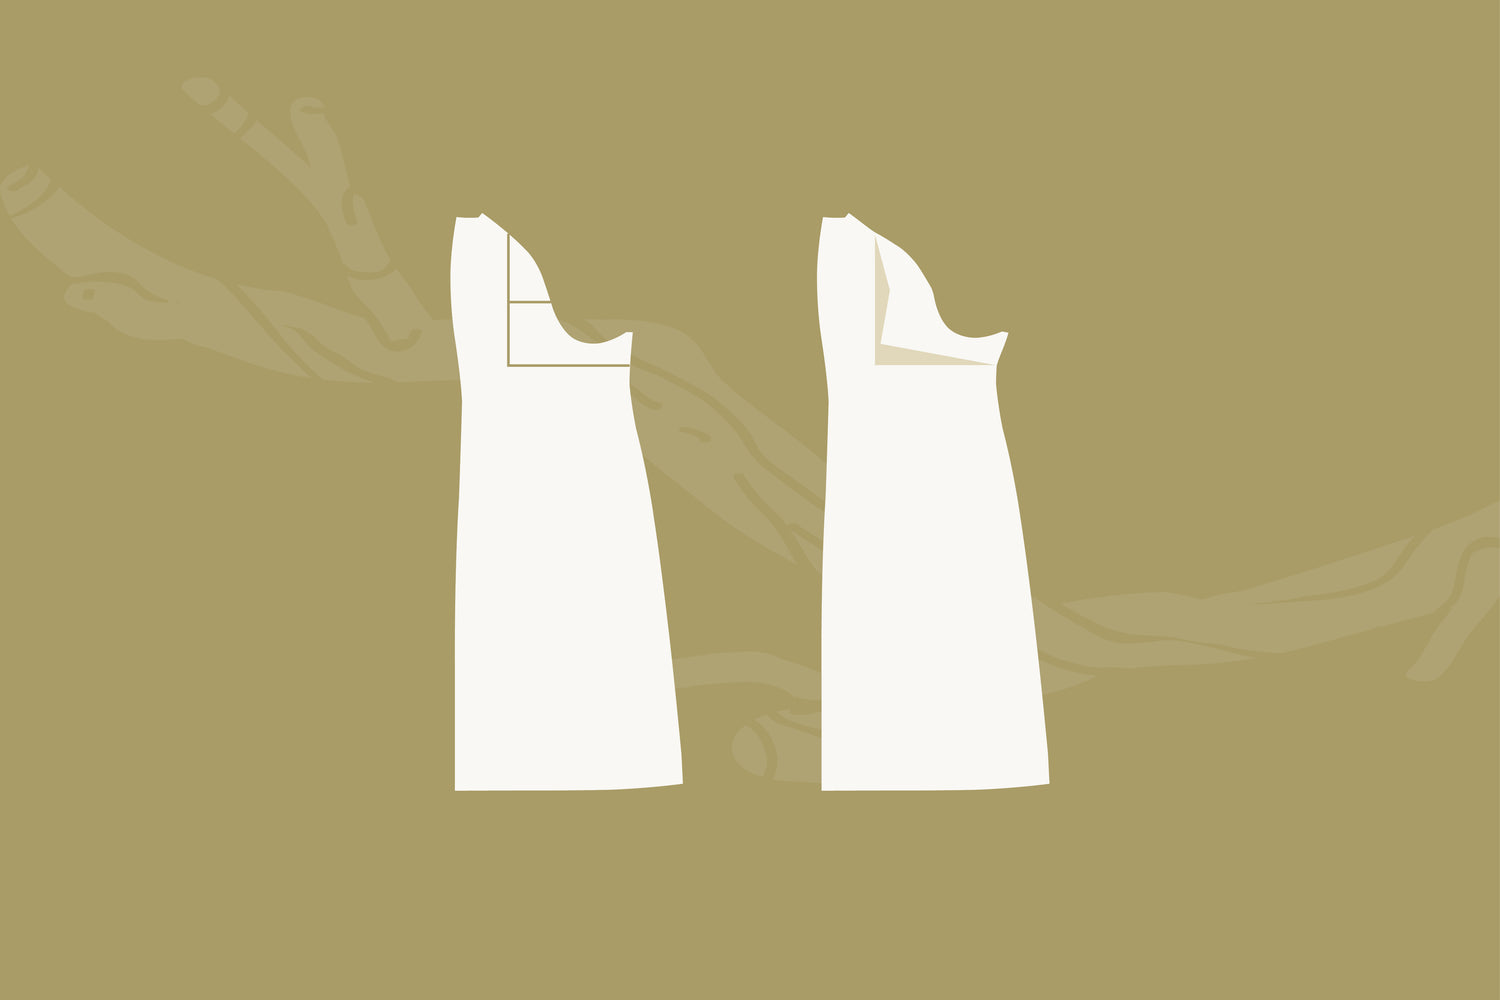
1. Mark three lines on Back Exterior pattern piece as follows:- Draw a horizontal line approximately half way between the bottom of the armscye, and the lengthen/shorten line (lower horizontal line in illustration below).
- Parallel to the grainline, draw a vertical line from halfway between the neck and first notch on the raglan seam, down to meet the first horizontal line you drew (vertical dotted line in illustration below).
- Draw a final horizontal line from just above the double notches in the armscye across to meet the vertical line. (upper horizontal line in illustration below)

Cut the pattern along the lower horizontal line, meeting the vertical line. Slice up the vertical line until almost to the top, leaving a small amount of paper to work as a hinge. Starting at the vertical slash, cut along the upper horizontal line towards the armscye, again leaving a small amount of paper to work as a hinge.


Please Note:
You will likely not have altered the raglan/saddle shoulder seam length very much with the Broad/Narrow Back Adjustments for the Grove. But I would advise double checking the the armscyes measurements to see if you need to add any or subtract length from your raglan sleeves. If you do, use the same technique that the Shoulder Width Adjustment for a Raglan Sleeve - Grove tutorial explains from step 7. Add or subtract any difference in measurement you encounter from the adjusted armscyes.
Your pattern pieces are now ready to use!
Remember, we always recommend sewing a muslin to test out your pattern adjustment before cutting into your fancy fabric.
![]()
Read more about common pattern adjustments here:


