Needing a High Rounded Back adjustment is quite common, and is becoming more so when people are increasingly required to spend long hours at computers and desks. This adjustment is also known as a High Round Back, Rounded Upper Back, Round Back and other combinations of the terms.
Some signs that you have a high round back include your clothes feeling as though they are riding up at the front, or sliding backwards on your shoulders, a gaping neckline, or that your hem/waistline rides up in the back. This is all caused by the shape of that part of the body having a larger surface area at the top of your back in comparison to the body block the pattern was drafted on. This, in turn, means the garment’s fabric struggles to cover that area.
You may also find that your shoulder seam points towards (or behind!) the back of your neck, rather than straight along your shoulder. This may be corrected with a High Rounded Back adjustment, but might require further adjusting with a Forward Neck/Head adjustment. It is also becoming increasingly common to need both of these adjustments as well as modifications to fit a Forward Shoulder.
Every body is unique and has its own shape to be catered for, being able to customise your clothing to achieve this is one of the excellent advantages home sewing!
![]()
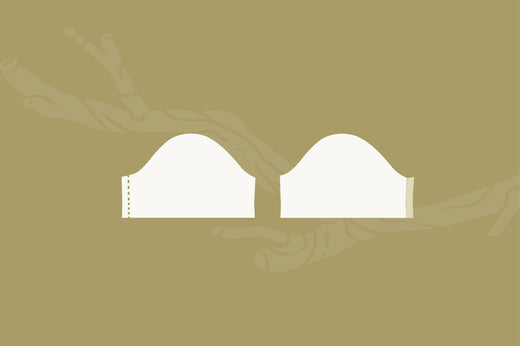
Materials
Finding your High Rounded Back Adjustment Measurement
It is easiest to check this measurement if you have another person to help you. Measure from the base of your neck, where the back of a neckline would typically sit, vertically along your body down to where the intended waistline of your garment will be. Then compare this measurement to your pattern. The difference between your measurement and the pattern will be the amount you will need to add for the adjustment.
If you have a toile/muslin prepared, you can put this on and have your helper measure from the neckline to the toile’s waistline.
To set up for this adjustment, put pieces of paper beneath your prepared Back and Sleeve pattern pieces. Position the paper under the upper quarter of each pattern piece, it will be used to fill in any empty spaces formed by creating the adjustment.
Adjust your Pattern Piece
1. Draw a horizontal line across the Back, around half of the way down the armscye from the neckline, just above the double notches. Then draw a horizontal line across the sleeve in approximately the same place just above the double notches — as shown in the illustration.

2. Cut along the Horizontal line on the Back.

3. Being careful to stay inline with the centre back seam, raise the top section your required adjustment amount. Tape the pieces to the paper beneath to keep them in place.

4. Cut almost all the way across the Horizontal line on the Sleeve, leaving a small amount of paper still uncut at the front to act as a hinge.

5. Swing the top of the Sleeve up, hinging from the front side, so that the gap between the sleeve seam at the back is the same amount that you inserted into the Back. Tape the pieces to the paper beneath to keep them in place

6. True up all your lines, and cut away any excess paper. All done, your High Rounded Back Adjustment is complete!

Please remember, we always recommend sewing a toile/muslin to test out your pattern adjustment before cutting into your fancy fabric.
![]()
Read more Twig + Tale sewing tutorials here: