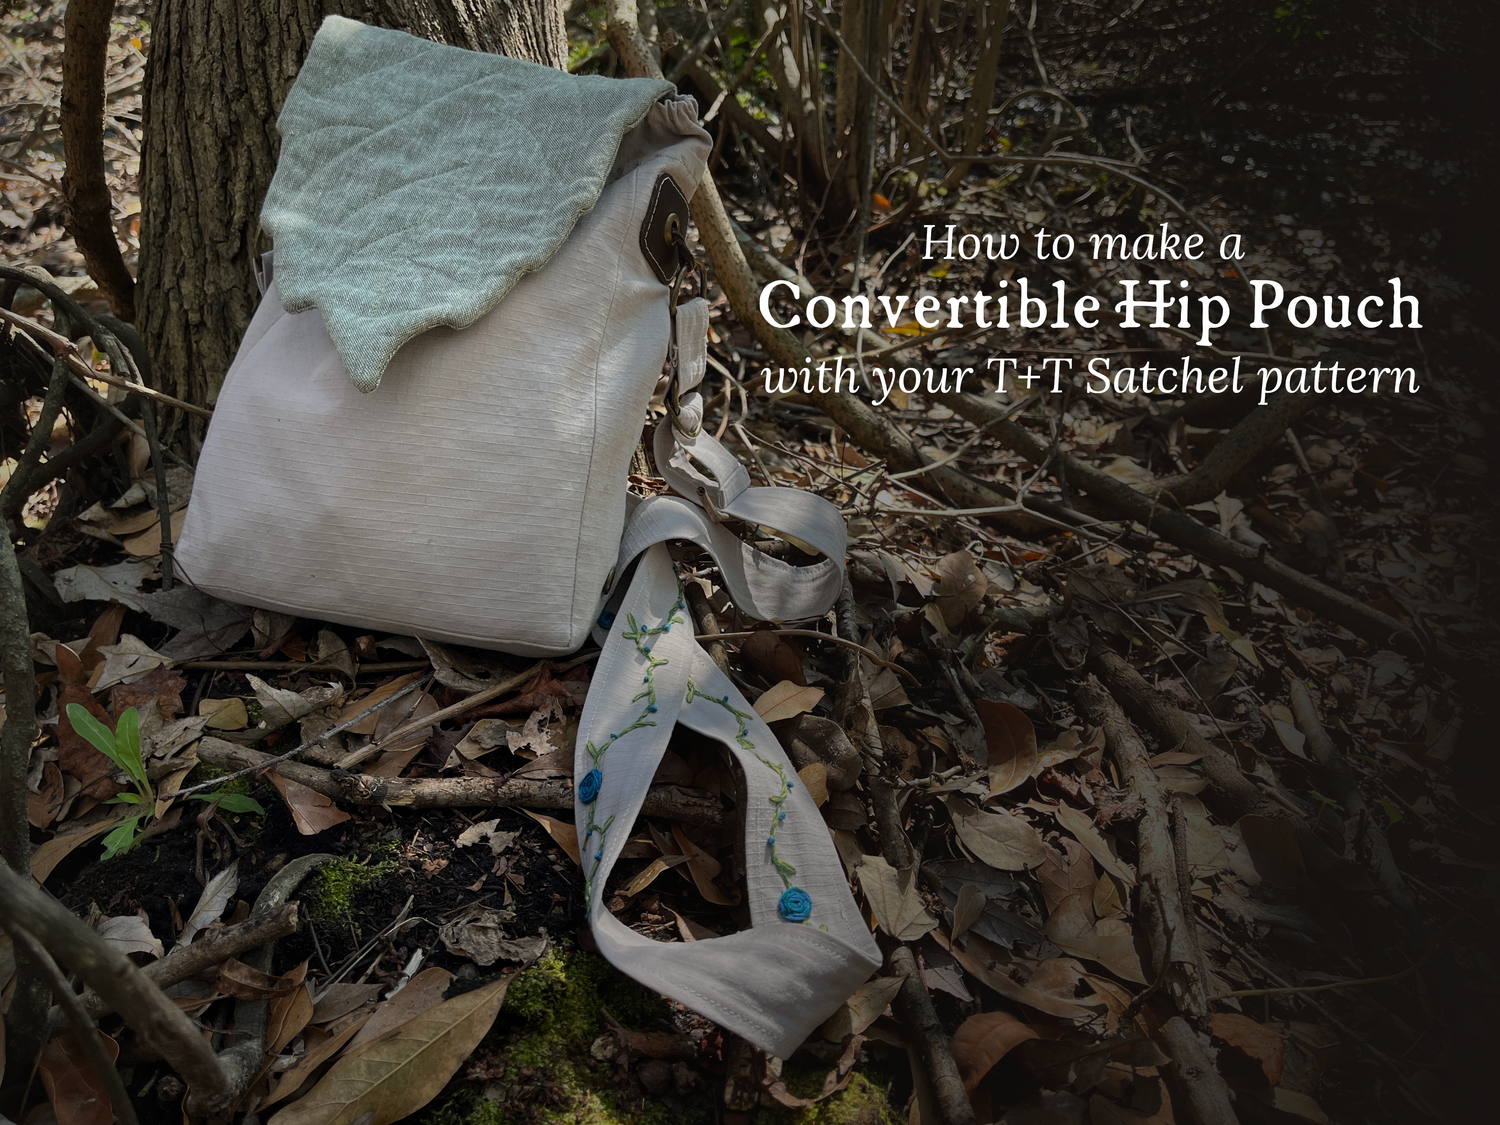
Sometimes, a hands-free way to carry the essentials makes life more convenient. But, so often, many of the hands-free bag options, like fanny packs, bum bags, and hip pouches, are too small or boring. Why not create your own, with a bit of whimsy and oh-so-much room for everything you need?
This Convertible Hip Pouch Hack will guide you through the process of creating straps that “swivel” to allow for easy use of your Foraging or Leaf Satchel both as a shoulder satchel, and as a comfortable, stylish hip pouch.
![]()
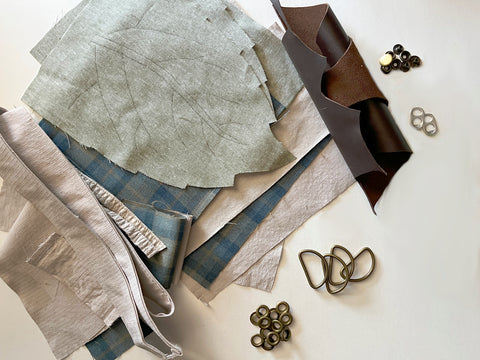
Materials
- Foraging or Leaf Satchel pattern pieces and recommended materials
- 4 D-rings (to match chosen strap width)
- Scraps of smooth, thick leather
- Metal grommets
- Recycled pop can tabs (optional, for additional reinforcement)
- Glue suitable for leather (contact cement or similar is ideal)
- Heavy duty snaps (optional, for thigh strap)
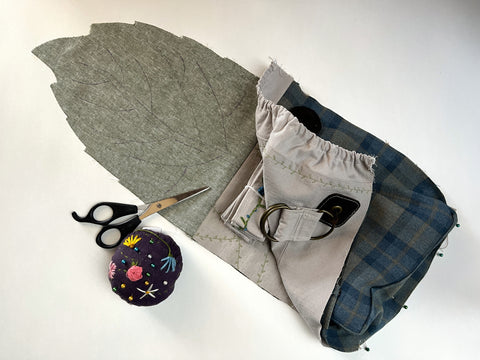
Cutting instructions
Cut all pattern pieces for your desired style of Foraging or Leaf Satchel as indicated (I’ve cut mine using the Leaf Satchel in small portrait size, with the Contrast Flap hack described here).
Note: this hack is only recommend for the small Satchel sizes. The Large Satchels will be too big to comfortably wear on the waist.
Check that your chosen strap is long enough to go around your waist – it should be at least as long as your body measurement where you intend to wear it. The width of the bag itself will leave ample slack for adjustment.
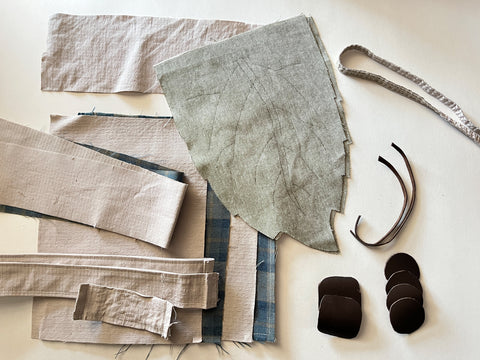
Additionally, from smooth leather, cut:
- 4 - 1.5" (3.5cm) circles
- 2 - 2" (5cm) squares (round off corners, if desired)
- 2 - 4-6" (10-15cm) long, thin leather strips
From exterior fabric, cut:
- 2” strip of fabric long enough to encircle thigh + ¾" (2cm) (optional, use only if adding thigh strap - I’ve repurposed a cut-off seam for mine)
Sewing instructions
Prepare straps
1. Assemble the Strap + Loop as described in the pattern tutorial through step 6. Do NOT baste to pouch sides.
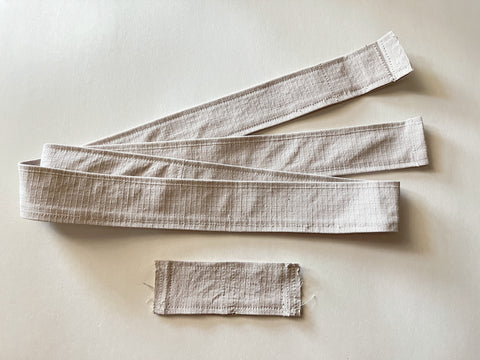
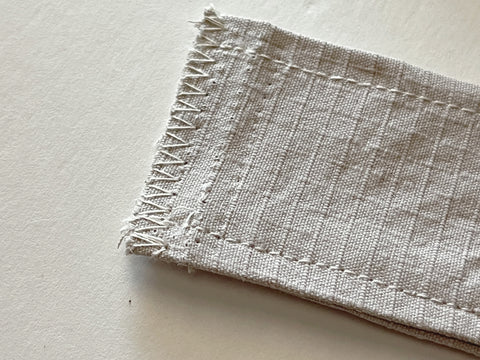
2. If your fabric is prone to fraying, finish each end of your Loop piece with a serger or zig-zag stitch (optional - will help to reinforce the strap ends).
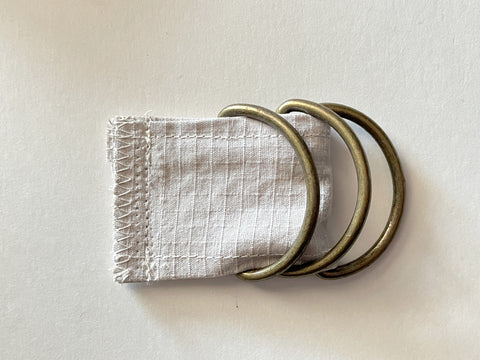
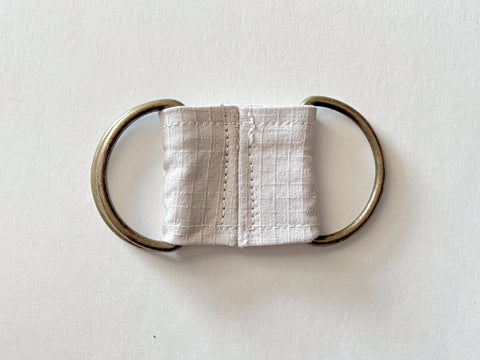
3. Thread the Loop piece through 3 D-rings, and sew the ends right sides together.
4. Turn Loop right side out inside the rings.

5. Pull 2 of the D-rings to one side, and 1 to the opposite side. Finger press the seam open. The seam should be situated between the two sets of D-rings.
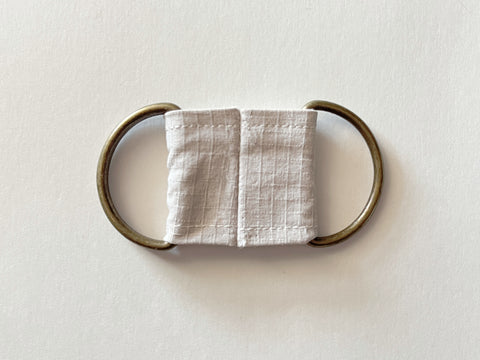
6. Top-stitch on either side of the seam through all layers. This will sew the seam allowances down nicely, and split the Loop in half.
7. Thread the raw end of the Strap piece into the remaining D-ring.
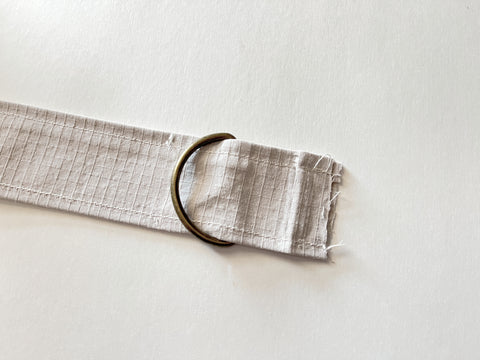
8. Turn the raw end over 3/8” (1cm), then ¾” (2cm). Edgestitch to secure the D-ring.
Prepare satchel
9. Assemble Internal Pocket, Front Exterior, Front Lining, and Security Band as per pattern tutorial steps 9-31 to create your Satchel Front. If you are making the elastic version, don’t add your elastic yet – if you are making the non-elastic version, don’t sew your crease-lines yet.
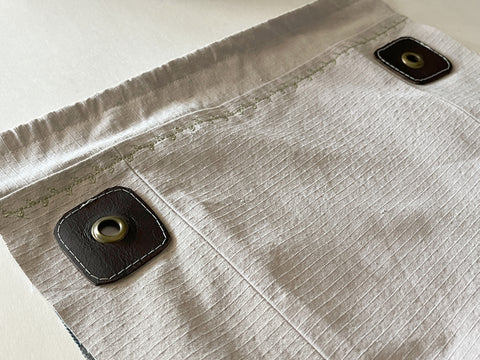
10. On your Satchel Front, topstitch the square leather patches through both layers of the Sides, just below the security band. Ensure you leave 3/8” (1cm) available at the raw edge for later seams.
*Pro tip - Using glue stick on the back of the leather patch can help hold it in place while sewing.
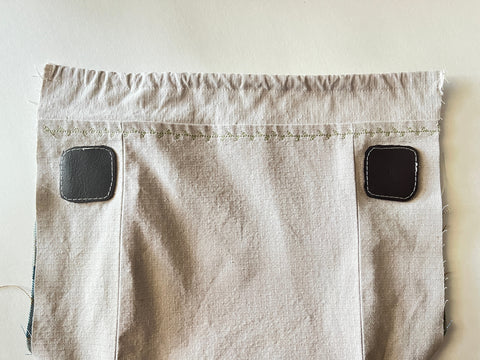
11. Through the centre of the leather patches, punch or cut a hole through all 3 layers big enough for the grommets. Apply grommets in each hole as described in the package directions.
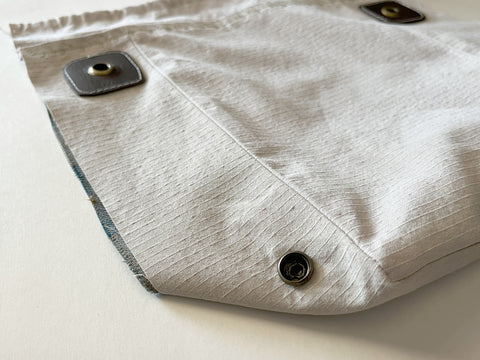
12. (Optional, if adding a thigh strap) Apply heavy-duty snap sockets through the Sides of the satchel, near the bottom corner.
Prepare leather “swivels” + attach straps
13. Punch/cut a small hole in the centre of 2 leather circles. This hole should be just big enough for your leather strips to fit through twice, snugly.

14. To determine the Strap and Loop placement, decide which hip you would like your Satchel to sit on most comfortably. I like to wear mine on the right hip, so I will attach the Loop to the left as worn, and the Strap to the right. This way, the Strap will thread through the D-rings and tighten in the centre front. (If you’d prefer to wear yours on the left hip, mirror the following instructions.)

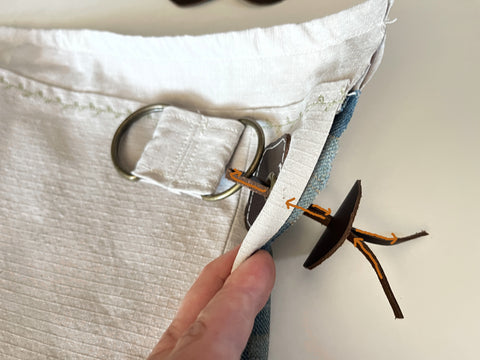
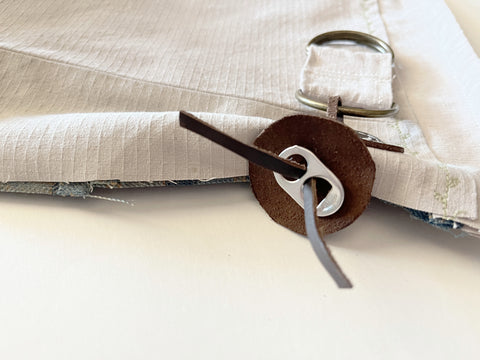
15. Thread the leather strips to attach the Loop as follows:
- Through the centre hole in a leather circle, from the less-smooth side
- Through the grommet in the satchel left Side as worn, from the lining side
- Through the single D-ring in the assembled Loop
- Back through the grommet in the satchel Side, from the exterior
- Back through the leather circle, from the smooth side
- (optional) For additional strength, thread each end through the two sides of a pop tab
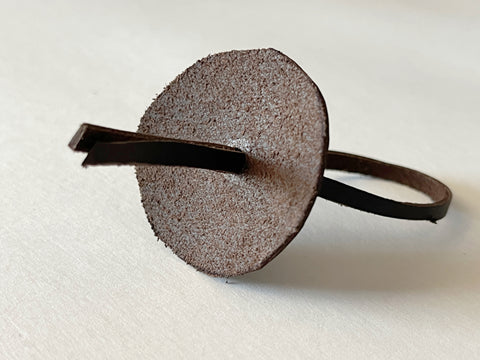
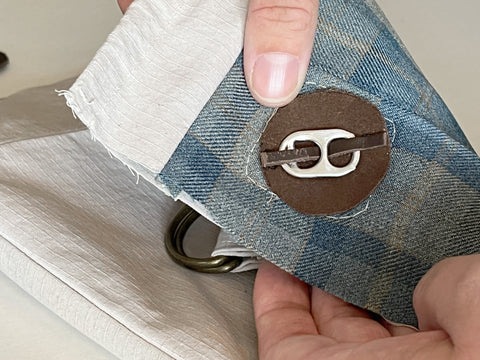
16. Lengthen or shorten the leather strip to your desired length, leaving enough length for it to turn freely inside the grommet, and glue each end to the leather circle. Trim any excess.
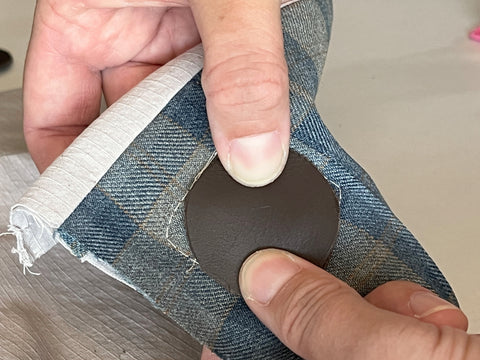
17. Glue a leather circle that does not have a hole in the centre to the back, to hide the strip ends and finish the swivel. If desired, for additional durability, you may choose to punch holes and hand-stitch around the edge.
18. Complete the same process to create a second swivel to attach the Strap, on the right side of the satchel as worn. I’ve shown the process here in video, so you can see it in action. Once the glue dries, try giving them a go! You’ll see they turn easily inside the grommet, while providing a strong attachment to your satchel.
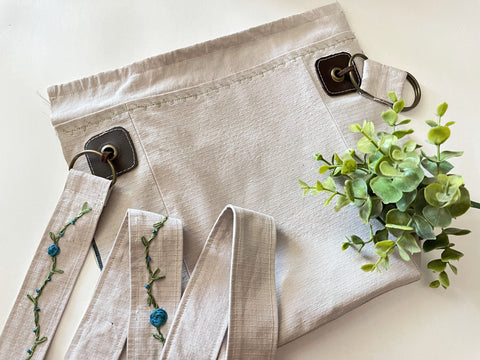
19. Your swivel-straps are done! Complete the rest of your satchel as indicated in the pattern tutorial, starting with sewing the crease lines or elastic, keeping your finished straps out of the way. (I'm making a Leaf Satchel using the Contrast Flap hack here.)
20. If you are adding a thigh strap, check the length of your cut piece by holding it up to the finished Satchel around the thigh as-worn. It should be ¾” (2cm) longer than your desired finished length. Ensure it has enough slack to account for contraction of the thigh muscles with walking and climbing as needed. Prepare it the same way as the Strap, except you will memory-crease both short ends and enclose them both. (I have upcycled a cut-off strip of a pants seam for mine instead.)

21. Add snap studs to both ends of your prepared thigh strap.
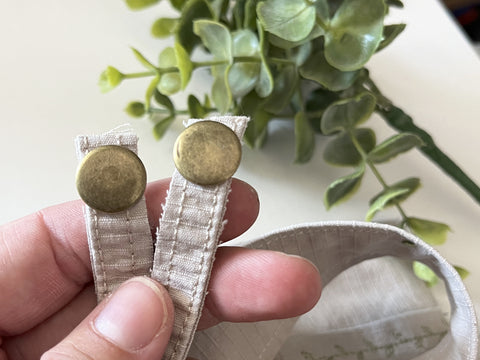
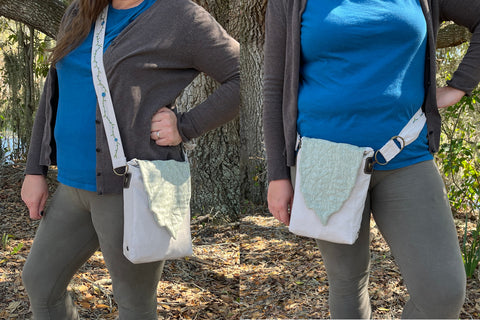
Your Convertible Hip Pouch is now ready! Simply thread your Strap through the 2 D-rings in the Loop like a belt, and adjust as needed, tucking the free end into the belt. If you included a thigh strap as well, simply snap it to the sockets on the main satchel, around the thigh.

Alternative methods:
There are lots of ways one could adapt this method and make it their own!
For an easy-on, easy-off pouch, include buckles on the Strap and Loop instead of two of the D-rings, and use a slider as indicated in-pattern to manage any extra length.
Prepare as directed with only one or two D-Rings on the Loop, and simply tie the Strap through one D-ring or the Loop to adjust.
Make a similar “swivel” using a button with large holes, and braided cord.
And more!

We’d love to see your finished projects using this hack – won’t you share them with us on social media? You can tag us @twigandtale on Instagram, or share them in our Twig + Tale Chat group on Facebook.
Happy sewing!
The T+T team


