This tutorial will be particularly helpful if the back neckline of your garment is sitting too far beneath the base of the neck, or if your front neckline is too high and sitting uncomfortably against your neck.
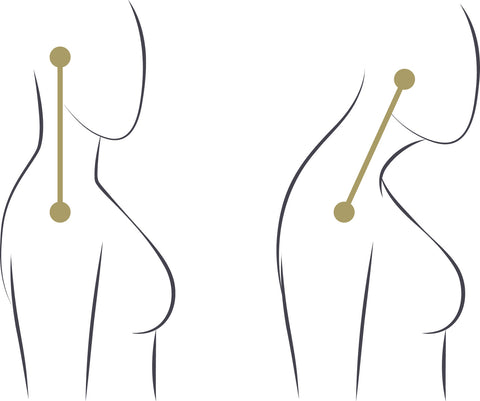
A forward head occurs when a person’s head rests in a forward leaning position, which means that this adjustment can be diagnosed most easily by the shoulder seam originating not from the centre of the person's neck, but more from the back of the neck or behind the person's neck entirely.
This adjustment is very closely related to the forward shoulder and can be required at the same time. If your shoulder seam is sitting correctly at the shoulder point, at the top of your armscye, but angled backwards behind your neck, then you will need a Forward Head Adjustment alone. This means your sleeve will not be affected by making this adjustment.
If your shoulder seam is also further back than your shoulder point, then you will need to combine both a Forward Head and Forward Shoulder adjustment.
These two adjustments, along with a Rounded Upper Back, have historically been quite common in older people, but are now often needed for younger folks as people are increasingly required to spend long hours at computers and desks.
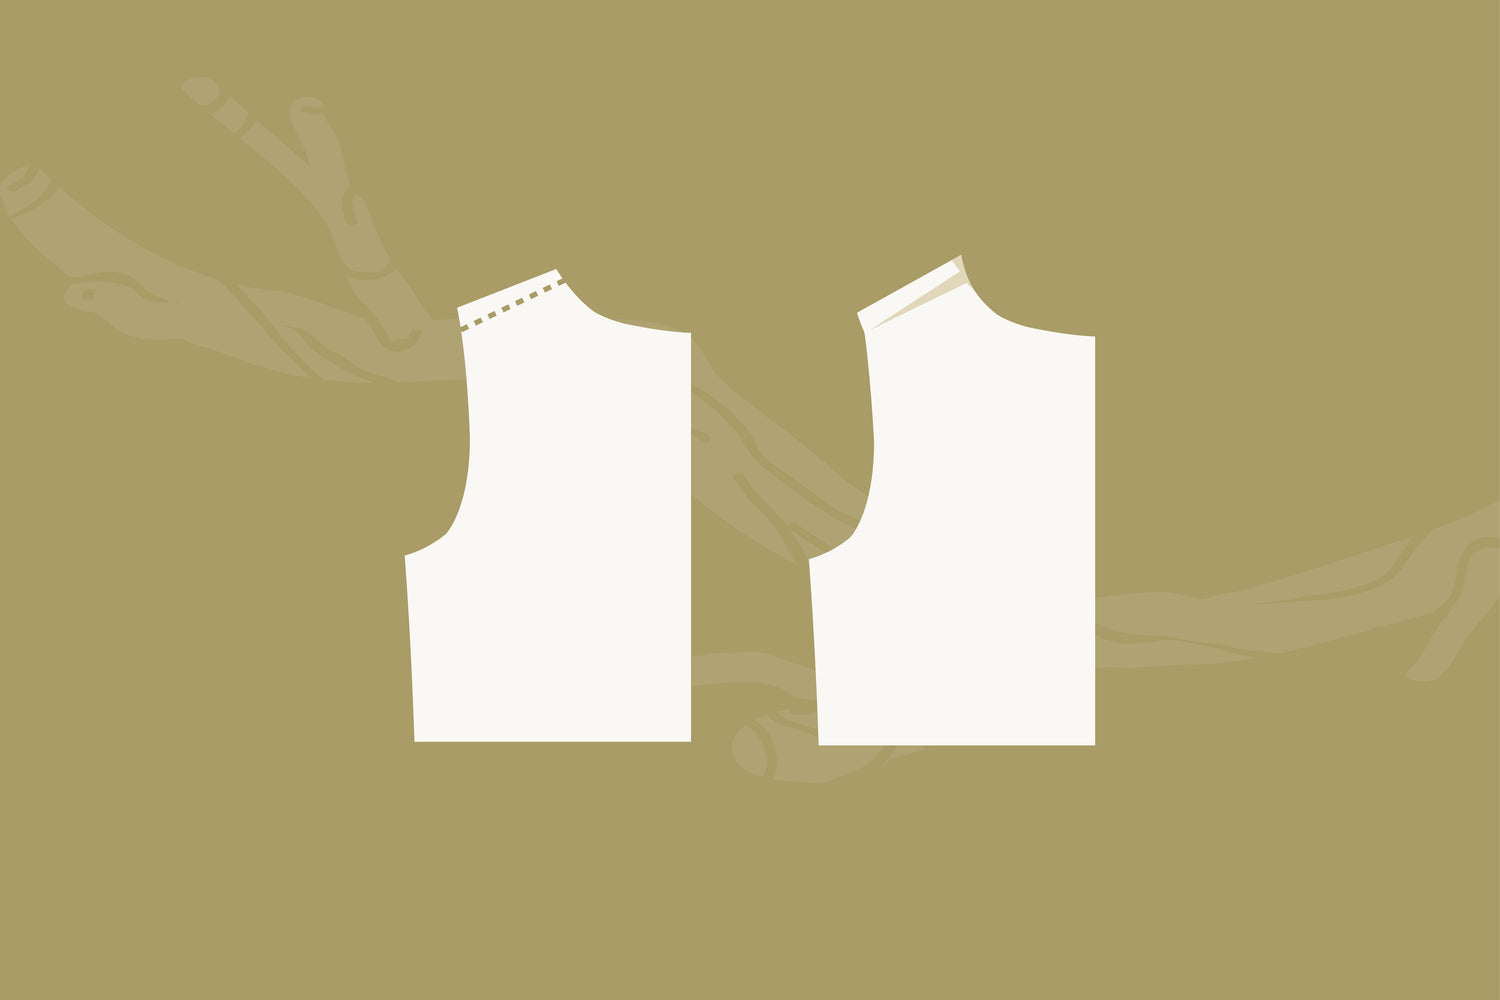
We recommend sewing a muslin of your garment first, to determine any adjustments you might need to make. For this pattern adjustment, we will be angling the neckline forward, pivoting the neck .
This measuring technique is easiest if you have a friend to assist. Locate the middle of your neck in profile (approximately straight down from just behind the ear) down where your neck meets your shoulders. Then measure the distance between that point and your shoulder seam. That will be your adjustment amount, the measurement you will need to add to the back and remove from the front.
Another option is to pinch and pin fabric out at the neckline, until your neckline has been moved forward to comfortably sit at a natural position. Take a photo of yourself in profile to compare the position of your shoulder seam, adjusting until you appear to have it in the correct position. The amount you have pinned out will be your adjustment amount.
This method will mean your front neckline may still feel uncomfortable, but will be corrected after making the adjustment. This technique requires more trial and error than the method done with a friend, but can be an alternative.
![]()
Materials
- Ruler
- Pencil
- Scissors
- Scrap paper
- Pattern pieces (Front and Back bodice/top pattern pieces, Sleeve pattern piece)
Adjust the pattern pieces
1. Using the Front Bodice pattern piece, mark a line 7/8" (2cm) from the outer edge (double the seam allowance).


Starting at the neck, cut almost all the way through those pieces, leaving a small amount of paper remaining at the armscye to act as a pivot point.
5. On the Back piece, swing out from the pivot point, inserting your adjustment amount at the neck to the Back. Pop some paper behind the slashed section and tape the Back pieces down.

For the Fronts, remove the same measurement by overlapping the upper portion of the pattern pieces over the lower portion. Tape those down to each other.

6. True up your pattern pieces, gently smoothing the lines.

Use your newly-adjusted pieces to cut and sew your garment!
![]()
Read more about common pattern adjustments here:


