This adjustment is for sewists for whom the shoulder seam length is correct, but for whom more (or less) space between the shoulder blades is needed for comfort. A broad back adjustment is especially helpful when the wearer feels restricted by their garment when reaching forward. If you find that you have a lot of excess fabric or drag lines vertically down the back of your top, especially near the sleeves, then you may need a narrow back adjustment.
As an example of the need for a narrow back adjustment, I have a close friend who is a Twig + Tale® H-T size J when measuring her upper bust, and for whom the shoulder seam widths for that size are exact. Though she needs an FBA for the front, her back is very narrow and around 2” (5cm) of excess fabric has to be removed from the back to fit her correctly. I’ve removed this amount from the back of RTW swimwear for her in the past, and she routinely needs to do this to garment sewing projects of her own.
In adjustment order, you would look at doing this after checking for or doing a broad/narrow shoulder adjustment and a rounded upper back adjustment. Some people will find they need a combination of adjustments, and for some they may seem competing. For example, you may need both a narrow shoulder and a broad back adjustment, or vice versa. Everyone’s body is different, and being able to customise your clothing to fit you well is one of the great advantages and joys of sewing.
Materials
- Front and Back pattern pieces (we're demonstrating with the Fable Dress)
- A Toile/Muslin
- Tape Measure
- Scissors
- Tape
- Ruler
- Pencil
- Scrap paper
Finding your Narrow Back Adjustment Measurement
To attain the measurement for a Narrow Back Adjustment, make a toile and put it on. Have another person pin the excess fabric at each of your shoulder blades equally, allowing for some intended ease. Make sure that your arms can move freely and the fabric does not pull when reaching forward. Measure the amounts you removed by pinching, the average between both will be the amount you need to take that out of the pattern piece.
The easiest way to do this technique when you’re alone is to pinch out and pin a small amount at the position of each shoulder blade before putting the toile on. Wear the toile, check for fit and movement. You can then take off the toile, adjust the amount pinned, and put it back on until you’re happy with the fit and take the end measurement then.
Adjust pattern pieces for a Set-In Sleeve - Scenic Top, Fable Dress, Breeze Shirt, Vista Top, Ridgeway Top, Forester Coat, Pixie Coat
Narrow Back Adjustment
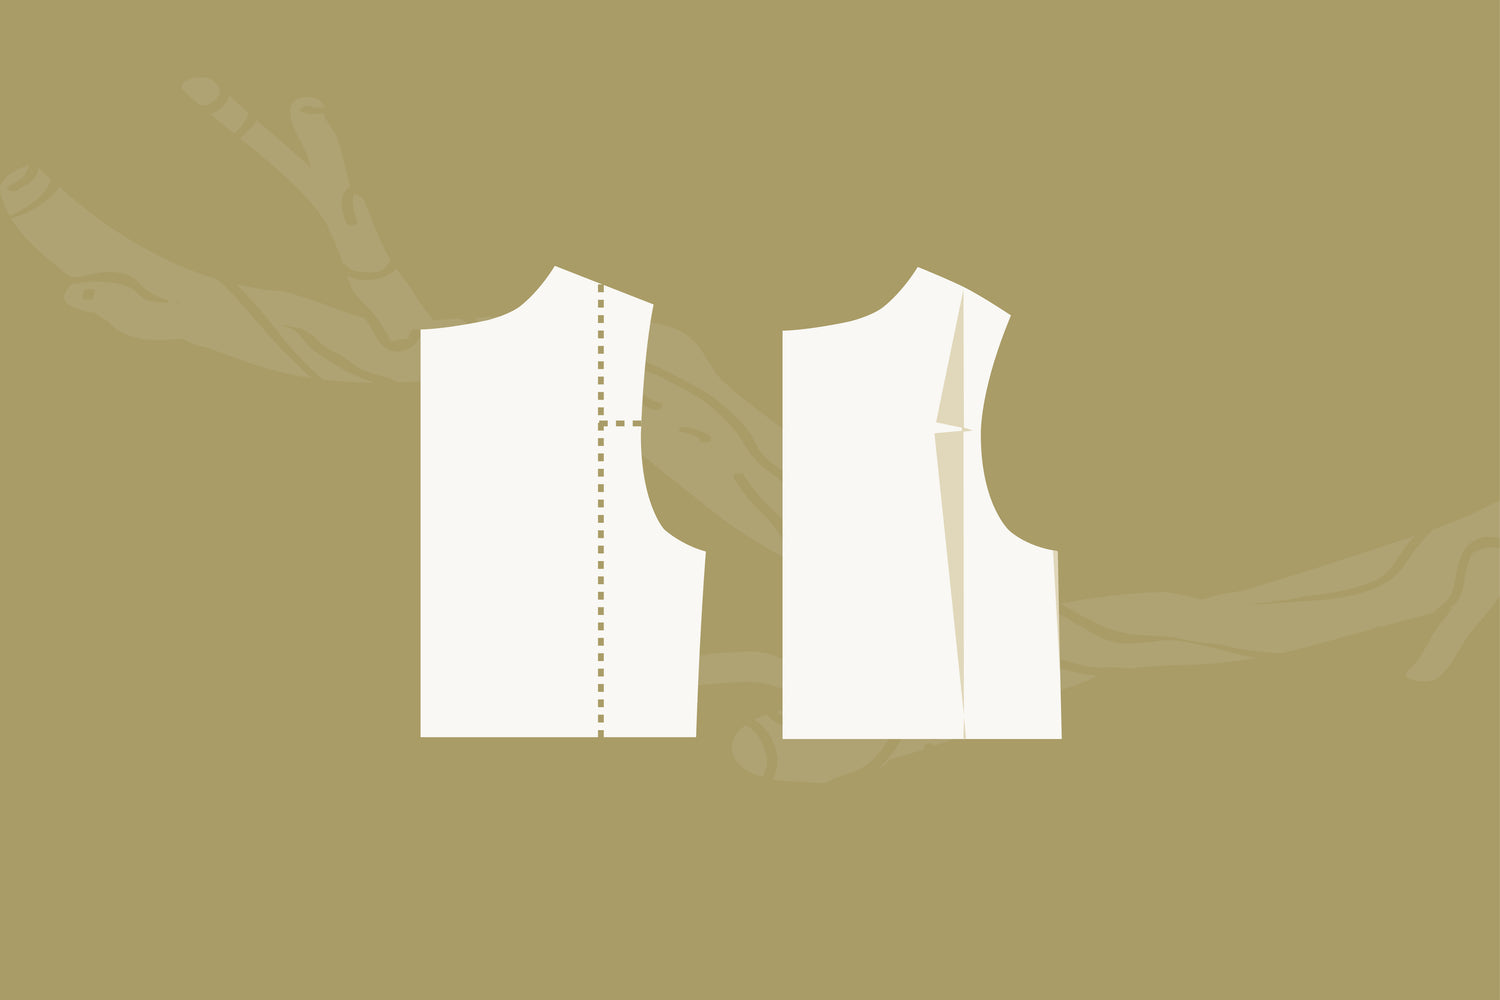
1. Mark two lines on Back pattern piece as shown in the Broad Back Adjustment.
2. Put a piece of paper behind your pattern piece, and tape the larger portion of your Back pattern piece down. Mark the amount to reduce the pattern at a point parallel to the vertical cut line, aligned with the horizontal line.

Pivoting from the hinge in the shoulder, swing the cut pattern section across so that the inner corner of the upper horizontal line meets your vertical reduction mark. Tape the top adjustment piece to the paper underneath.


Your pattern pieces are now ready to use!
Remember, we always recommend sewing a muslin to test out your pattern adjustment before cutting into your fancy fabric.
Read more Twig + Tale sewing tutorials here:


