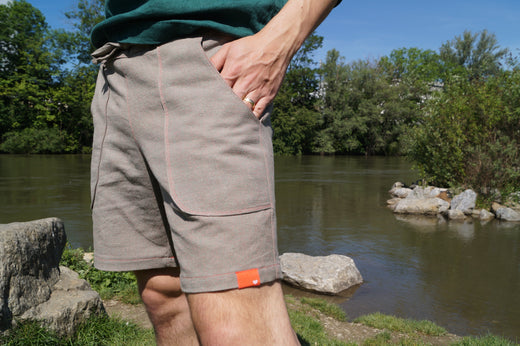
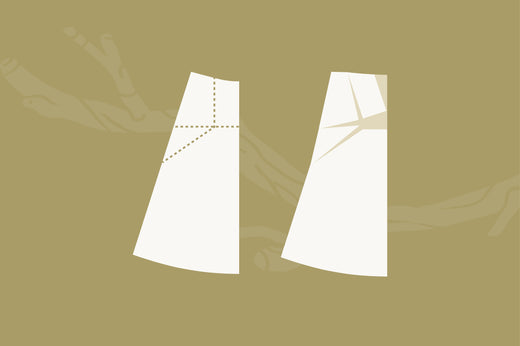
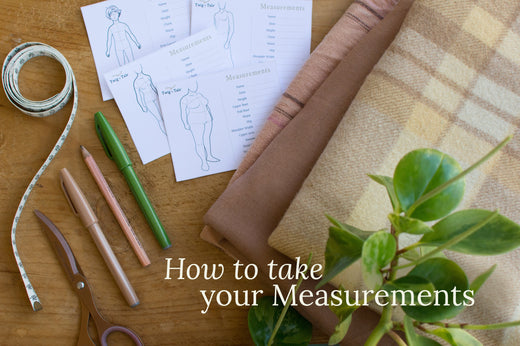
This pattern adjustment will help you to customise the fit of the Women's/Curved Fit Pathfinder Vest (or another garment with front princess seam shaping such as Forester Coat and Trailblazer Vest) for a fuller abdomen. It works best when the fullness is distributed mostly to the front of the body (abdomen) rather than the back, due to body shape or pregnancy.

Materials
- Women's/Curved Fit Pathfinder Vest pattern pieces (Side Front and Front)
- Measuring tape
- Scrap paper
- Tape
- Ruler
- Pencil
Measure
Determine how much ease to add to the front pattern pieces of the vest by comparing your actual waist measurement to the finished measurement chart for your size.
Subtract your body measurement from the measurement in the finished measurement chart. If your body measurement is less than 3" (7.5cm) larger than the finished measurement, it will be necessary to add to the waist of your garment to allow for sufficient ease in the final garment.
The Pathfinder Vest is designed to be worn over other garments, so we recommend 3" (7.5cm) minimum of ease at the waist. This will allow for layering and a comfortable fit.
Here's an example:
- Size N finished waist measurement = 53" (134cm)
- Your body waist measurement = 53" (134cm)
In this example, the body measurement and the finished waist measurement are the same, which does not provide any wearable ease. It will be necessary to add 3" (7.5cm) to the waist to achieve the intended fit.
We will be adding the amount determined above to the front pattern pieces only. Since we will be working on half of the front, we will divide the amount to add by half. In our example this will be 1 1/2" (3.8cm).
Adjust the pattern pieces
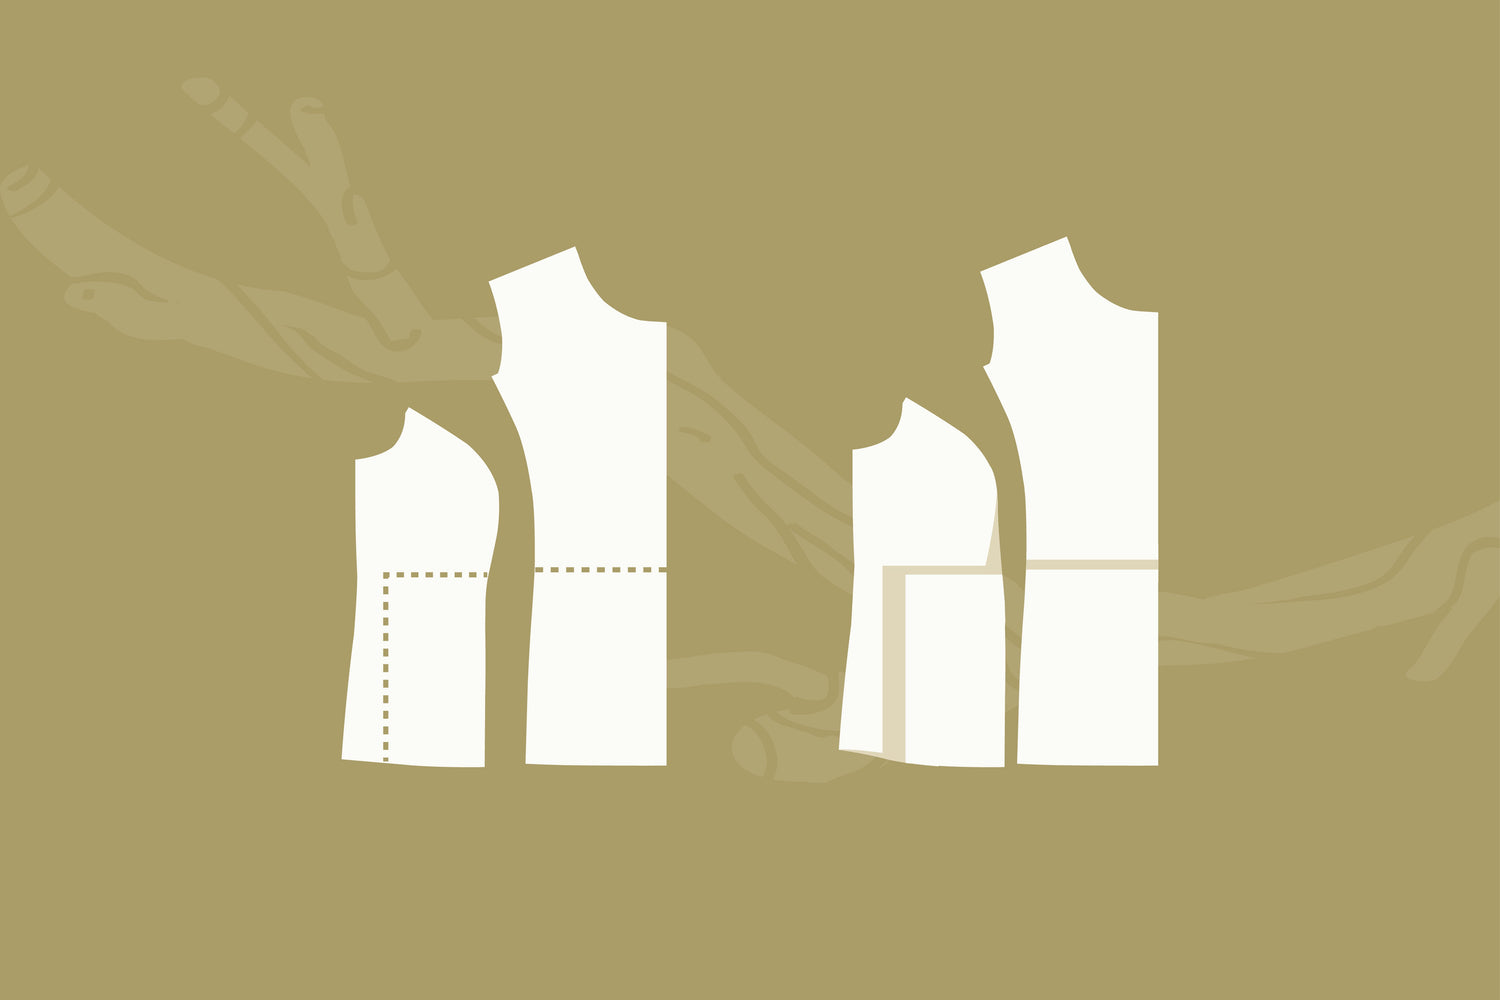
1. Draw a line from the hem to the lengthen/shorten line on the Side Front pattern piece. Cut along this line and the lengthen/shorten line from the panel seam to the new line. Then, cut across the lengthen/shorten line on the Front pattern piece.

2. When adjusting the pattern pieces, it helps to lay them over a larger piece of paper before moving them. Tape the top sections of the Side Front and Front pattern pieces to secure them in position.
Slide the lower section of the Side Front pattern piece over by the amount calculated above - in our example it is 1 1/2" (3.8cm).

If you are adding quite a lot to the measurement of the pattern piece, it may be necessary to add to both the Side Front and the Front pattern pieces to prevent the centre panel looking too narrow when worn. This takes a little trial and error to get right and it will be necessary to sew a muslin to figure out the best balance. In the diagram below, 2/3 of the amount has been added to the Side Front and 1/3 of the amount to the Front.

3. Slide both the Side Front cutout section and the Front cutout section down by half the amount they were moved in step 2. In our example this will be 3/4" (1.9cm). The diagram below shows how the adjustment looks with ease added to the Side Front pattern piece only (left) as well as split between both the Side Front and Front pattern pieces (right).

4. Tape the pattern pieces in place then blend the lines.

5. On the Side Front and Front pattern pieces, mark in the stitching line between the bust notch and the lower section. Measure the stitching line on both pieces and adjust the lower section of the Front to match the Side Front if there is a difference.

Cut out your adjusted pattern pieces and continue to sew as outlined in the pattern tutorial. Enjoy wearing a Pathfinder Vest with a custom fit!

Read more tutorials about the Pathfinder Vest here:
- How to add piping to princess seams
- How to make a hand-stitched buttonhole
- How to finish a Pathfinder Vest with bias binding
