How to make beautiful handmade wooden buttons from your garden for free.
A lot of the joy of creating handmade garments for me, is the little touches. The beautiful vintage lace unpicked off an old garment to embellish a pocket or the hand embroidery, stitched with love for someone special. But when I found I could add a piece of our beautiful "jungle garden" (as my little girl calls it!) onto a garment - that was a game changer for me.
My favourite ones to make are rather large feature buttons - hence why I often use fastening loops rather than buttonholes, as my buttonhole gadget doesn't make holes large enough for them.
I've been making handmade wooden buttons for quite some years now. I wrote about making them here back in 2012, and it is such a popular post - I thought I would update it for those of you who have asked where I got those amazing buttons from!
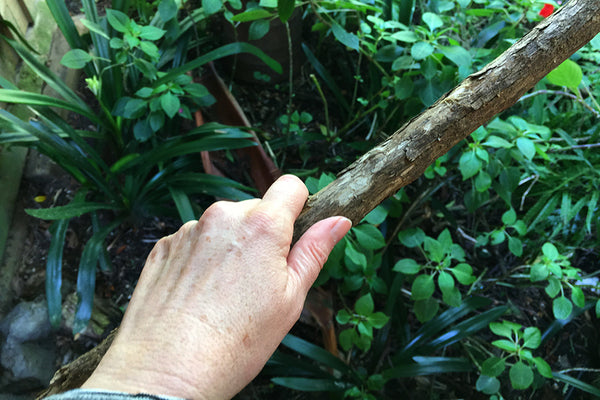
First of all you will need some branches. I'm often seen out gathering fallen branches after a storm, and you can also use the prunings from fruit trees. Look for branches of a good size which have a nice straight section, so your buttons will be of a similar shape.
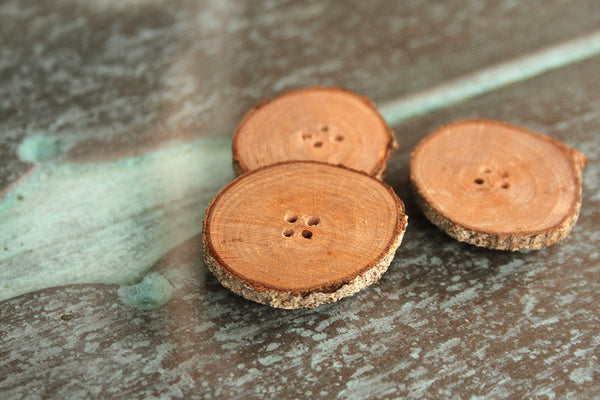
Saw off rounds about 1/8"(3mm) thick. This seems to be thick enough to avoid snapping yet fine enough to look good. If you happen to have an electric saw, or know someone who does, it is much faster than using a hack saw, but a hack saw will work just fine albeit more slowly. A couple of branches makes a lot of buttons, so I save them in a jar, then sand and polish them as I need them.
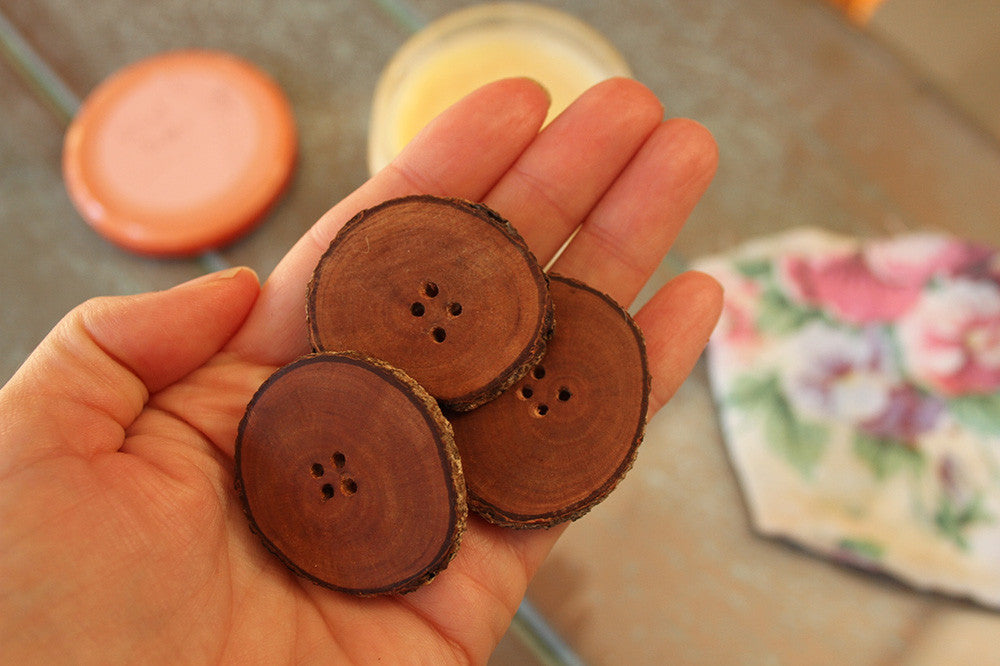
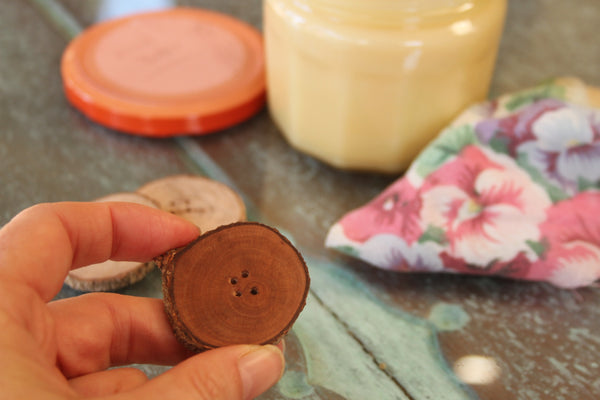
To drill the holes I find using an old button for a guide works quite well. With a very fine drill bit, drill directly through the holes of the original button. I quite like the look of four holes, but you could do two if you prefer.
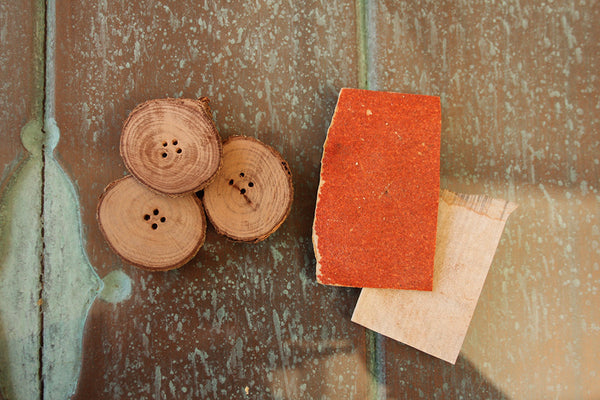
I love the look of bark on the edges, however, depending on the type of wood you are using, the bark may chip off after some use - so you might choose to go ahead and knock the bark off now. Time to give them a good sanding. This is like buffing your nails - start with the roughest sandpaper and work your way to a fine one until they are nice and smooth, including those edges.
Lastly treat the wood by rubbing in some natural beeswax, furniture wax or Danish oil. In the pic you can see I have treated half of the button to show you the difference it makes. It really brings out the natural grain and personality of the wood.
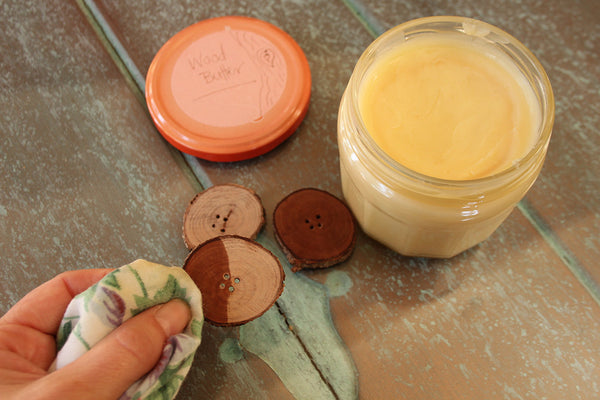
You can see in the pic above, just how much difference the wood butter makes to the buttons. This is New Zealand native Pohutukawa wood, which is a great choice for these buttons.
So there you have it, beautifully handmade, natural wood buttons for your handmade garment.
I hope you enjoy making them - if you do, I'd love to see them!
Post your pics in the Twig+ Tale Facebook group here: https://www.facebook.com/groups/522332691240127/
Lisa xox


