
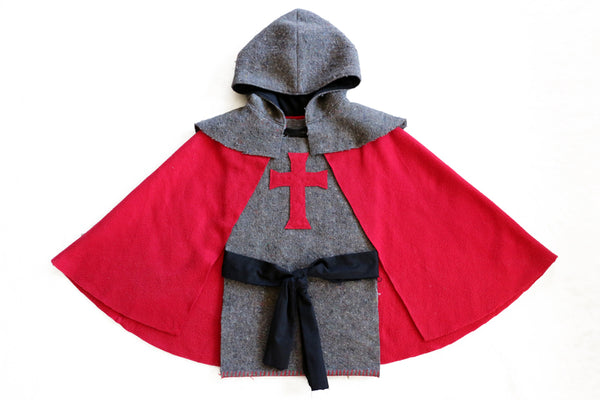
This deceptively simple Knight Costume is a fun, quick sew - perfect for a last minute Halloween costume or for pretend play all year round.
Melissa O'Keeffe created these outfits for her children, and has kindly offered to share her method. It is unlined as she wished for a quick result, however you could line it if you wished, using the instructions in your Traveller Cape tutorial.
Click Here to Download Free KNIGHTS COSTUME PDF Pattern

Sewing the Cape
We will be using the Traveller Cape pattern and tutorial to form the base for the Knight cape. The steps in this tutorial are in addition to, and refer to, the Traveller Cape tutorial
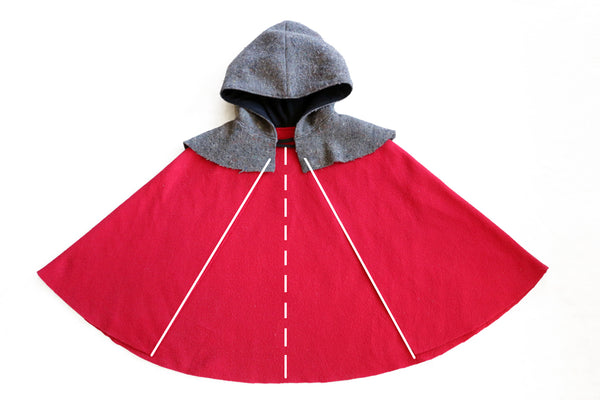
- Cut out your cape fabric. In addition to the pieces listed in the Traveller Cape tutorial, you will also need to cut an additional back and two front pieces to make up the collar. I used the cape pattern pieces for this and cropped them so they were about 17cm (6.5") down the shoulder seam from the neck line to the hem.

- If you prefer, cut the front edges of the cape back on an angle to allow the tunic to be revealed a little more (as shown by the solid white lines in the picture). The Traveller Cape would normally finish in the centre (shown by the dashed white line).
- Refer to the Traveller Cape tutorial and follow all steps until you have finished the hood.
- Sewing the collar - place your back piece and two front pieces together with right sides facing. Sew along the shoulder seams. Clip the curves. Turn it in the right way and press.
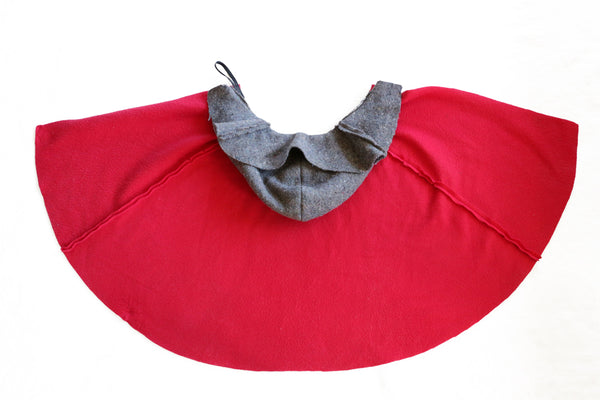
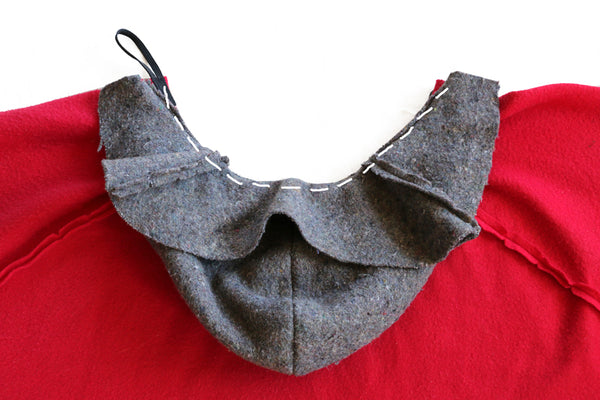
- Basting the collar to the hood - lay your collar piece exterior right side up, place hood right side up on top. Baste hood in place using a 6mm seam allowance.
- Sewing hood and collar to cape (for unlined version - lay your cape exterior right side down, place hood/collar with lining side down on top (interiors facing) as shown in the pictures to the left. Sew using a 10mm seam allowance.
Sewing the unlined cape this way will give you a nice neat seam on the inside of your cape. If you are lining your cape, ignore this step and instead follow the regular steps in the Traveller Cape tutorial for attaching the hood to the cape and then the lining to the cape exterior.
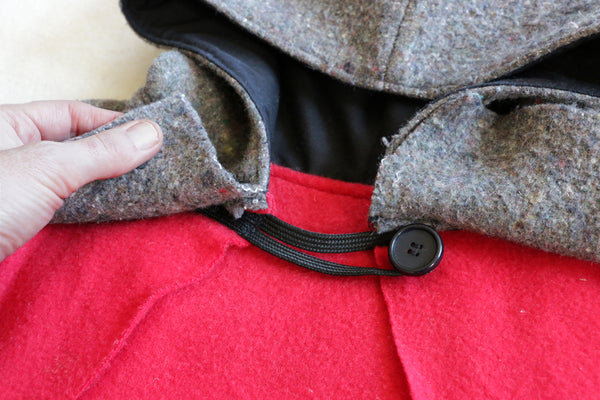
- Sew fastening loop.
- Sew button to fasten your cape. This will be hidden under the collar (refer picture).
Sewing the Tunic
The tunic is sewn only at the shoulder seams so just pops on over the head – simple! It is then secured with a belt.
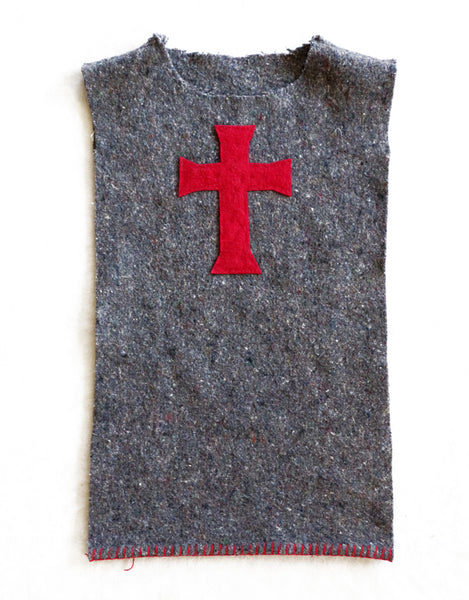
- Cut 1 back, 1 front, 1 cross and a belt - piece of fabric about 20cm (7.5)") wide x 120cm (47") long.
- With your back piece right side up, place your front piece right side facing down. Sew along the shoulder seams.
- Turn it in the right way and press.
- Sew cross to centre front. If you have limited time, like I had, you could use fabric glue to secure.
Sew the Belt
- Fold fabric in half lengthwise, wrong sides together and press.
- Fold each side into the middle and press.
- Fold in half lengthwise. Topstitch along open edge.
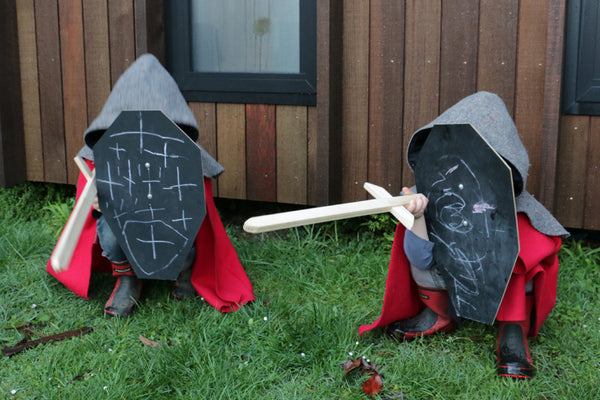
All done! Now all you need to do is find someone who is good in the workshop to create a timber sword and shield to complete the look!
Click Here to Download Free KNIGHTS COSTUME PDF Pattern
Melissa O’Keeffe is a mum of three boys, architect, and maker of many things. She lives happily by the bush in New Plymouth, New Zealand.
We would love to see pictures of your finished Knights Costume! Pop over to the Twig + Tale community sewing group on Facebook and share your pics with us!


