Appliqué is the process of sewing small pieces of fabric onto a main, foundational fabric to create interesting patterns and textures. The appliqué pieces can be stitched in place with a sewing machine or by hand.
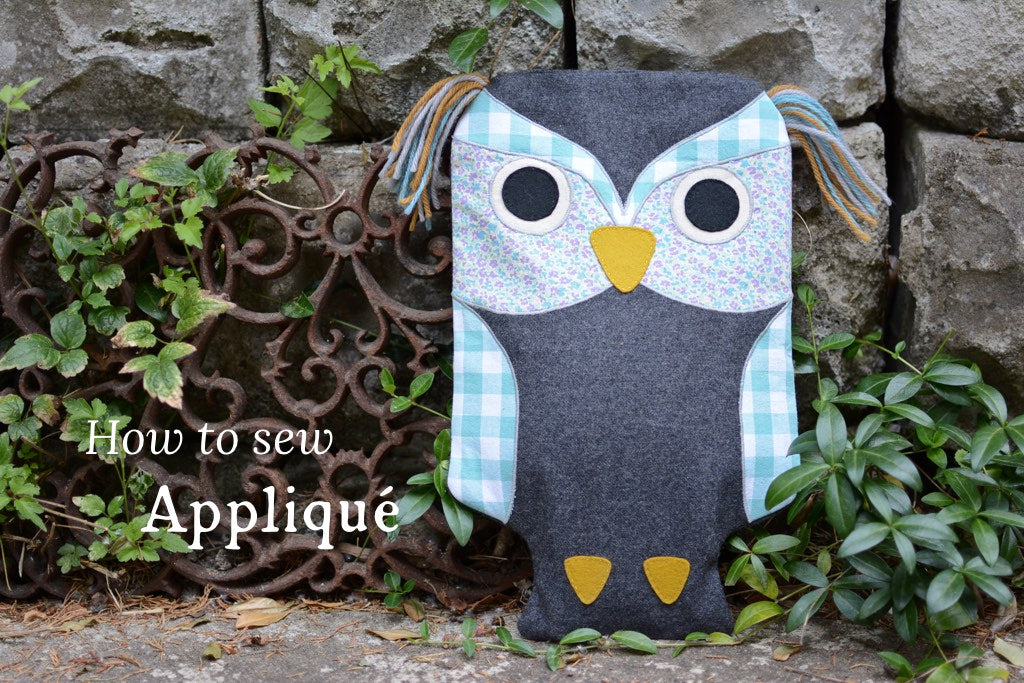
Several Twig + Tale patterns use appliqué, including the beautiful wing details in the Wings Collection, and the sweet faces on the Animal Hot Water Bottles and the Animal Stockings.
Appliqué is a useful technique that can be used anywhere you'd like to add a fun, interesting detail to a garment or accessory!

Materials
- Scraps of fabric to cut appliqué (avoid fabrics that are highly prone to fraying)
- Light-weight fusible interfacing, fusible web or appliqué paper*
- Glue stick (optional) to position appliqué (not necessary if using fusible web or appliqué paper)
*Fusible web and appliqué paper are products that have adhesive on both sides. While not necessary, products like these do simplify the process of adhering the appliqué pieces to the main fabric before stitching.
Trace appliqué
Begin by tracing the appliqué shapes to interfacing, fusible web, or appliqué paper, then rough-cut the shapes.
Then, fuse the interfacing to appliqué fabric and precisely cut out the shapes.
Position appliqué
If the appliqué involves multiple layers, it is a good idea to map out the placement of the pieces, and plan what order they will be sewed on.
Once you have a plan, position the appliqué one area at a time, adhering the pieces in place before stitching. If using fusible interfacing, a glue stick works wonderfully for positioning pieces. If using a product with a paper backing (like appliqué paper), peel off the backing and stick the pieces in place.
This photo shows appliqué glued in place (using a glue stick) before stitching:

Machine stitching appliqué
When stitching the appliqué, we are doing two things: affixing the appliqué to the main fabric, and finishing the edges of the appliqué to prevent fraying.
For some very stable fabrics, it may be sufficient to stitch the appliqué in place using a straight stitch, close to the edge of the fabric. For example, wool felt doesn't fray, so it may not be necessary to finish the edges.
But for most woven fabrics, it is a good idea to stitch the appliqué in place using a zigzag stitch, which will help to stabilize the edges of the fabric and prevent fraying.
Take some time to experiment with the width and length of your zigzag stitch to find a combination that looks good for your project. Here's a little sampler to demonstrate some stitch length/width combinations:

When stitching the appliqué pieces with a zigzag stitch, aim to have the needle just over the edge of the appliqué on the right side, so that the edge of the appliqué piece will be enclosed with stitching.
Work slowly around the curves, stopping with the needle down to lift the presser foot and manually adjust the wings to ease around curves.

To avoid backstitching (which creates one little section that looks more dense than the rest of the seam), pull your threads to the back of the fabric and tie them by hand to secure.
Tip: Sometimes, when sewing zigzag with a very short stitch length, there can be a tendency for the bobbin threads to tangle up on the underside of the fabric. If this happens, you may want to use a slightly longer stitch length, but go over the seam twice so that the stitches have a denser look.
Here is a detail of completed wing appliqué, sewn with a .75 stitch length and 2.5 stitch width:

Hand stitching appliqué
Like machine-stitched appliqué, hand stitching attaches the appliqué to the main fabric, and preventing the edges from fraying. Instead of using zigzag stitch, hand appliqué uses blanket stitch.
Here's a video that shows how to use blanket stitch for appliqué:
![]()
Read more Twig + Tale sewing tutorial here:


