At Twig + Tale, one of our favourite ways to add a unique, decorative touch to our projects is with embroidery. Have you ever tried? Embroidery really isn't as complicated as it looks, and projects needn't be large and complicated - the simplest, small embroidery motif can make a garment truly special.
We encourage you to give it a try and experiment with hand-stitching - look upon it as doodling with thread! With a bit of practice, we're sure you'll create something beautiful.


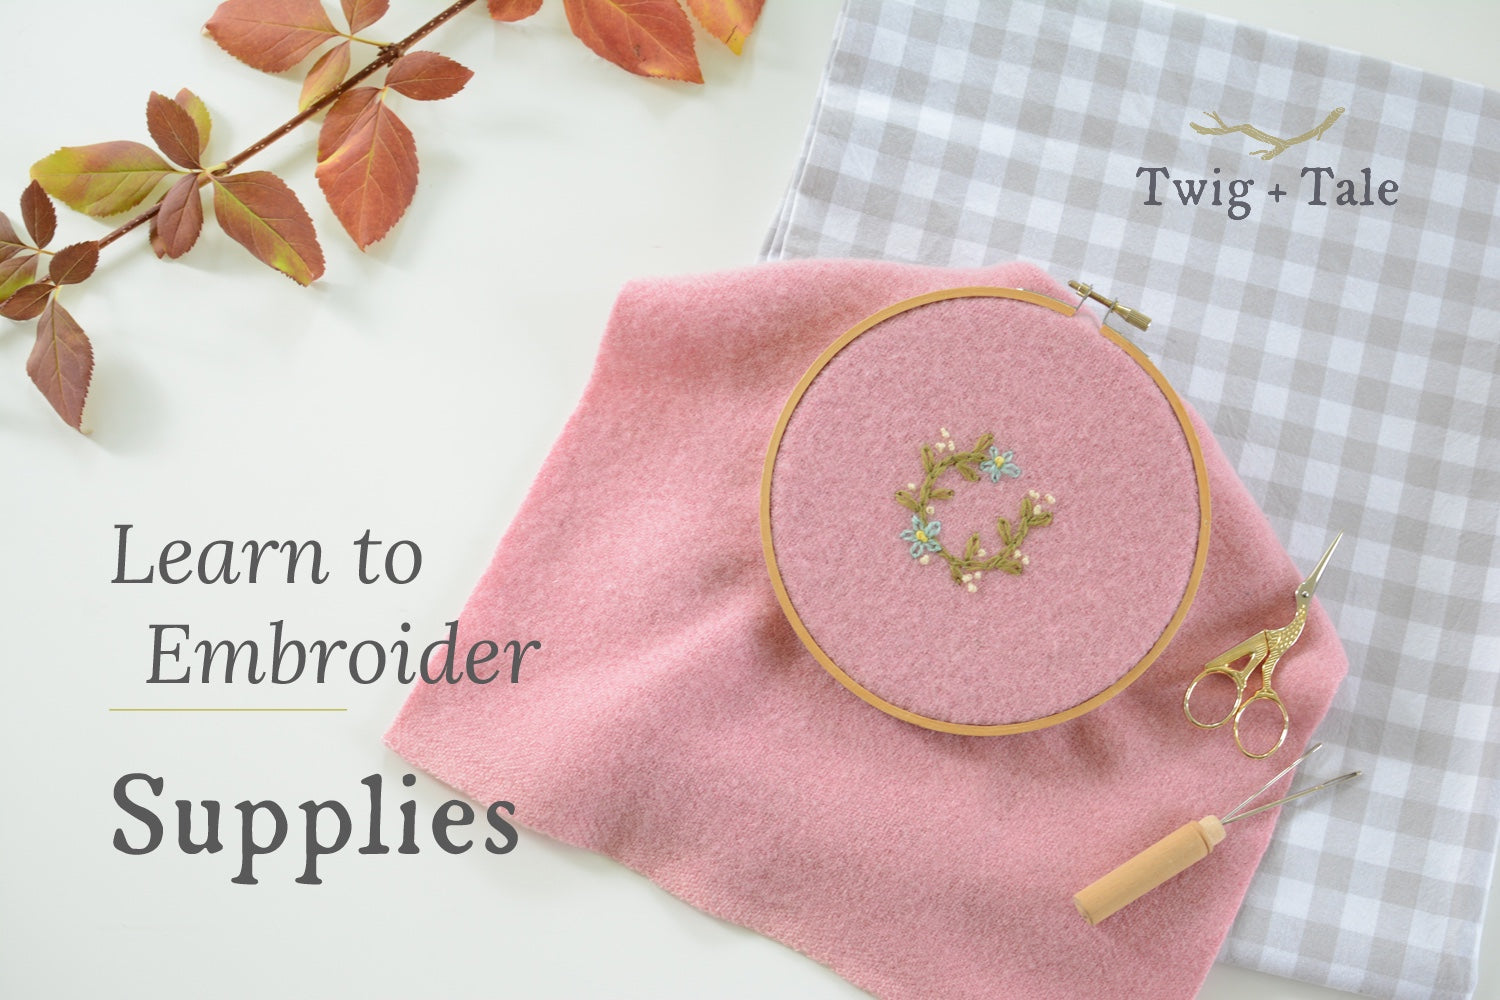
Getting started with embroidery requires few specialized supplies - you probably have most of what you need already! Here are the basics:
- Thread
- Fabric
- Needles
- Embroidery hoop
- Scissors (small ones are nice, but any sewing scissors will do)
- Marking pencil (optional)
Embroidery Thread

There are so many options for “thread” to use for embroidery. All give slightly different results, and experimenting is all part of the fun! Some options include embroidery floss, perle cotton, tapestry wool, and yarn. Your choice will depend on the scale of your project, the weight of the fabric you are using, the texture you would like to achieve, and of course, what you have available.

Embroidery floss is usually made up of 6 thin strands of cotton. The floss is easily separated into strands - 2 strands is a good choice for fine work, but you can also use all 6 strands together for a bolder look. I tend to use embroidery floss on lighter-weight fabrics such as linen or quilting cotton, but it is also possible to work delicate patterns on heavier fabric.
Tapestry wool and yarn look lovely on heavier fabrics, such as wool. Often, tapestry wool and yarn are plied (multiple strands twisted together) and can be separated, just like embroidery floss. Again, this allows you to control the thickness of your line. Embroidery projects are the perfect use for small amounts of yarn left over from knitting!
Fabric

Many fabrics used to sew apparel are appropriate for embroidery. Pictured here are just a few examples (from the left: natural-coloured linen/cotton blend, heavy herringbone wool suiting, gingham quilting cotton, and handkerchief linen). Lighter woven fabrics such as quilting cotton, voile, lawn, or linen are all suitable, depending on your project. Heavier weight fabrics, such as wool blankets, suiting, or velveteen can also work nicely. Just be sure to choose a stable fabric that will hold your design without warping.
Needles

Choose a needle based on the weight of the fabric and thread you are using. Embroidery needles come in a wide range of sizes, from tiny, thin needles for fine work, to thick tapestry needles with a large eye, suitable for wool. Look for needles with a sharp tip - the blunt-tipped needles are meant for stitching on needlework canvas, which has large holes, and will not work with regular fabric.
Embroidery Hoops

Embroidery hoops are composed of two parts: an inner, stationary hoop, and an outer hoop with a screw on the top so that it can be tightened to hold the fabric taut.
Hoops come in many sizes, so choose one that corresponds nicely to the size of the project you are working on. I love my little 10cm hoop (pictured in the middle), which is perfect for working on small projects and it fits well in my bag so that I always have a little handwork project to take on the go.
To use an embroidery hoop, loosen the screw on the outer hoop to separate the two pieces. Position your fabric over the inner, fixed hoop. Place the larger, adjustable hoop over the top, sandwiching the fabric between the two hoops. As you tighten the outer hoop, gently pull the fabric taut from all sides to ensure the grain of the fabric doesn’t warp.
Fabric marking tools

You may wish to use a fabric pencil or water-soluble pen to transfer an embroidery design to fabric: have a look at this post for more detailed information about transferring embroidery patterns to fabric. I also like to use my fabric pencil to trace the shape of pattern pieces onto my fabric to help position embroidery motifs. For example, if I'm embroidering a pocket, I trace the outline of the pocket piece, mark the seam allowance, and then work out where I'd like my embroidery to be positioned.
That being said, I often like to "wing it" with my embroidery, and see where the needle takes me - sometimes the best designs are unplanned and spontaneous!
We hope that you're convinced to give hand embroidery a try. Have you signed up for the Twig + Tale Learn to Embroider series? We'd love to help you get started.
