
Hello, Twig + Tale readers! I'm Kelly from Handmade Boy. I'm so excited to be a part of Twig and Tale's blog tour but I'm even more excited to have been invited to guest post here!
For my stop of the tour, I made my son a very simple wolf version of the Animal Coat, with a twist. I added a zipper. It was really easy to do and I'm going to show you how.
Construct your coat according to the tutorial, but omit the button strips from the center front. You also don't need the fastening loops. With right sides together, pin the hood in place with the edge of the hood 3/4" (2cm) from the center front. Ease the neckline and hood together.
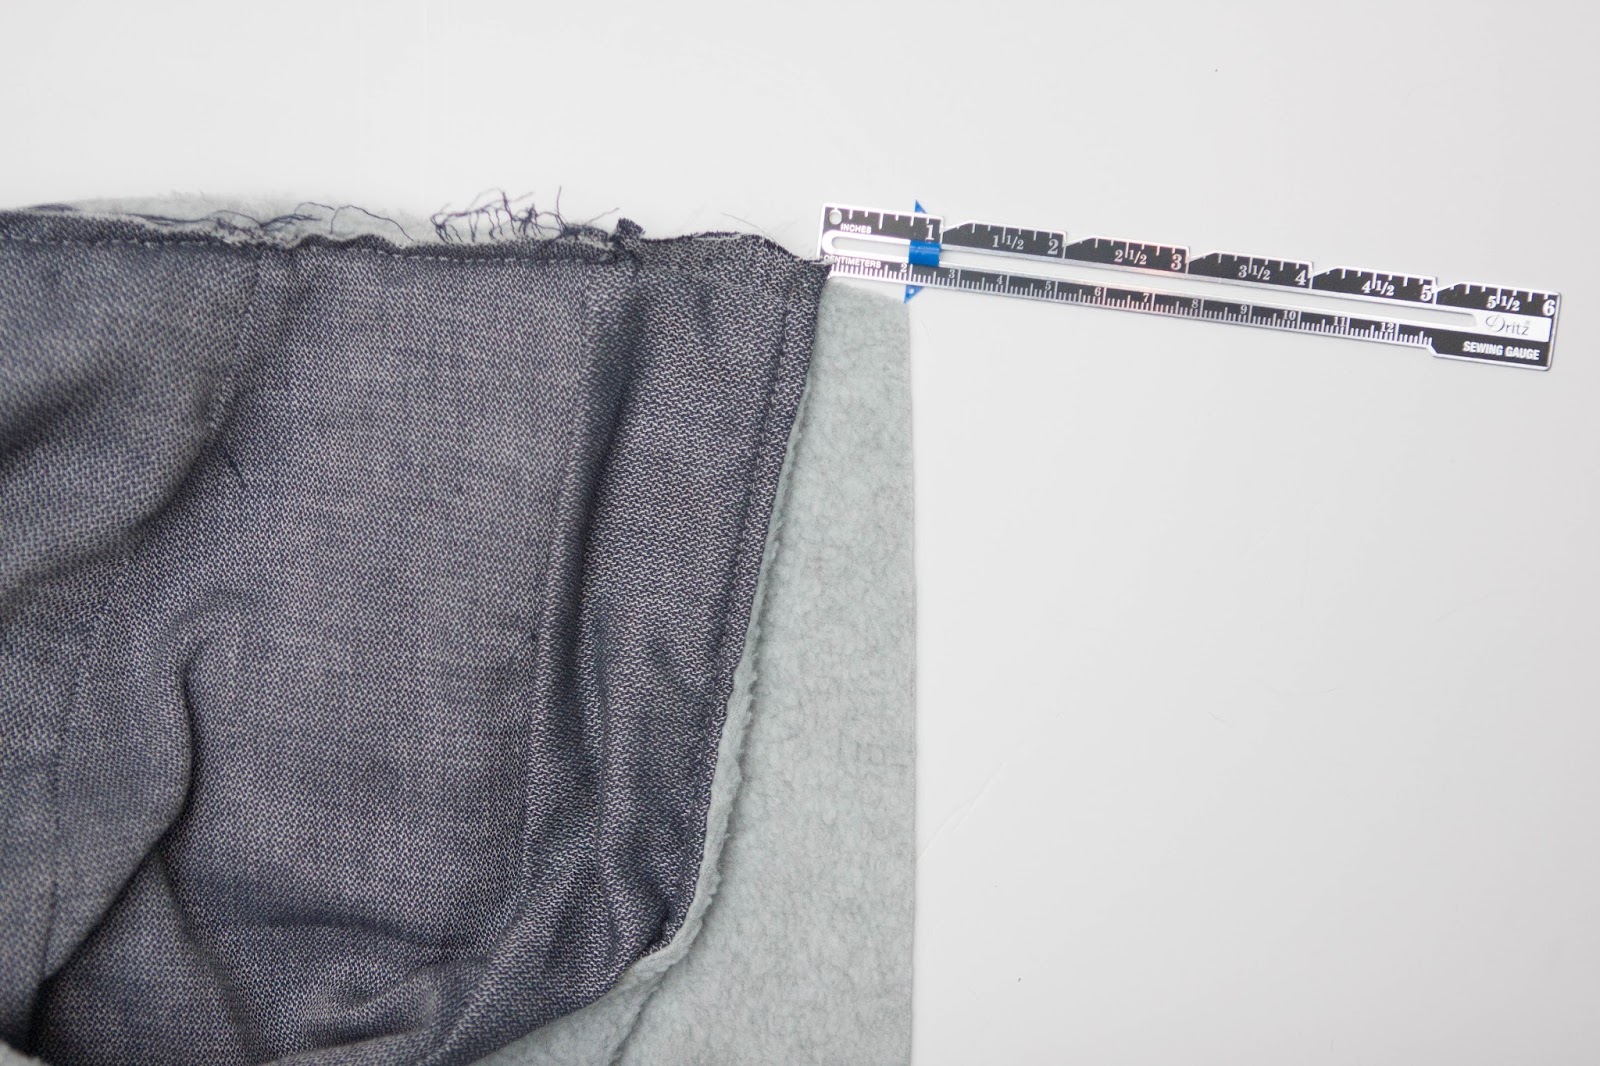
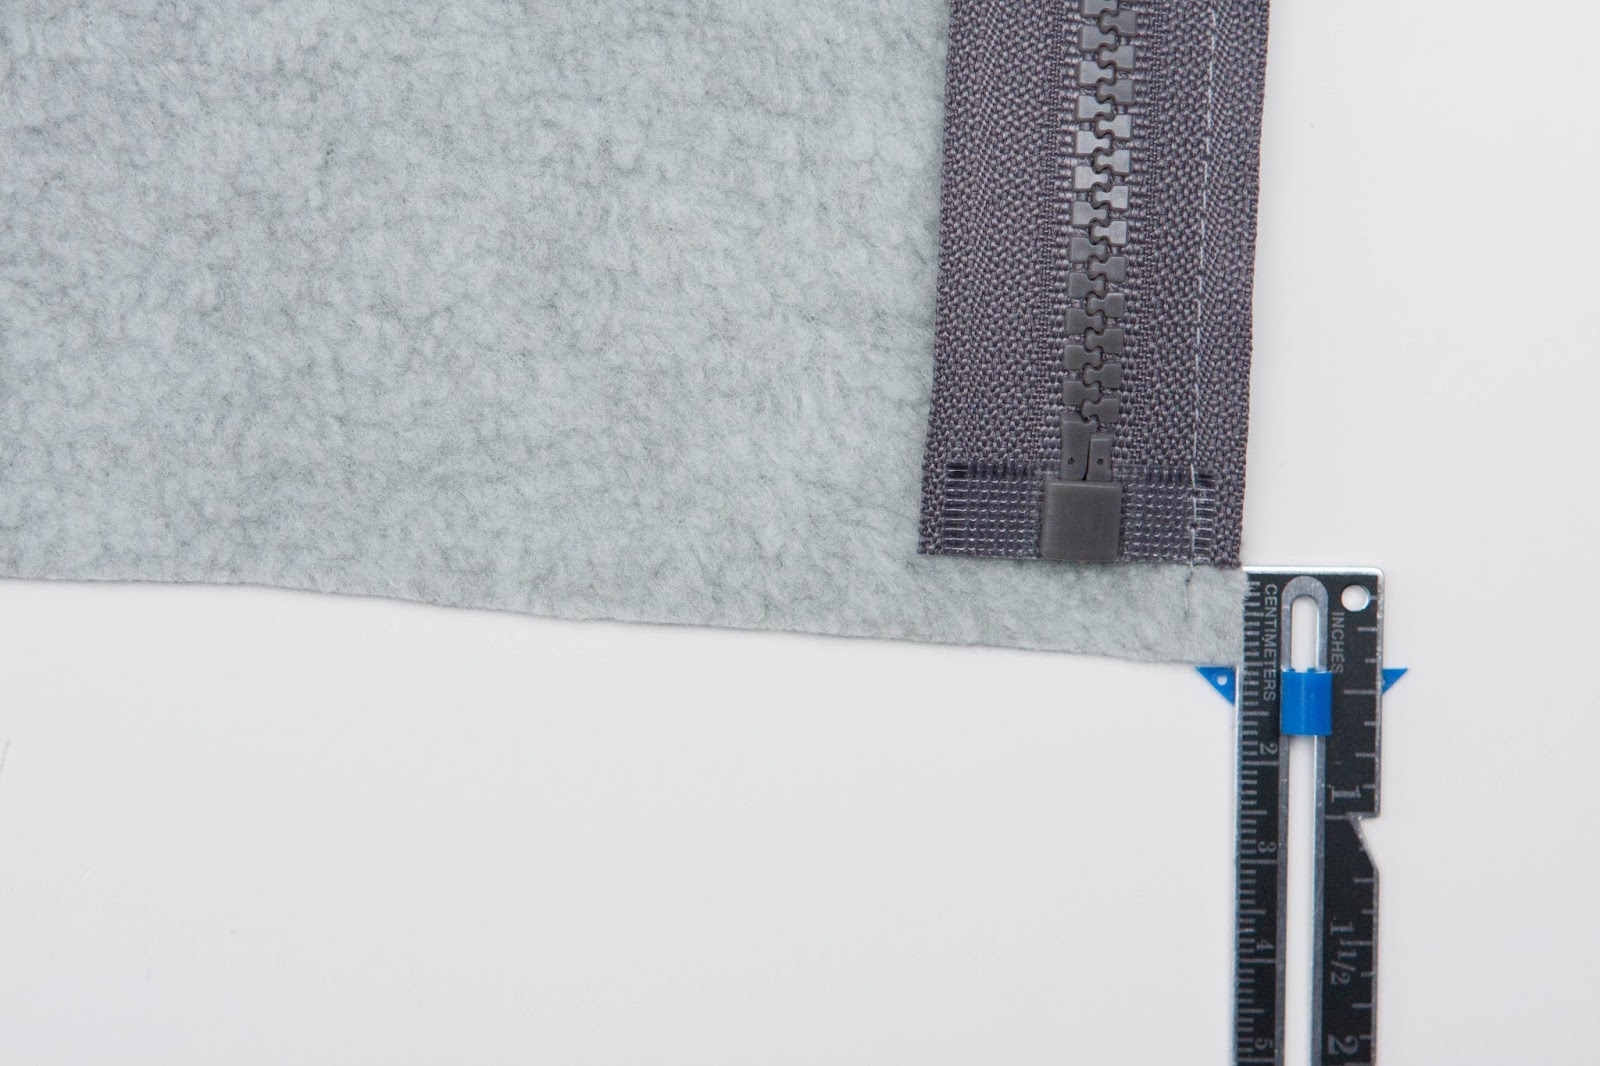
Place the zipper face down on the jacket, lining up the edge of the zipper tape with the edge of the coat front. The zipper stop should be 3/8"(1cm) from the bottom edge. Baste into place. I use a 1/4" (6mm) seam allowance because I like a lot of the zipper to show. If you want less zipper tape to show, sew closer to the zipper teeth.

Repeat on the other side.
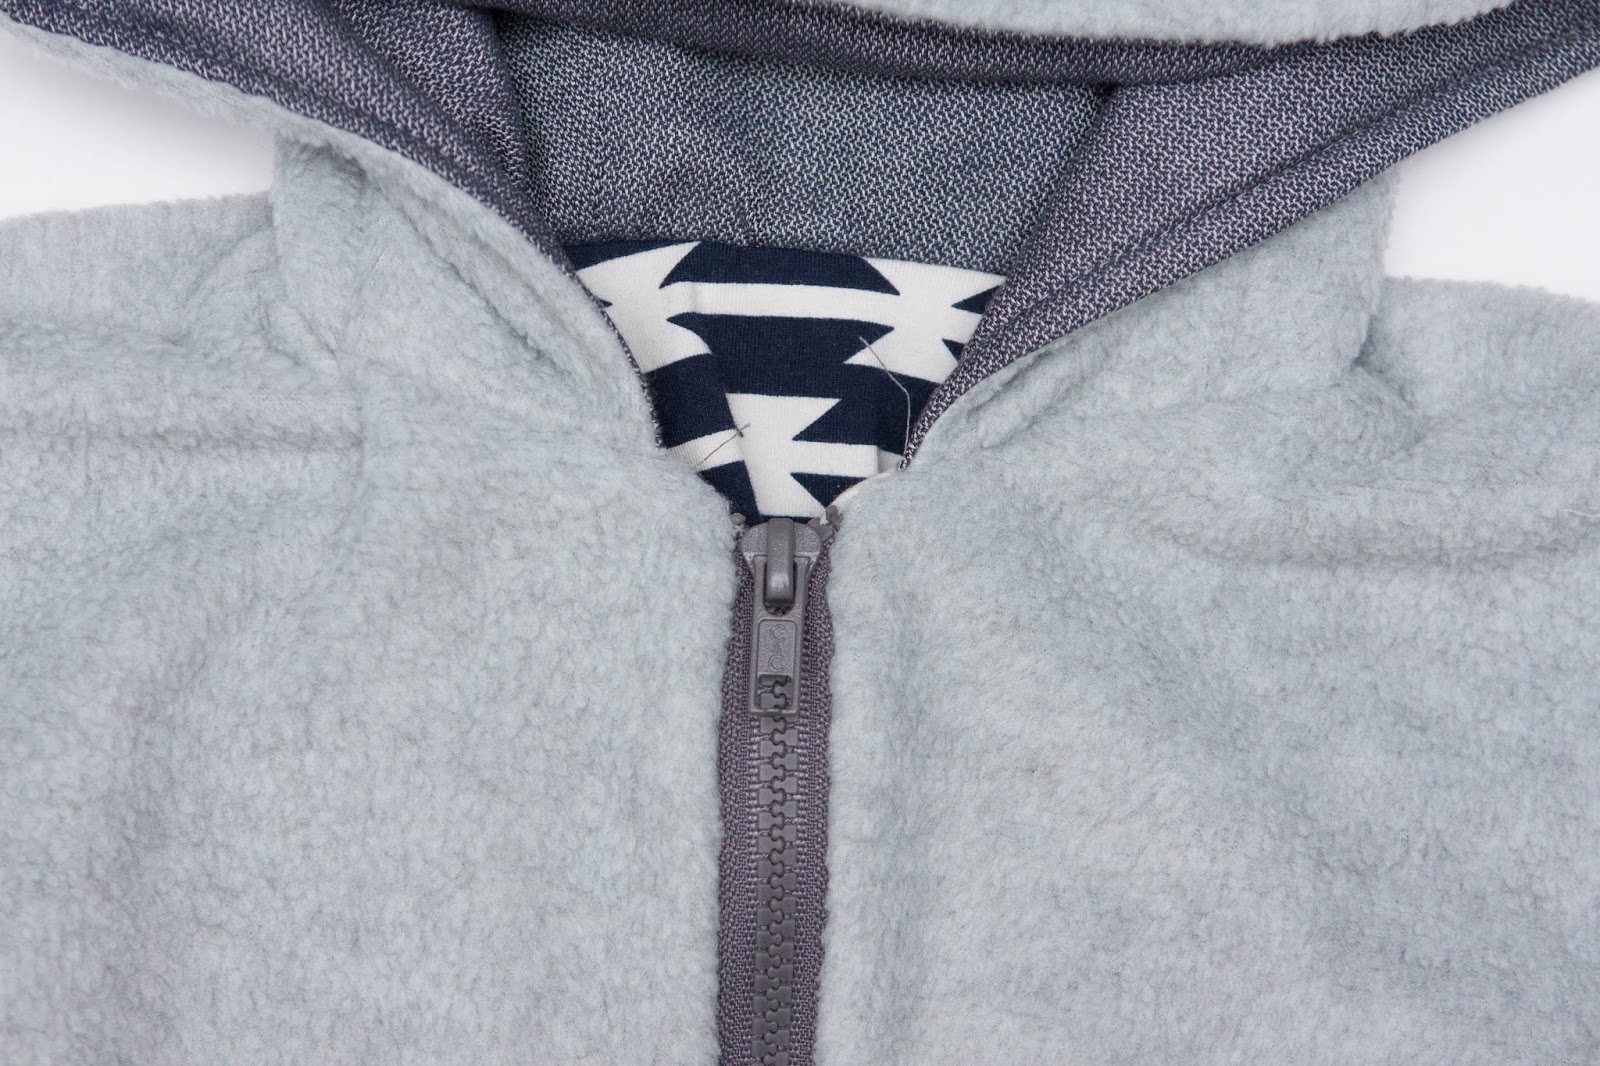
I like to zip my coat up after the zipper is basted in place to ensure it lines up properly after I have basted on both sides of the zipper.
If you are using knit for your coat lining, interface the wrong side of the center edge of the front pieces with a 1" (2.5cm) wide strip of interfacing. I prefer SF101. This will keep your fabric from stretching out of place.
With right sides together, line up the lining with the main. The zipper will be sandwiched between the main fabric and the lining. Attach the lining and sew along the center fronts.
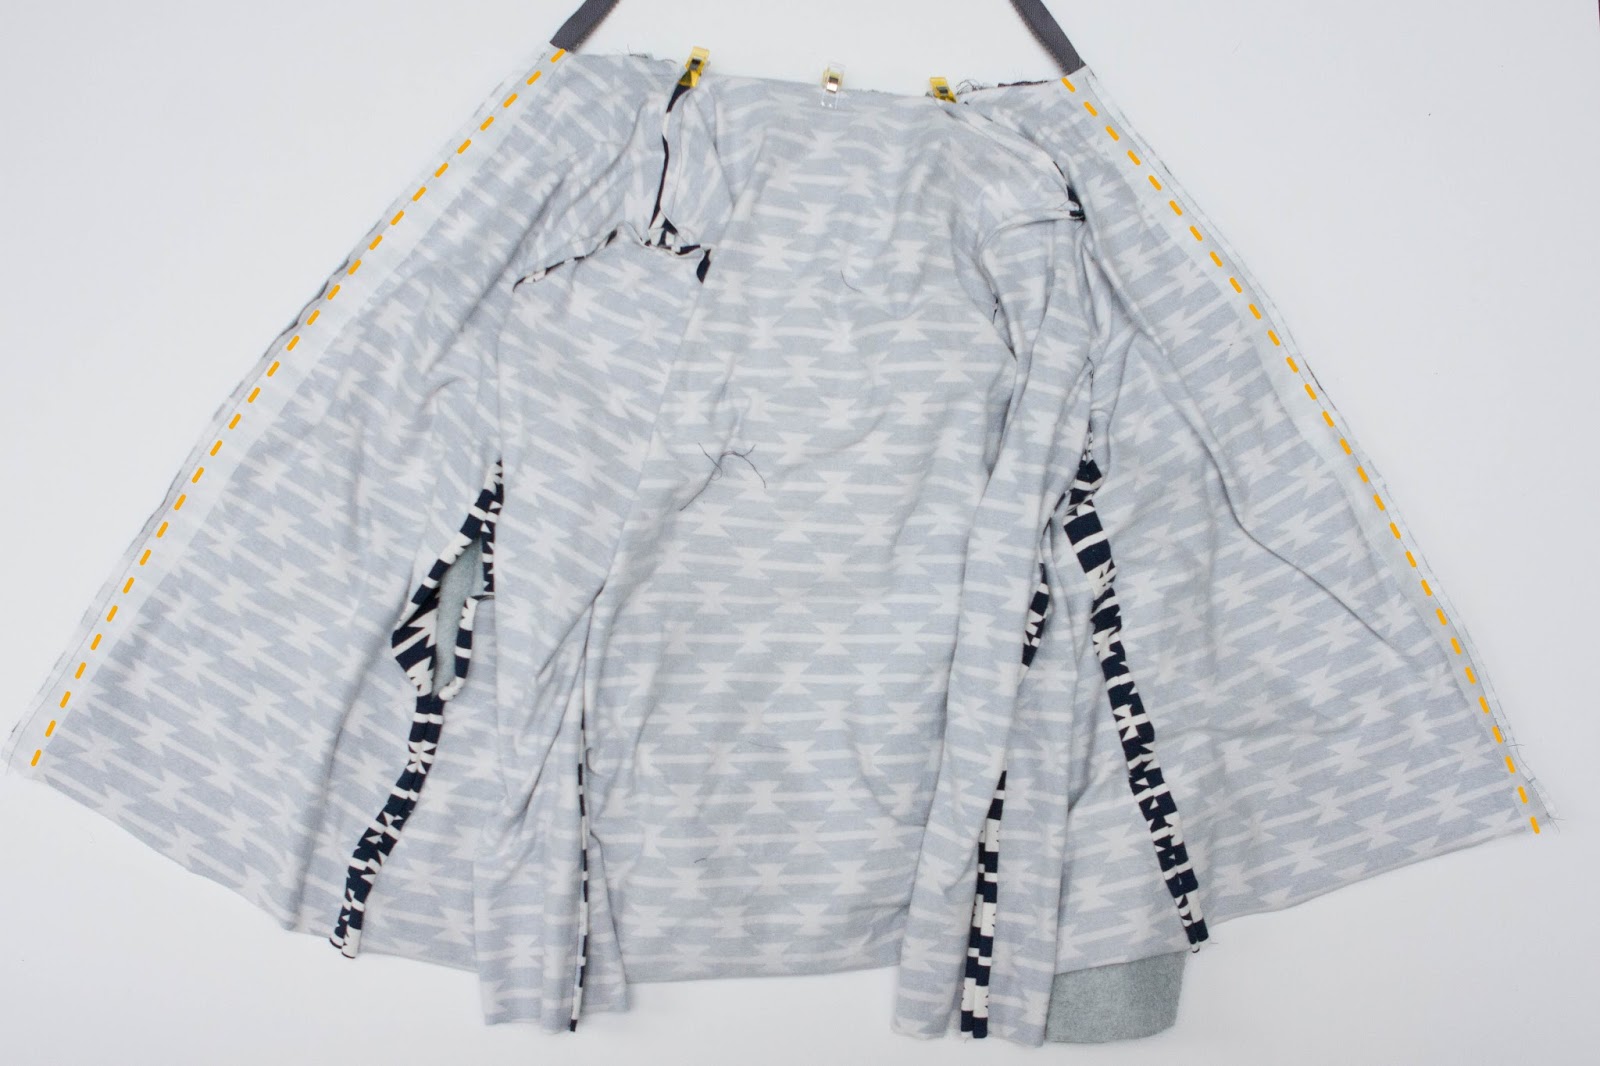
If the zipper is longer than your coat, ensure the zipper pull is inside the coat. Sew the lining and the main fabric together along the neckline. Turn coat right side out and check that the front sides line up. Turn coat inside out and sew bottom hem. Be sure to sew just under the bottom of the zipper. Do not catch it in the seam allowance. Clip corners, trim zipper and turn right side out.
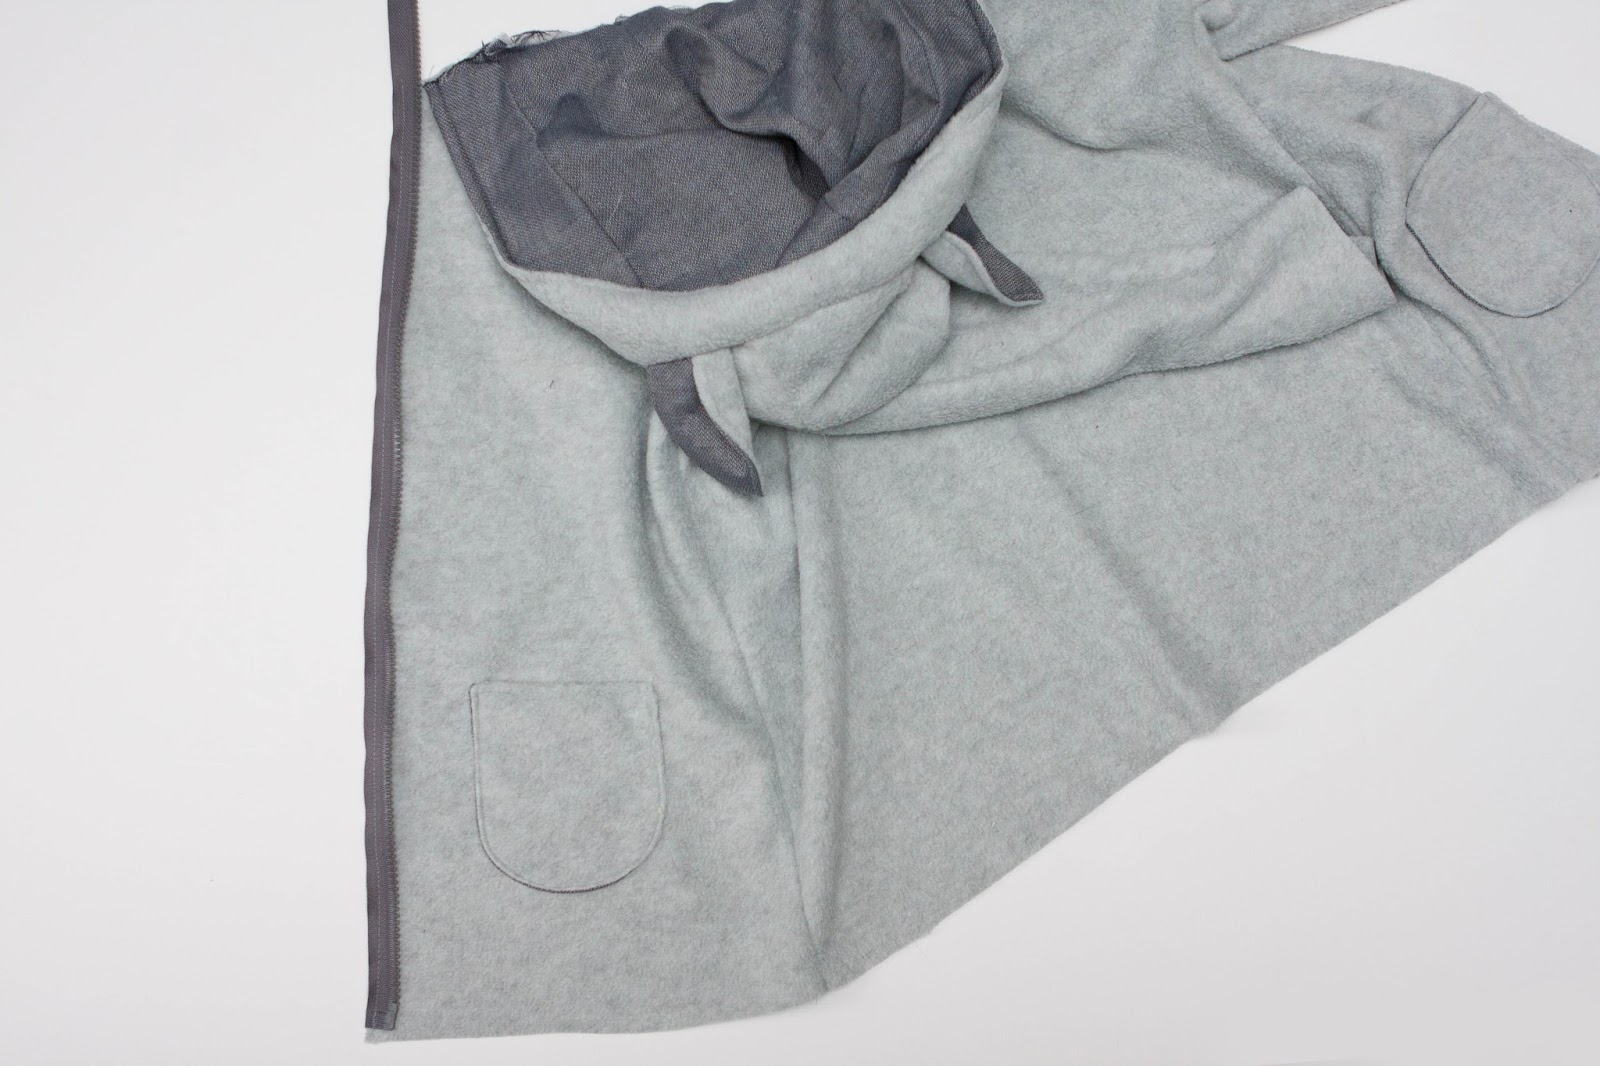
Topstitch along zipper and along bottom edge.

If you needed to shorter your zipper, zig zag stitch along the top of the zipper on one side across the teeth to create a zip stop. This will ensure that your zipper doesn't slip off the top of your coat.

That's it! Adding a zipper to the Animal Coat is a very quick and simple alteration you can make to this great pattern to give it a different look.

----------------------------------------------------
Kelly enjoys creating unique looks for her four children. She especially loves the challenge of creating fun, modern pieces for boys and inspiring others to do the same on her blog Handmade Boy. When she’s not sewing, Kelly enjoys reading and running and of course hanging out with her family. You can follow Kelly on her blog Handmade Boy, on Facebook and on Instagram.
----------------------------------------------------
What's more, you can add zippers to many other Twig + Tale Outerwear projects as well! You can add a zipper to your Pathfinder Vest, Pixie Coat, Traveller Cape and more, using this same method.
You can even add a zipper to your Grove Coat - just fold back the front pattern piece through the middle of the button markings, and the front facing to match. Use these folded-back pieces to cut your fabric, and then baste the zipper to the outer this same way. Continue assembly as usual, omitting the buttons and buttonholes. Simple!


