A small rolled hem is a quick, neat way to finish a garment, but sometimes you might want extra drama or a hem with more weight and presence. A wide facing can transform a regular, tidy hem into a fabulous finish.
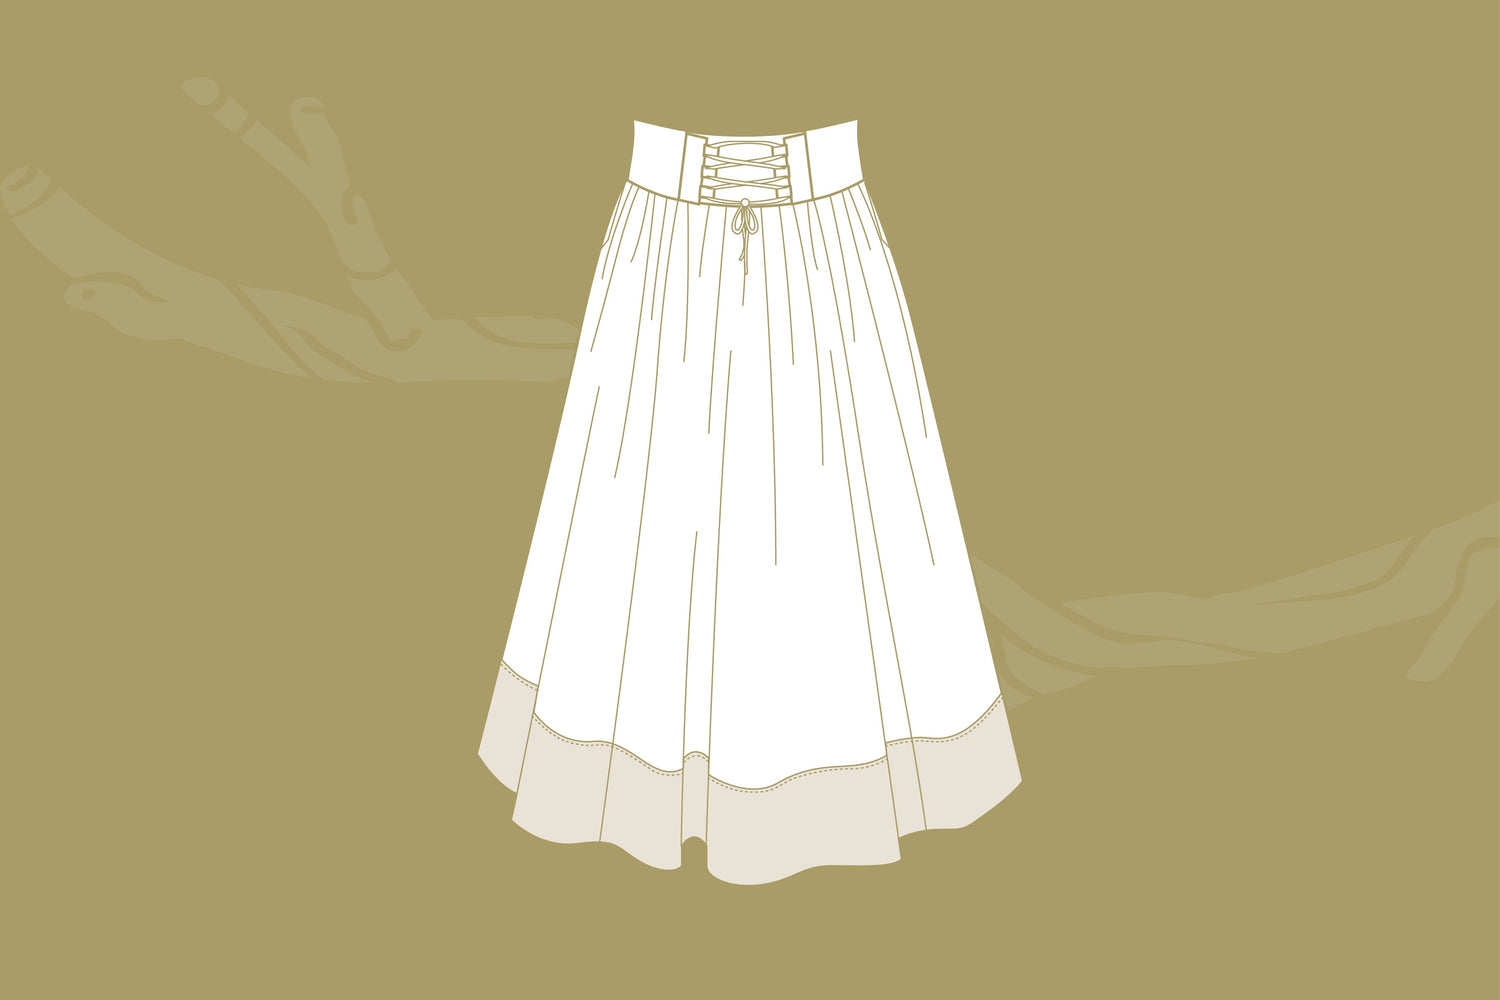
This tutorial demonstrates how to create a custom-depth curved hem that can be used with patterns such as the Lorien Lace-up Skirt.
Materials
Gather some basic materials to adjust the pattern pieces:-
Back & Front pattern pieces
-
scrap paper
- pen/pencil
- Ruler
- Optional: French curve or flexible ruler
Create a facing pattern piece
First, decide how wide you would like to make your hem facing. In our example, we'll create a 4" (10cm) hem facing.
Add to this measurement the seam allowance for stitching the facing to the hem edge and (if you wish) a turn under allowance on the top edge. In our example, we'll add 3/8" (1cm) for the bottom seam allowance and another 3/8" (1cm) for the top folded hem edge seam allowance.
So, we'll cut our facing to a total width of 4 3/4" (12cm) to account for the top and bottom seam allowances.

Now, we'll create a Facing pattern piece by tracing off the lower hem of the Skirt pattern pieces.
Trace the bottom hem edge and the side edges from the original skirt pattern pieces.
Then, measure up from the hem edge by the amount calculated above - 4 3/4" (12cm), marking the measurement as many times as necessary to create a smooth, even line following the curve of the hem. Draw in the line.

Cut out the new hem facing pattern piece and use it to cut facing pieces from your fabric.

Sewing
1. Using a 3/8" (1cm) seam allowance, join the hem facings along the panels and side seams.

2. If you are folding under the top edge, memory press the top edge under by 3/8" (1cm).

3. Sew the lower edge of the facing to the hem edge. If the hem is quite curved, clip the hem allowance for a smooth finish.

4. Press the seam open. Then, press the hem facing up to the inside of the garment with the hem seam rolled ever so slightly toward the inside so that it is well hidden when worn. Press well.

5. Aligning the side seams, pin or baste the facing to the hem so that it sits flat and doesn't move when sewing the top edge. This is especially important if the facing is quite wide, like our example.

6. Top edge stitching options:
Stitch 1/8" (3mm) from the top edge to create a wide topstitched finish, with a row of stitching that shows from the outside.

You could also stitch a blind hem (machine or hand stitch), which can be done on either a folded edge or serged edge.
Or, finish the hem with decorative, hand-stitched embroidery, such as running stitch.
Please feel free to join us at the Twig + Tale Facebook group where you can ask questions, look for inspiration, and of course share photos of your creations.
![]()
Read more about trouser, skirt and dress pattern adjustments here:
- How to Add Volume to a Gathered Skirt
- Full Thigh Adjustment for Pants - Coastal, Cove, Rainhaven, Scout, Shore, Tree Climbers
- Fuller Abdomen Adjustment for Trousers - Shore, Coastal, Cove


