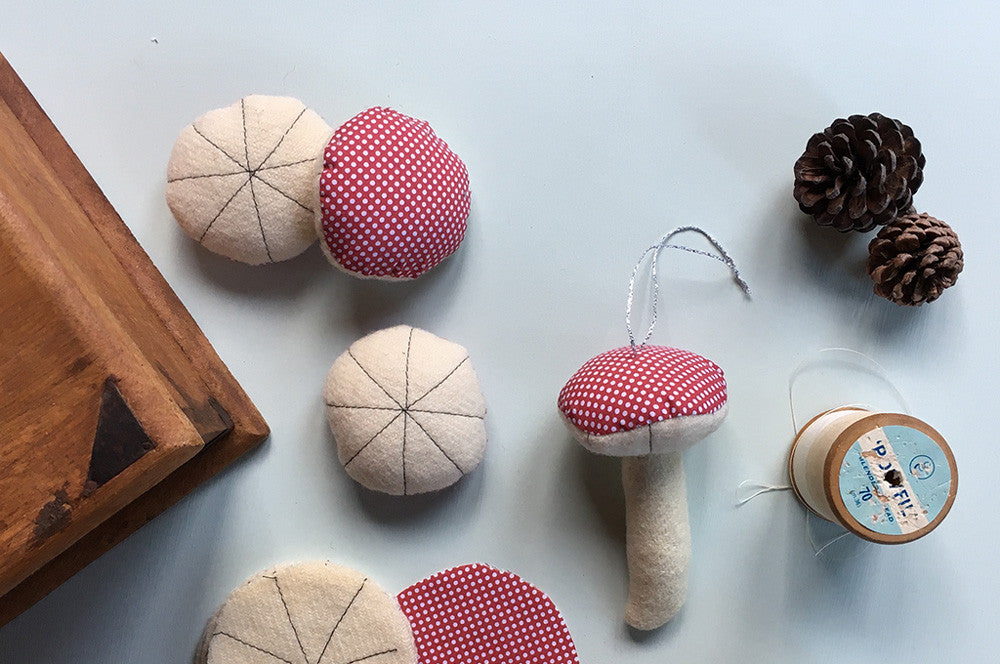
Delightful woodland toadstools, add whimsy and cosiness to any decor. Make a bunch for the Christmas tree, use them as gift tags, or simply create a bowl full of them to delight young and old.
A wonderful use for those scraps of your most precious fabrics, or let your imagination run wild with trims and embroidery.
Click Here to Download Free Toadstool Ornament Pattern

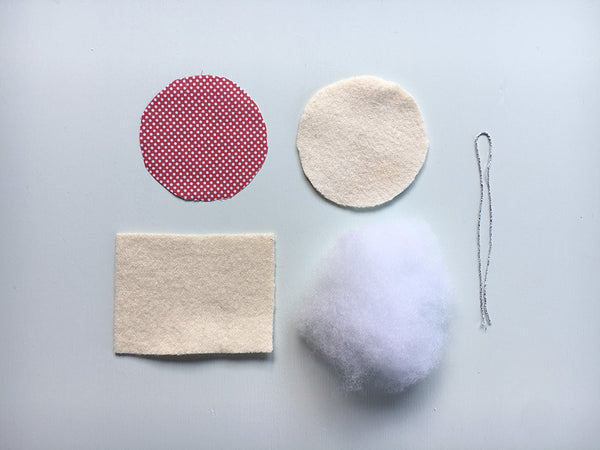
What You Will Need
- 1 Cap cut from feature fabric for the top
- 1 Cap cut from cream/white fabric for the underside.
- 1 Stalk cut from the same fabric as the cap’s underside
- Stuffing
- Heavy weight thread or yarn for hanging loop if desired
- Regular sewing thread in black for the gills, and a co-ordinating colour for the rest of the toadstool.
Click Here to Download Free Toadstool Ornament Pattern
If using a heavier weight fabric, such as wool blankets, you may need to adjust the width of the stalk piece if it is hard to turn.
I like to cut out a large batch of toadstools in one go and then sew them assembly style.
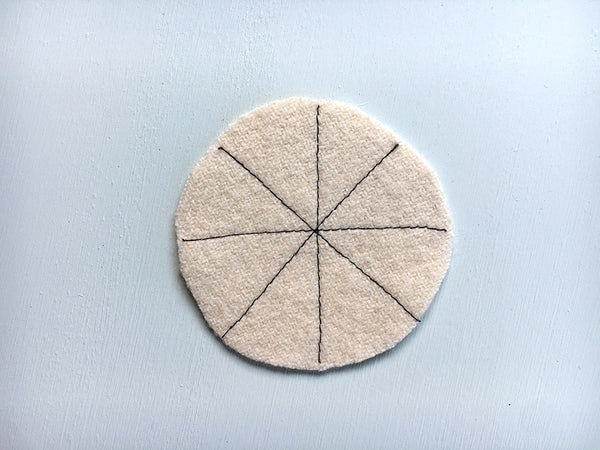
Sewing the Gills
Using black thread, sew lines across your underside piece which intersect in the middle.
They don’t need to intersect perfectly as the stalk will eventually cover the center point.
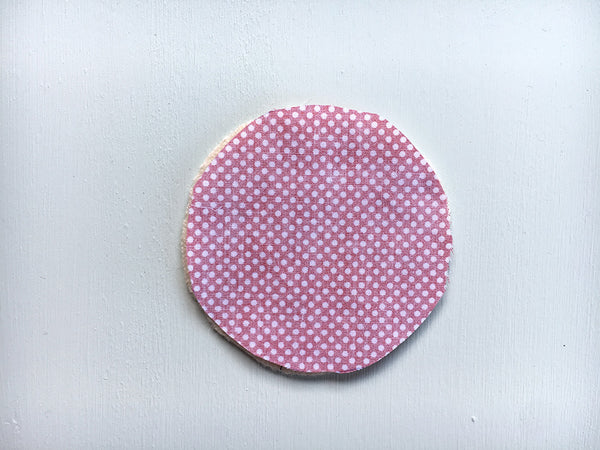
Sewing the Cap
Lay the cap on top of the undersde with right sides together.
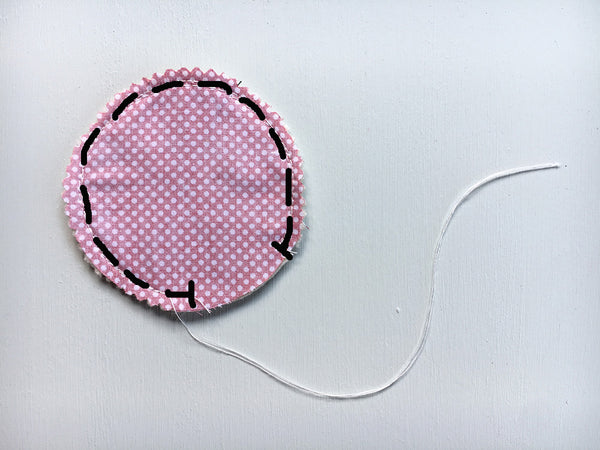
Sew around the perimeter of the cap with a 3/8” (1cm) seam allowance, leaving a hole for turning.
I leave my sewing threads long so I can use them to sew up the turning hole later.
If you have pinking shears this is a good time to use them; trim the seam allowance by half, or notch the curves.
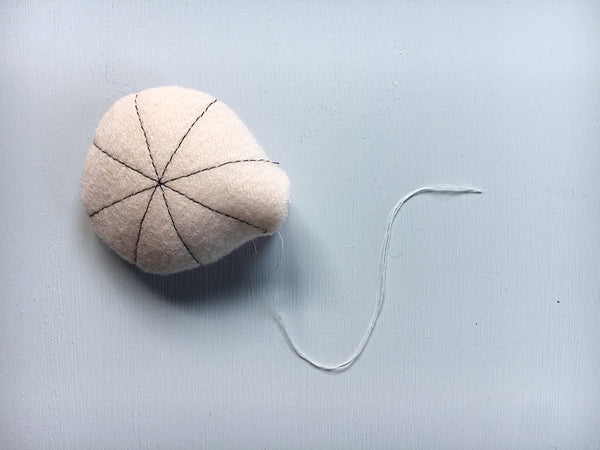
Turn right side out and stuff.
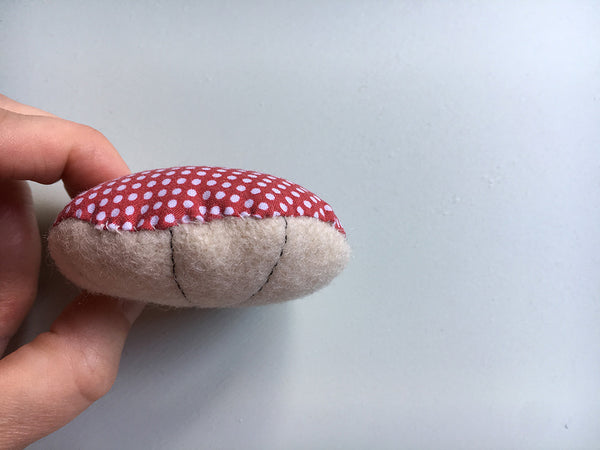
Carefully turn the seam allowance in, and hand sew up the turning hole using your sewing thread.
Sewing the Stalk
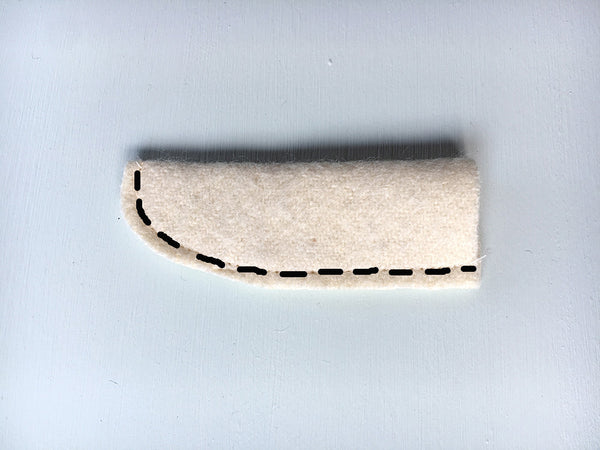
Fold the stalk piece in half lengthwise and sew as indicated by the black dotted line on pic.
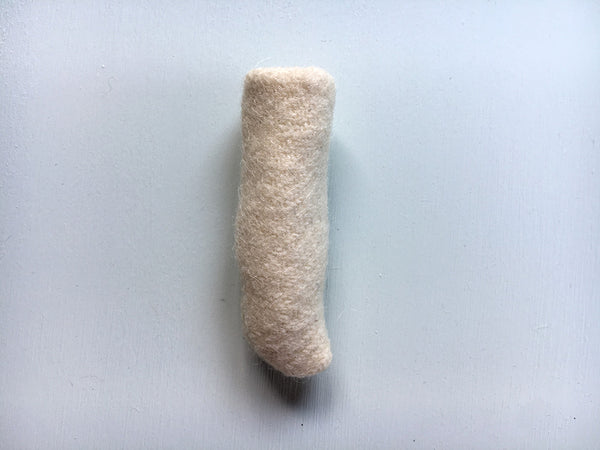
This will result in a slightly wonky end to the stalk - which I love!
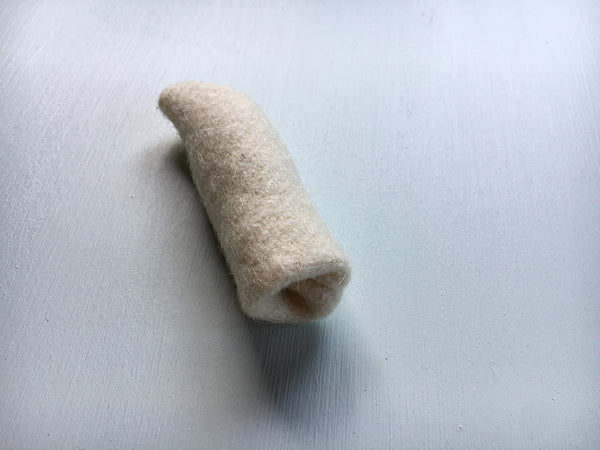
Turn under the raw edges at the top of the stalk.
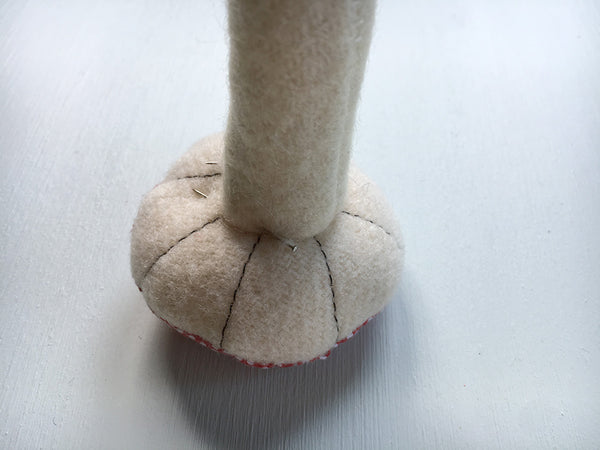
Position the stalk so it is in the center of the underside and pin in place.
Using tiny, neat little stiches hand sew the stalk onto the cap, all the way around the base.
Add a Hanging Loop
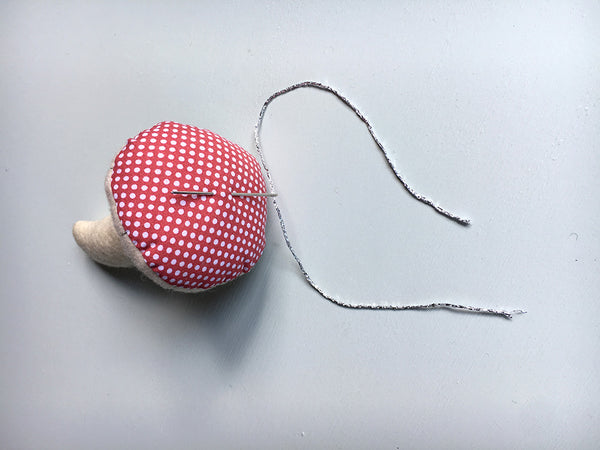
If you would like to hang your toadstools, thread the hanging yarn through the cap - taking in some stuffing - and tie a knot in the top.
If you don’t wish for your knot to show, you could thread it from the underside before stitching on the stalk, so the stalk covers the knot.
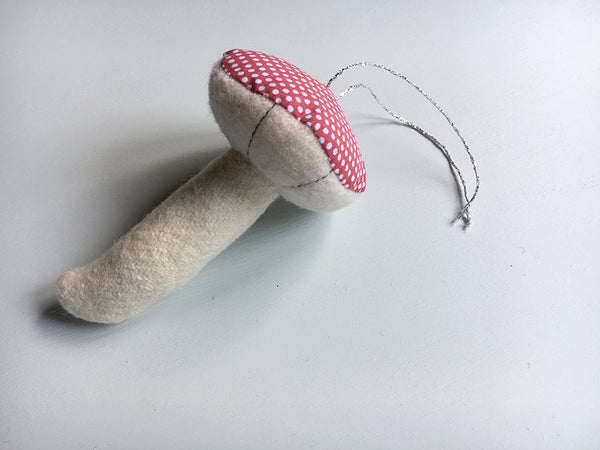
How sweet is your little toadstool! Time to make a bunch more and use up all those lovely little scraps of your precious fabric.
Click Here to Download Free Toadstool Ornament Pattern
Let your imagination run wild with trims, notions and embroidery. Consider upcycling some favourite old garments, or even make a set of toadstools using scraps of the fabric from your handmade children’s clothes, so you remember the garments long after they have grown out of them.
Don’t forget to share in the Twig + Tale Facebook Group. We would love to see your creations!
Tag on Instagram #twigandtale #twigandtaletoadstools
Click Here to Download Free Toadstool Ornament Pattern
Lisa xox

From her treehouse studio hidden within the New Zealand forest, Lisa drafts clothing and toy patterns that capture the essence of childhood storybooks. Follow on Instagram @twigandtale
