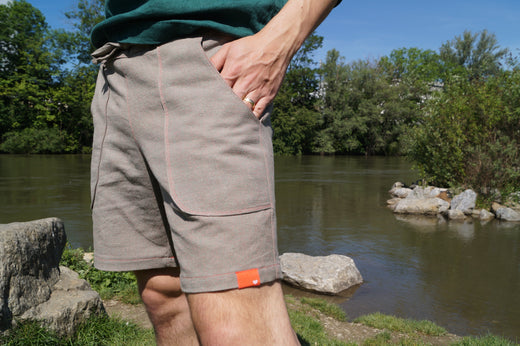
Here are step-by-step instructions for adjusting a top without dart shaping to fit a larger abdomen. Use this adjustment to add ease exactly where it's needed - over the abdomen - without impacting the fit of the garment elsewhere. This adjustment can be used with the Twig + Tale Breeze Shirt, Driftwood Blouse, Pixie Coat, Men's/Straight Fit Pathfinder Vest.
This adjustment works best if the fuller part of your waist is mainly in your front abdomen area. It's also suitable for creating pregnancy wear.
![]()
Materials
- Front Body pattern piece - we're demonstrating the adjustment using both the Breeze Shirt (left) and the Driftwood Blouse (right)
- Large piece of paper to affix pattern pieces
- Ruler
- Scissors
- Pencil
- Tape
Measure
Choose your size based on your high bust or bust measurement, as described in the pattern tutorial.
Check the Finished Garment Measurements Chart to determine the amount of intended ease at the waist. Many Twig + Tale tops are designed to have a relaxed fit, with a generous amount of ease at the waist. To be comfortable, your garment should have a minimum of 4" (10cm) ease in the waist.
If your waist is 1-3 sizes larger than your selected size, you may not have to adjust the pattern.
If your waist is 4 or more sizes larger than your selected size, you will need to adjust your pattern.
Work out the difference between your waist measurement and the finished garment waist measurement for the size you have selected. For example, if the finished garment waist measurement for the selected size is 40" (102cm) and your waist is 41" (105cm), the difference is 1" (3cm). To add sufficient ease for a comfortable fit, you will add an additional 4" (10cm), resulting in a total pattern adjustment of 5" (13cm).
Since the Body Front pattern piece is cut on the fold, we will divide the total amount in half, for a pattern adjustment of 2 1/2" (6.5cm).
Adjust pattern pieces
1. Use the lengthen/shorten line as a cut line across the pattern. Draw a line parallel to the fold line from the lengthen/shorten line to the hem. Then, draw a line at an angle from the top of this line to the lower curve of the armhole.
The following images show the Breeze Shirt on the left and the Driftwood Blouse on the right. The adjustments are the same, this is simply to indicate that the same technique can be used on both a set-in sleeve and a raglan sleeve garment.
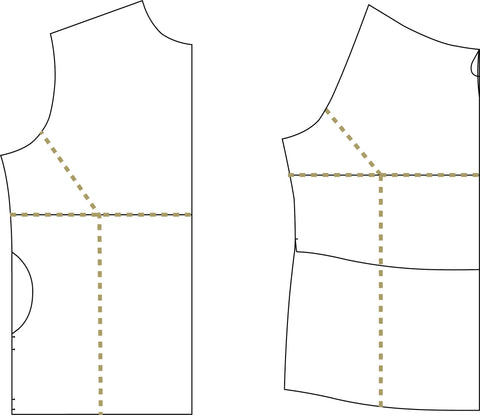
2. Mark in the seam allowance on the side seam and armhole at the location of lines drawn previously. Cut along all the lines drawn in the previous step, leaving a bit of paper intact at the side seam and armhole to create pivot points.

3. Lay the pattern pieces onto a larger piece of paper. Keeping the edges parallel, carefully slide the lower side section away from the centre section. The upper side section will start to pivot and turn as it gets pulled sideways and the lower corners will overlap - this is correct. Slide the section over until the gap between the two pieces is the measurement calculated above - in our example it was 2 1/2" (6.5cm).
Each time you finish moving a section, tape it in place on the large piece of paper below the pattern pieces.

4. Carefully slide the lower middle section away from the top section keeping the edges parallel and the fold line straight (you may wish to extend the fold line before moving the section to use as a guide). Move the section until the gap between the two pieces is half the measurement calculated above - in our example the gap will be 1 1/4" (3.2cm).

5. Gently blend the hem, side seam and armhole.

Use your newly-adjusted pattern piece to cut and sew the top as described in the pattern tutorial.
![]()
Please feel free to join us at the Twig + Tale Facebook group where you can ask questions, look for inspiration, and of course share photos of your creations.
- How to do a Fuller Abdomen Adjustment for Trousers
- How to do a Fuller Abdomen Adjustment for a Darted Top