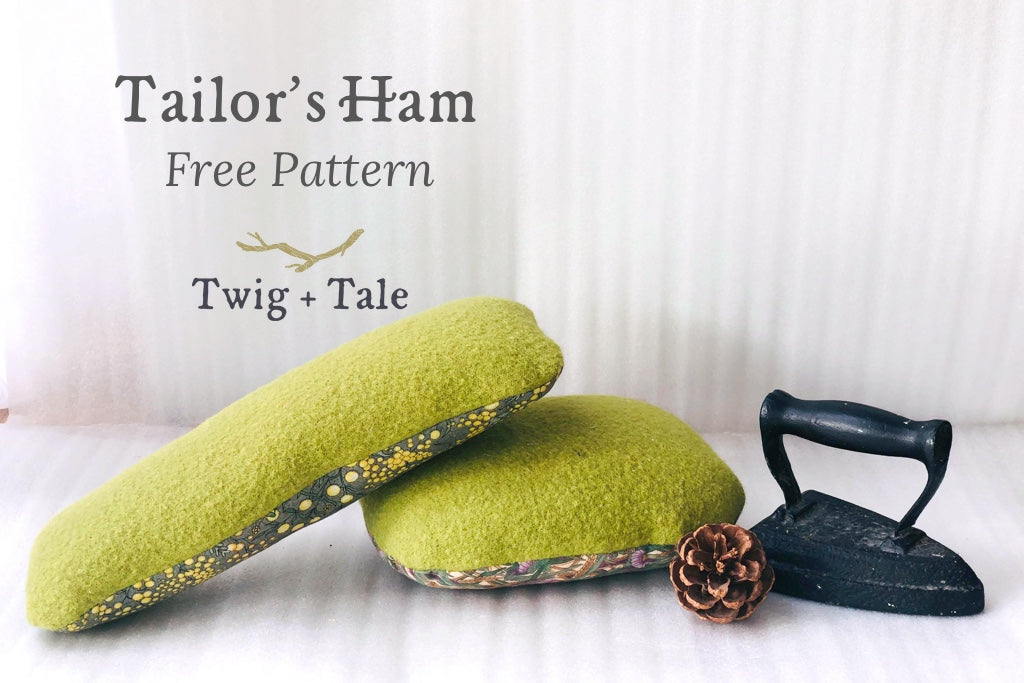
We're pleased to offer you a free pattern for a Tailor's Ham - have you ever tried using one? A firmly-stuffed, rounded pressing mould, a tailor's ham is indispensable when pressing curved or shaped seams - we think you'll find it to be a very useful addition to your sewing supplies.
Download the Tailor's Ham sewing pattern
![]()
When beginner sewists ask for tips, my number one piece of advice is to press seams well at every step of a project. Proper pressing makes such a difference to the final result.
Pressing straight, flat seams is relatively straightforward, however curved or shaped seams can pose more of a challenge. This is where a tailor's ham can make the task of ironing easier, and dare I say, enjoyable. The rounded ends of the ham help to shape seams while pressing, and can help get the iron into awkward spots too.
The pattern includes options for two shapes of tailor's ham - a traditional ham and a sleeve ham.
Materials
- Tailor's Ham sewing pattern
- Outer fabric (wool or cotton, with a tight weave so it can be stuffed very firmly)
- Lining fabric (calico or quilting cotton)
- Strong hand sewing thread, such as upholstery thread (regular sewing thread may snap when the ham is very firmly stuffed)
- Filling (sawdust/wood shavings, fabric scraps, wool roving, or fine glass beads)
A word about fabric...
Outer - Traditionally a combination of wool on one side and cotton on the other is used. We recommend 100% wool fabric on both sides as it gives such a good pressing result, but you could also do a combination or simply use 100% cotton if desired. Look for fabrics that have a very tight weave, as the ham needs to be stuffed firmly.
Lining - 100% cotton - we used unbleached calico.
A word about filling materials...
There are a number of materials you could use for filling, depending on what you have available, what your budget is, and whether you wish to make a quick ham for occasional use, or an heirloom ham to be used regularly for years to come.
- Our #1 recommendation is sawdust/wood shavings. They remain firm and don't compress with use, unlike fabric scraps. If you don't have access to sawdust, untreated wood shavings can be purchased at many pet stores.
- Fabric scraps. These will compress over time, but this is an economical option if you have scraps on hand. Use scraps of natural fibres only - remove anything that could melt, such as polyester.
- Wool roving. This packs down well, but will not have the same weight as sawdust.
- Fine glass beading. If you are a doll maker with extra glass beading on hand, this is another filling option. You may wish to add another layer of wool batting alongside the lining.

Instructions
Video coming soon!
1. Take the two lining pieces (calico in this picture) and the two outer pieces (brown wool in this picture).
If you decided to have wool on one side and cotton on the other, then one of the brown pieces would be substituted for cotton.

2. Lay the outers on top of the linings, with right sides together. (This is the point at which I realised the calico didn't show up well on the table!)

3. Pick up one set and place it face down on the other set.
The sandwich should be:
- Lining on the bottom
- Outer - right side up
- Outer - wrong side up (this is the one I'm holding)
- Lining on the top

4. Pin, and sew around the circumference with a 3/8" (1cm) seam allowance, leaving a turning gap on one side.
Sew a second line of stitching 1/8" (3mm) inside the original row.

5. Notch the seam allowance to help it sit nicely once turned through.
See the following photo for a closer look.

6. Make snips or cut very small v-shapes along the seam allowance every 1/2" to 1" (12mm to 25mm), taking care not to cut into the stitch line.
Alternately, trim off half the seam allowance with pinking shears.

7. Turn through, use a chopstick or point turner to smooth the seams from the inside.

8. Stuff, stuff, and stuff some more.
We are using fabric scraps here, as we want to promote using what you have on hand; however, our recommended filling is wood shavings.
Stuff as firmly as you can. Squash it down and stuff some more. Squash it down and stuff some more. And some more...
If using sawdust or wood shavings, consider either stuffing your ham outside, or lay a piece of newspaper on the ground to catch the inevitable droppings.

9. Tuck in the seam allowance of the turning hole in the seam allowance.
With a needle and strong sewing thread, hand stitch the hole closed with small stitches placed closely together.
Please note - the ham in the photo isn't stuffed as much as it should be.

10. Once the hole in the lining is secured, stitch the hole in the exterior layer closed using a ladder stitch.

That's it! Your new Tailor's Ham will make pressing so much easier. We love to use ours when sewing Twig + Tale hats, bonnets, or any pattern with curved seams.

![]()
Download the Tailor's Ham sewing pattern
Have a look at more Twig + Tale sewing tutorials here:
~ Lovely cover image by Kelly Nash ~


