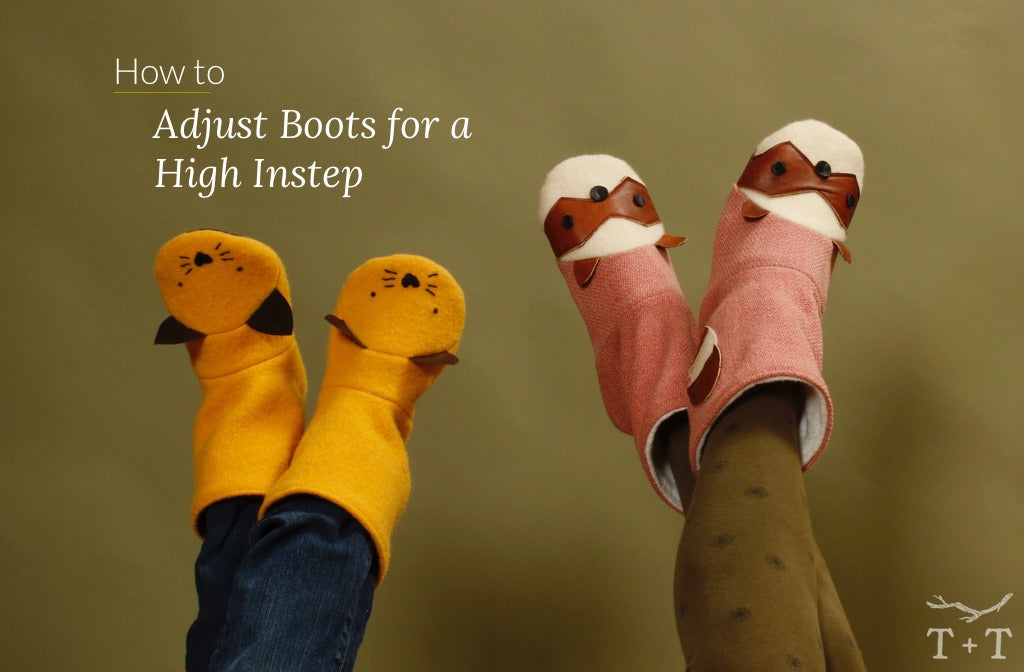
For those with a particularly high arch or instep, the Tie Back Boots and Animal Boots may be a little bit tight over the top of the foot, making them difficult to get on and off.
Slipper boots are meant to be the ultimate in cosy comfort, so it's worth taking the time to adjust the pattern for a custom fit. Fortunately, it's a simple modification to add some extra ease to the pattern pieces, resulting in a perfect fit. This method can be used for all sizes of the Tie Back Boots and Animal Boots.
![]()
Materials
- Tape measure
- Paper for tracing pattern pieces
- Pencil
- Scissors
- Tape
- Boot pattern pieces (Heel and Toe Lining)
Measure foot
Using a measuring tape, measure instep from the floor, over the highest part of the foot (above the arch), and to the floor on the other side.
Add 2cm to this measurement (to account for seam allowance and ease). This will be your Adjusted Instep Measurement.

Adjust pattern
1. Trace the cut-on-fold Toe Lining pattern piece to create a full, mirrored piece. Then, measure along the top edge of the Toe Lining pattern piece (as indicated by the dotted line in illustration below).
Subtract this measurement from your Adjusted Instep Measurement (determined above) to calculate the amount to add to the Toe Lining pattern piece. For example:
- Adjusted Instep Measurement = 14cm
- Toe Lining pattern piece measurement = 12cm
- Amount to add to pattern = 2cm

2. Mark the centre of the Toe Lining pattern piece and cut a straight line as far as the stitch line.

3. Crease the seam allowance to create a "hinge" and gently pull the sides of the pattern apart until the gap in the centre equals the amount to add (calculated above).
Tape the pattern piece to scrap paper to secure, then blend the line.


4. Make a diagonal cut in the Heel pattern piece from the curve at the bottom to the stitching line at the top of the boot.

5. Crease the seam allowance to create a "hinge" and pull the sides of the pattern apart until the gap is half the amount added to the Toe Lining pattern piece (because this piece is cut on the fold, it will be doubled when you cut your fabric).
Tape the pattern piece to scrap paper to secure and blend the line to make a smooth curve. As you've hinged the piece open, the top edge will form a slight step up - follow that line as it keeps the top edge at a right angle at the front edge of the boot.


If you are sewing Tie Back Boots, continue cutting and sewing the pattern as per the tutorial.
If you are making Animal Boots, continue with the steps below.
Additional Animal Boots pattern adjustments
6. Trace off your adjusted Toe Lining pattern piece twice.
7. Trace the cut-on-fold Toe B (Outer Toe) pattern piece twice.

8. Place the Toe B (Outer Toe) pattern pieces on top of one of the traced Toe Lining pieces, lining up the top corners and sides. Tape in position.

 .
.
9. Trim around the bottom curved edge of the Toe B (Outer Toe) pattern piece, then blend the lines. Mark centre notches on the top and bottom edges. The Toe B (Outer Toe) will now match the adjusted width of the Toe Lining.

10. Cut the Toe A (Animal Face) pattern piece down the centre to the seam line, creating a hinge at the bottom of the face.

11. Using the centre notch, line up the face over top of the traced Toe Lining pattern piece, and pivot the face to match the side edges. Tape in place, then trim the top edge of the Toe A (Animal Face) pattern piece.


12. Depending on the type of face and the size of adjustment made, it may be necessary to bring the facial elements back to their original position. To do this, cut around the facial features, then tape them in position lining up the centre notches.

Now that the pattern pieces have all been adjusted, it's time to cut and sew the Animal Boots as described in the pattern tutorial.
Enjoy wearing cosy, custom-fit slipper boots!
![]()
Please feel free to join us at the Twig + Tale Facebook group where you can ask questions, look for inspiration, and of course share photos of your creations.
Read more about Twig + Tale footwear here: