I’ll never not be inspired by a pile of scraps - they just carry too many opportunities for creativity!
As a self-identified “serial hobbyist”, I’m always looking for the next opportunity to learn something new, especially when doing so comes with extra opportunities to reduce waste, increase imagination, and connect with a long history of rich textile tradition. So, when serendipity placed a new-to-me loom and the new Leaf Hip Pouch in my crafty space at the same time, I just knew they needed a chance to shine together. After all, the project’s small size makes it such a fun opportunity to experiment with new techniques + designs!
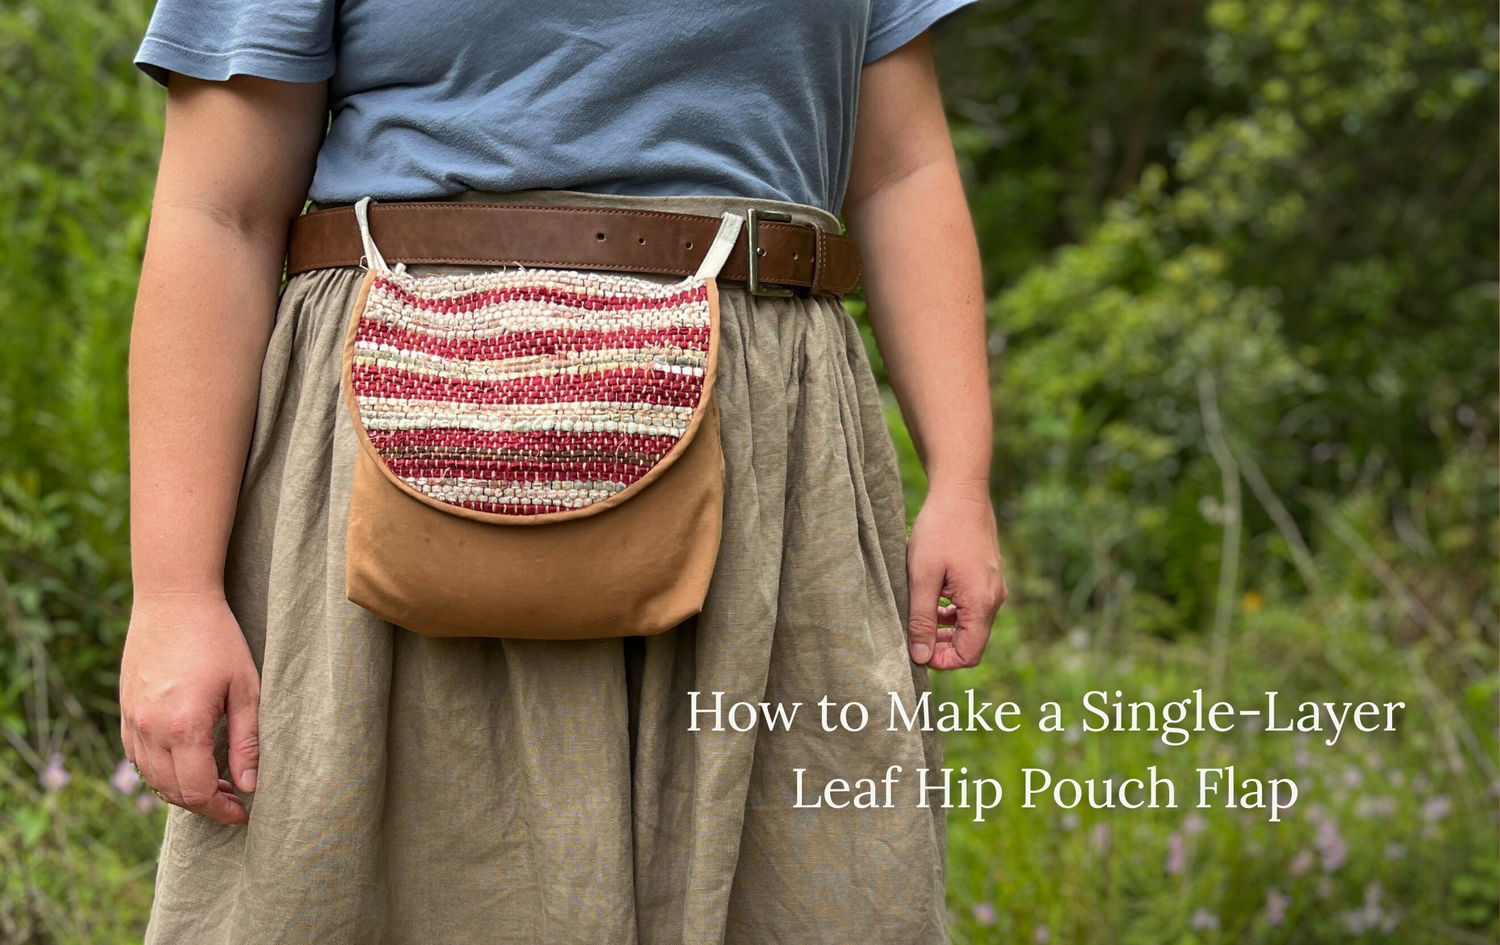
However, in creating this handwoven fabric I realised it, and others, may not be the most ideal for the typical construction of the lined flap style. So today, I’ll share an alternative method of creating the flap as a single layer instead. Whether you're looking to showcase an especially heavy or stiff fabric, reduce bulk, or create a lighter-weight pouch, this easy hack offers a beautifully understated finish with only small changes to the sewing technique. Come along, and see how this little adaptation can add flexibility + versatility to your next Leaf Hip Pouch project.
![]()
The inspiration for this Leaf Hip Pouch came in the form of my recent foray into the art of weaving - I used a variety of scraps from the bin and cut them into long strips, using a rigid heddle loom by Ashford Wheels + Looms to weave them into "new" fabric. Even as an inexperienced weaver, it worked every bit as beautifully as I could have hoped!
(Want a closer look at the weaving process? I've shared all about it on the Ashford blog!)
The one drawback? The resulting fabric was a bit on the thick side, and so I feared that it might not turn out nicely to sew the lined Classic Flap as indicated.
Fortunately, the solution was simple - and can work for a wide variety of tricky materials you might use for your own Leaf Hip Pouch, from leathers to bonded or quilted fabrics and more! Rather than sewing two layers together for the flap and turning them out, I did as follows:
- Cut out my Classic Flap pattern piece without seam allowance - this is the inner line on the pattern piece.
Pro tip: Since my loosely-woven fabric would've been prone to coming apart, I traced the pattern piece onto it, and then basted the edges just inside the line prior to cutting it, so that it was well held together
2. Apply bias tape using your preferred method to the rounded edge of the flap. I prefer unfolding the tape and sewing one side to start, but you can just "sandwich" the edge with it if you prefer. You can even make your own bias tape, using the technique in this blog post.
(No bias tape is needed on the straight edge - it will be finished later.)

That's it - from there, I treated it just the same as the original flap per the pattern tutorial. Thanks to the unique construction of the Leaf Hip Pouch, it remains so beautifully finished - nary a loose end or unsightly edge anywhere. 
I hope you find this technique insightful and inspiring in your own Leaf Hip Pouch sewing journey - if you make one using this technique (or not) we'd love for you to share it with us! You can tag us @twigandtale on Instagram, Bluesky, and Youtube, as well as sharing it in our Twig + Tale Chat group on Facebook.
- Erica xx


