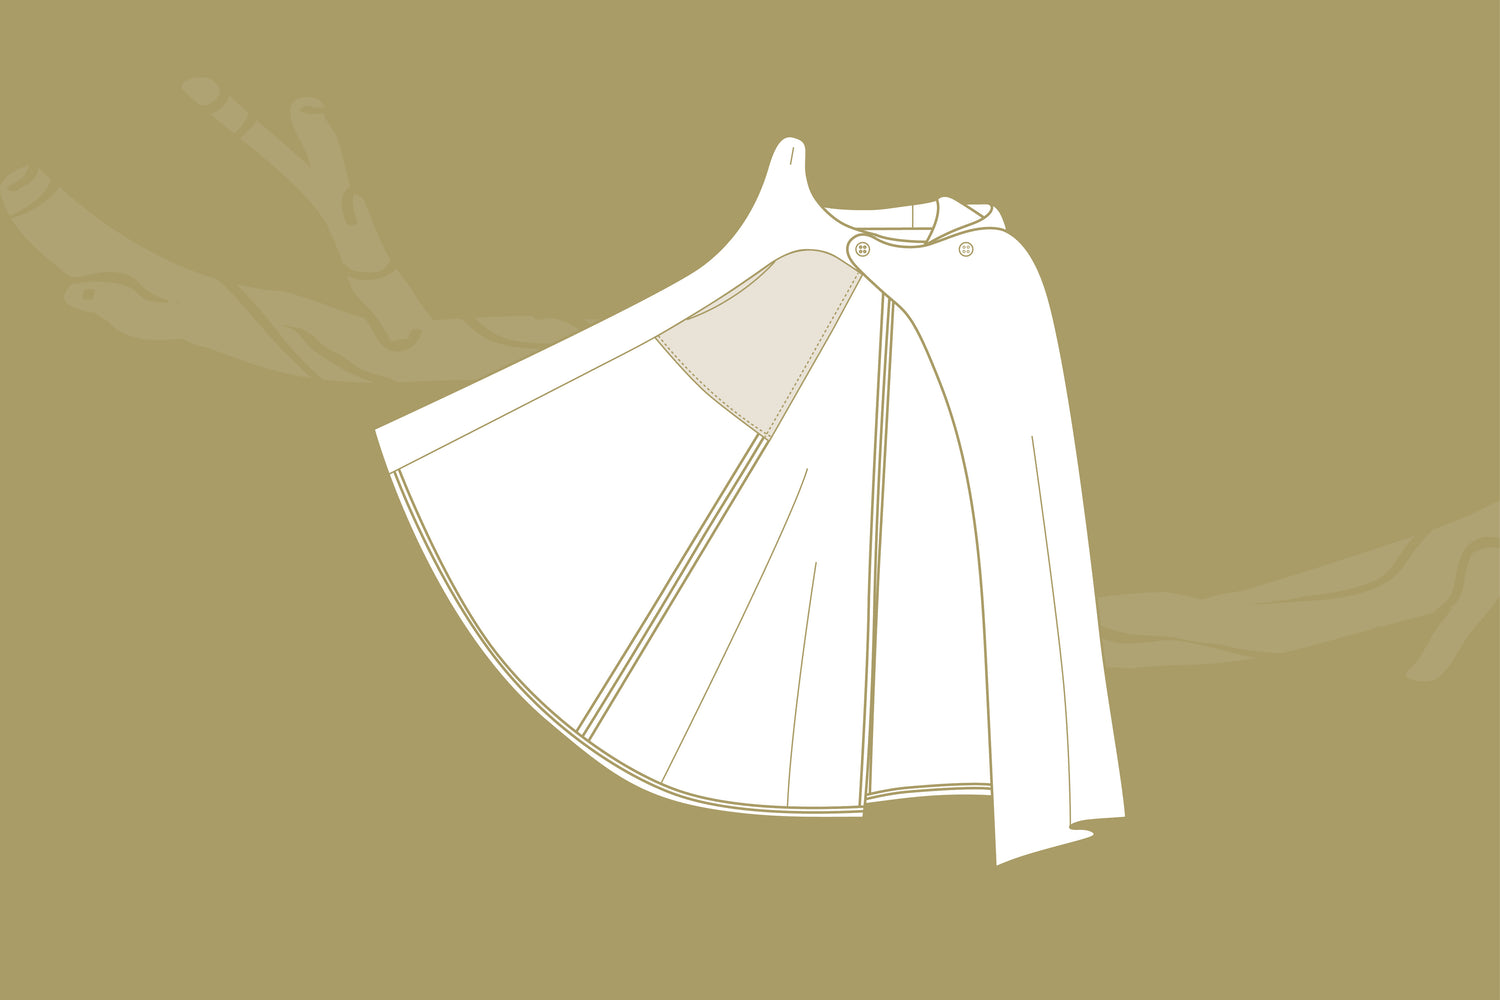
Interested in making an unlined Overland Cloak? As written, the pattern includes a full lining, however some adventurous sewists may wish to make an unlined version.
This post provides an overview of how we would go about making an unlined cloak. It is not a full step-by-step tutorial, but rather pointers for more experienced sewists to adapt the construction technique.
![]()
Materials
- Bias binding (optional) - if finishing the cloak with bound Hong Kong seams, use the chart below to determine the amount of bias binding needed for each size:
| Size 1 | Size 2 | Size 3 | Size 4 | Size 5 | ||
| Midi length cloak | inches | 579 | 654 | 685 | 724 | 732 |
| cm | 1470 | 1660 | 1740 | 1840 | 1860 | |
| Knee length cloak | inches | 472 | 539 | 563 | 595 | 602 |
| cm | 1200 | 1370 | 1430 | 1510 | 1530 |
Sewing an unlined cloak
1. Sew the outer cloak as described in the pattern tutorial. Finish the seams using the method of your choice (see this post for seam finishing techniques that work well for unlined garments).
2. Sew the hood as described in the pattern tutorial. Sew the hood to the cloak neckline.
3. Sew the facings together.
4. Cut three mirrored pairs of pocket bags (two sets are for the pockets and the spare set is for finishing the linings - the pattern piece is the same). Extend the outer edge by 3/8" (1cm) before cutting, as shown in the illustration below.

5. Place two pocket bags right sides together and sew between the notches (as in the tutorial sewing instructions). Repeat for the other side.

Clip and turn through. Press so that the corners are stepped neatly as shown below:

6. Using one of the pocket bag lining pieces (from the spare set cut in step #4), close the pocket bag. French seams will give the nicest finish. To do this, place the pocket bags wrong sides together, then stitch the two sides without the stepped edge with a 1/4" (6mm) seam. Trim the seam allowance back by 1/16" (1mm), then press and turn. Stitch the edges again with a 1/4" seam allowance, enclosing the raw edges (read more about sewing French seams here).
Baste the layers together at either end of the stepped section.
Repeat for the other pocket bag and lining.

7. Place the pocket bag on the outer edge of the front facing with the stepped edge and facing together. Match the notches on the facing edge to each end of the stepped opening. Sew the pocket bag to the facing edge from the top corner to the bottom corner of the pocket bag. The top corner will extend beyond the shoulder seam a small amount.

8. Finish the outer edge of the facing as desired. Sew to the outer and turn through.
9. Press the facing and outer, carefully smoothing out the facing and pocket bag so they lay flat against the outer layers. Pin the outer pocket bag edge to the shoulder seam. The edge of the pocket bag should sit on the back seam allowance of the shoulder seam. Stitch the pocket bag outer edge to the back seam allowance of the shoulder seam. If your outer fabric is prone to dropping you may want to attach just the bottom corner of the pocket bag to the shoulder seam with a thread chain to prevent pulling on the outside.

![]()
Read more Twig + Tale sewing tutorials here:
Find the pattern here:


