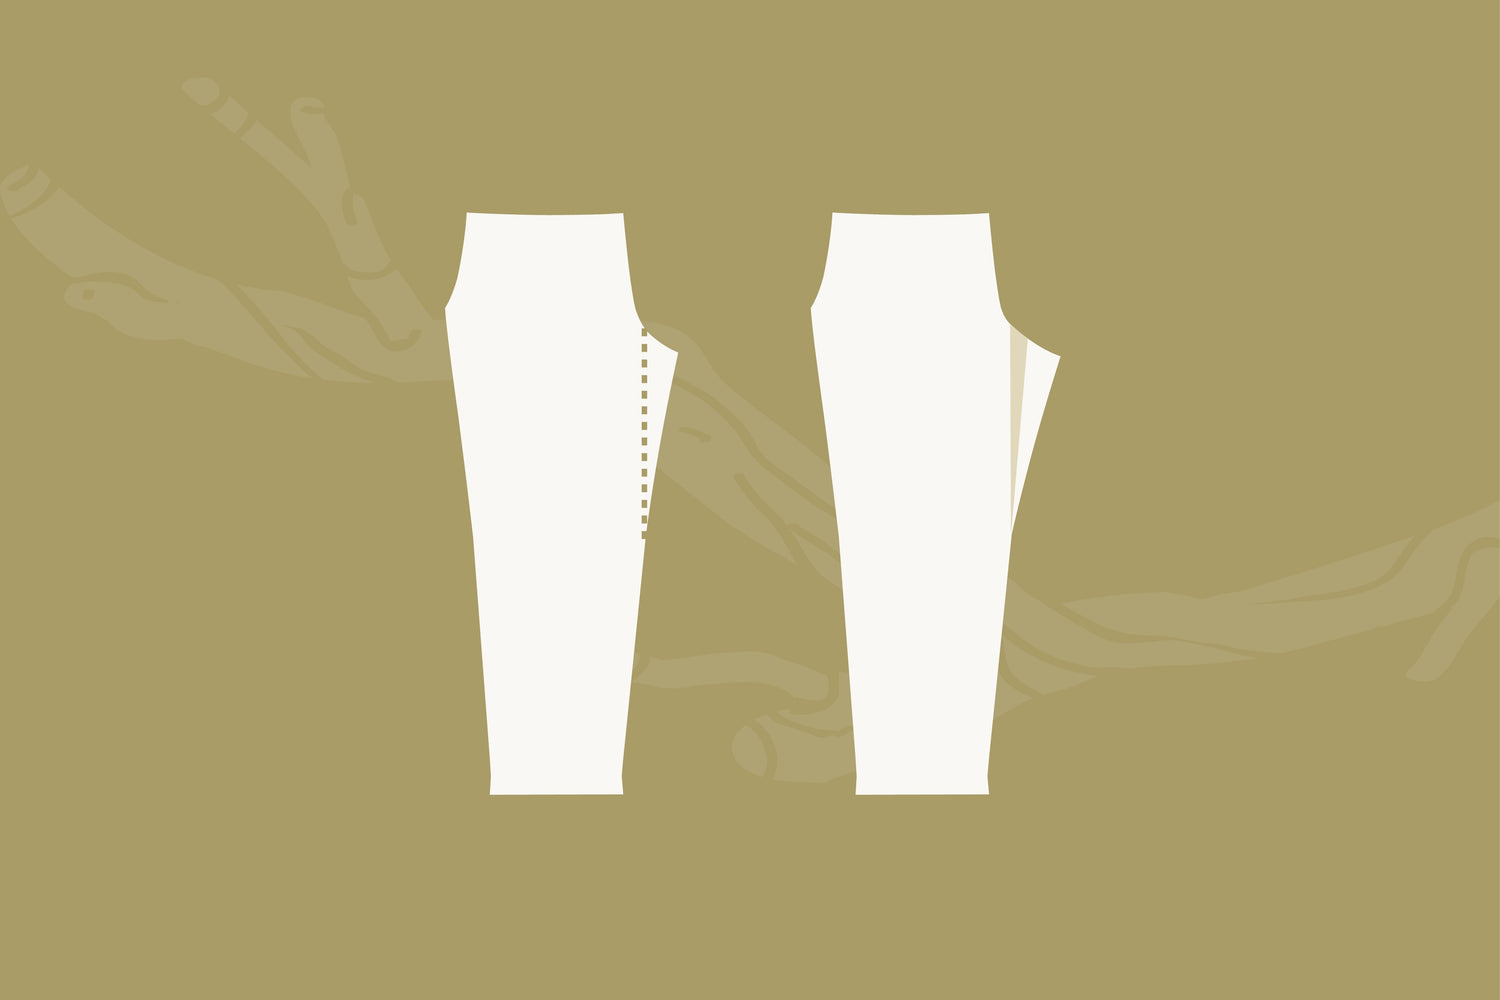
Our bodies are all unique and beautiful shapes and as such, not all patterns will accommodate our particular dimensions. For example, a pattern may fit your hip circumference very well, but you may find that the pattern is too narrow for your thighs. A full thigh adjustment will add more fabric into the thigh area so your pants will glide over your thighs and hips with ease.

Materials
Gather some basic materials to adjust the pattern pieces:
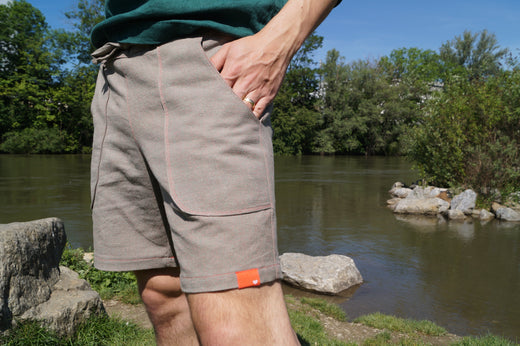
- Front & Back pattern pieces (we're using Shore Pants and Cove Shorts
- measuring tape
- scrap paper
- tape
- ruler
- pen/pencil
- scissors
Measure
First, use the pattern tutorial's Fit Guide to determine your base size: most Twig + Tale pants patterns direct you to choose your size using your hip measurement. Then, check the pattern tutorial's Finished Measurements Chart and find the corresponding finished thigh measurement for your size. This measurement is taken at the top of the leg on the pattern and you will measure your body at this point too.
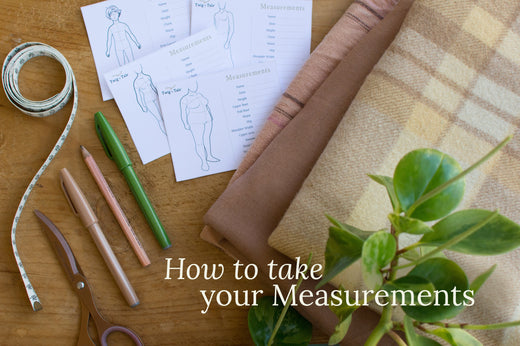
For this adjustment, it will help to take this measurement whilst sitting down as your thigh circumference gets bigger when seated.
Twig + Tale garments are designed to have a relaxed fit, so we recommend at least 2" (5cm) positive, wearable ease at the thigh to be comfortable and to achieve that "relaxed look".
Compare your thigh measurement against the finished measurement in the tutorial. If you have less than 2" (5cm) ease between your thigh circumference and the pattern's finished measurement, then you will need to adjust the pattern. For example: your pattern's finished thigh measurement = 31½" (80cm) and your thigh also = 31½" (80cm). You will need to add 2" (5cm) into the pattern to have 2" (5cm) ease.
Adjust pattern pieces
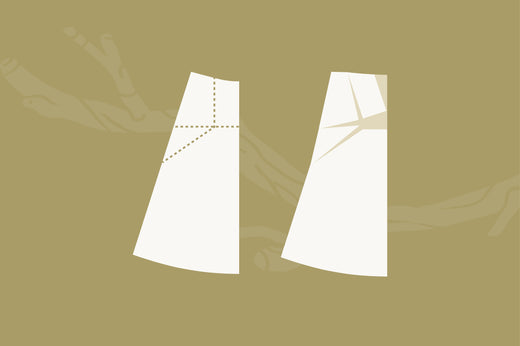
- Draw a line from the lower rise seam to the knee notch on the front and back pieces.
Front piece shown.
- Cut the piece from the rise seam to the notch, leaving a little bit of paper still attached like a hinge to act as a pivot point. Lay paper behind your piece at this point so that you can tape the triangular inseam section down in the next step.

- Pivot out the triangular inseam section (the swingy bit ;) ) until the gap opens up the the amount you need (in our example that's 1" (2.5cm)) at the point where the rise seam joins the inleg.

- Secure in place and blend the rise seam.

- Repeat the same process for the Back piece.
Pro Tip: If your thighs are more full on the front rather than the back you may wish to add more to the front piece than the back or visa versa.
- Cut and sew your pants as described in the tutorial, and enjoy your custom fit!

Read more Trouser and Pant pattern adjustment tutorials here:
- Patch Pockets - Shore Pants + Coastal Cuff Shorts
- Fuller Abdomen Adjustment for Trousers - Shore, Coastal
- Fuller Seat Adjustment for Trousers - Shore, Coastal
- Trouser Waist Height Adjustment for a Flatter Rear - Shore, Coastal
- Trouser Waist Height Adjustment for a Lower Front Rise / Wearing Under a Panniculus - Shore, Coastal
