This pattern adjustment is intended to lower the front rise of trousers for a wearer who prefers their waistband to sit below a fuller abdomen or panniculus.
By removing the extra fabric length in the front rise, the waistband will sit lower on the waist and the front lie more smoothly.
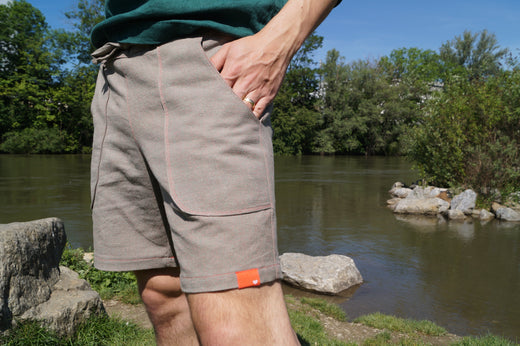
This pattern adjustment will work with any basic pull-on pants or shorts, such as the Shore Pants, Hedgerow Dungarees, Cove Shorts, or Coastal Cuffed Shorts.
![]()
Materials
- Pattern pieces (we're using the Shore Pants)
- Measuring tape
- Scrap paper
- Pencil
- Ruler
- Scissors
Measuring
Determine trouser size by measuring the hip as follows:
If you like to wear your pants OVER any abdominal panniculus, simply measure around waist and hip as per usual (see diagram A below).

If you prefer to wear your pants UNDER any abdominal panniculus, measure your hip by running the tape measure under the abdominal panniculus, as per the diagram below.
Use this "under panniculus" hip measurement to choose your size, and then adjust the waist by shortening or lengthening the length of the elastic to custom fit the waist. Note that if you choose your size based on your standard hip measurement (over top of the panniculus), then the sizing will end up too large due to this abdomen tissue being included in the hip measurement.

To determine how much length to remove out of the front rise either make a muslin (which will help with any other adjustments you wish to make) or measure from the back of the seat, through the legs to where you want the front waist to sit and compare this measurement against the finished measurement in the size chart.
For example, the size 56 Shore Pants have a rise of 36.4" (92.5cm). Our sample sewist measures and finds that they need a rise of 32" (81cm) for a comfortable fit under the panniculus. Calculate the difference between the two measurements to figure out how much to remove from the front rise:
| Finished garment rise measurement | 36.4" (92.5cm) |
| Sample sewist rise measurement | 32" (81cm) |
| Difference = amount to remove from front rise | 4.4" (11.5cm) |
Note that the amount of ease required will vary depending on personal preference as well as the intended fit of the trousers.
Adjust the pattern pieces
1. Cut through the rise lengthen/shorten line, stopping at the seam allowance on the side seam, leaving a bit of paper intact to create a pivot point 3/8" (1cm) from the pattern edge.

2. Pivot the front rise until it is lengthened the amount determined above - the pieces will overlap. Tape in place.

3. Place a piece of paper behind the pattern and tape it into place to secure the two pieces. Blend the front rise so it is a smooth curve.

4. Using the line drawn across the Front pattern piece above as a guide, mark a line across the Front and Back Pocket Bag pattern pieces at the same position.

5. Lay the Front Pocket Bag over the Trousers Front pattern piece in line with the notch and side seam. Cut along the line up to but not through the side seam to create a pivot point.

6. Pivot the top of the Pocket Bag until it lines up with the top of the adjusted front waist and the pocket opening. Tape in place.
Repeat these steps to adjust the Back Pocket Bag pattern piece.

Once the pattern pieces are adjusted, continue to cut and sew as outlined in the tutorial. We always recommend sewing a muslin to check the fit before cutting into your final fabric.
Enjoy wearing trousers with a customised fit!
![]()
Please feel free to join us at the Twig + Tale Facebook group where you can ask questions, look for inspiration, and of course share photos of your creations.
Read more fitting tutorials here:
- Fuller abdomen adjustment for trousers
- Fuller seat adjustment for trousers
- Trouser waist height adjustment for a flatter rear