For those whose shoulder width is wider or narrower than average, this simple pattern adjustment will help you to improve the fit and comfort of your handmade tops.
If you find garments tend to pull or feel tight across the shoulders, use this adjustment to add extra ease for a comfortable, non-constricting fit. If you find shoulder seams tend to extend beyond your shoulder socket, resulting in extra fabric and a sloppy fit, reduce the width to ensure that the shoulder seam sits at just the right place.
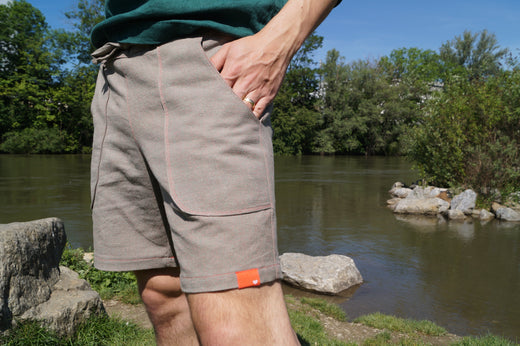
This particular method works well for tops with set-in sleeves, such as the Scenic Top, Breeze Shirt, Vista Top, Fable Dress, Forester Coat, Pixie Coat, Flourish Dress Coat, Bloom Jacket, Plains Dress, or Ridgeway Top (note specific instructions for Ridgeway in the tutorial below).
![]()
Materials
- Front and Back pattern pieces (we're demonstrating with the Scenic Top)
- Tape Measure
- Scissors
- Tape
- Ruler
- Pencil
- Scrap paper
Measure
Begin by measuring your back to determine the size of shoulder adjustment you will need to make. Measure across the top of your back from the crease where the top of your arm joins your back, from one side to the other. This is easiest if you get someone to help you measure.

Work out the shoulder to shoulder difference between your body measurement and the finished garment measurement. The finished garment measurement can be found in the pattern tutorial, or you can measure the pattern piece.
For example:
- Your body measurement = 18" (46cm)
- Finished garment measurement = 15.75" (40cm)
- Difference = 2.25" (6cm)
Since the pattern piece you will be working with is half the width of the back (because it is cut on the fold), divide the difference measurement in half. In our example above, this is 1 1/8" (3cm). This will be your pattern adjustment measurement.
Adjust pattern pieces
1. Mark two lines on Front pattern piece as follows:
- Parallel to the grainline, draw a line from about halfway across the shoulder seam, extending down the pattern piece (vertical dotted line in illustration below).
- At a right angle to the previous line, draw a line from just below the armhole at the side seam (horizontal line in illustration below).
Cut the pattern along these lines.

2. Slide the cut out section of the pattern piece over by the pattern adjustment measurement determined above (remember this is half the total difference because we are working on half the width of the finished garment).
If you are adding width to the shoulder, slide the piece away from the pattern. If you are subtracting width from the shoulder, slide it toward the body so the pieces overlap.

3. In order to retain the original shoulder angle and armhole measurement, slide the pattern piece down, pivoting slightly, so that the side seam overlaps. If you are subtracting width, it will pull the side seam apart slightly. Tape in place and blend the lines.
*Note, for Ridgeway Top only: slice off any of the pivoted piece that extends down past the horizontal chest seam.

4. Repeat for the Back pattern piece, and any lining or facing pieces, ensuring that the overlap or separation of the side seam is the same as the Front pattern piece.
*Note, for Ridgeway Top only: recreate the adjustment for any upper panels and facings, taking care to make sure that the shoulder and armscye shapes accurately match.
Remember that it is always a good idea to sew a muslin to test the fit your garment. Once you've perfected the fit, you can feel confident cutting into your fancy fabric!
If you have any questions about sewing or adjusting Twig + Tale patterns, please feel free to join us at the Twig + Tale Facebook group.
![]()
Read more Twig + Tale pattern adjustment tutorials here:
- How to do a Forward Shoulder Adjustment
- Fuller Arm Adjustment for a Set-In Sleeve
- Shoulder Width Adjustment for a Raglan Sleeve