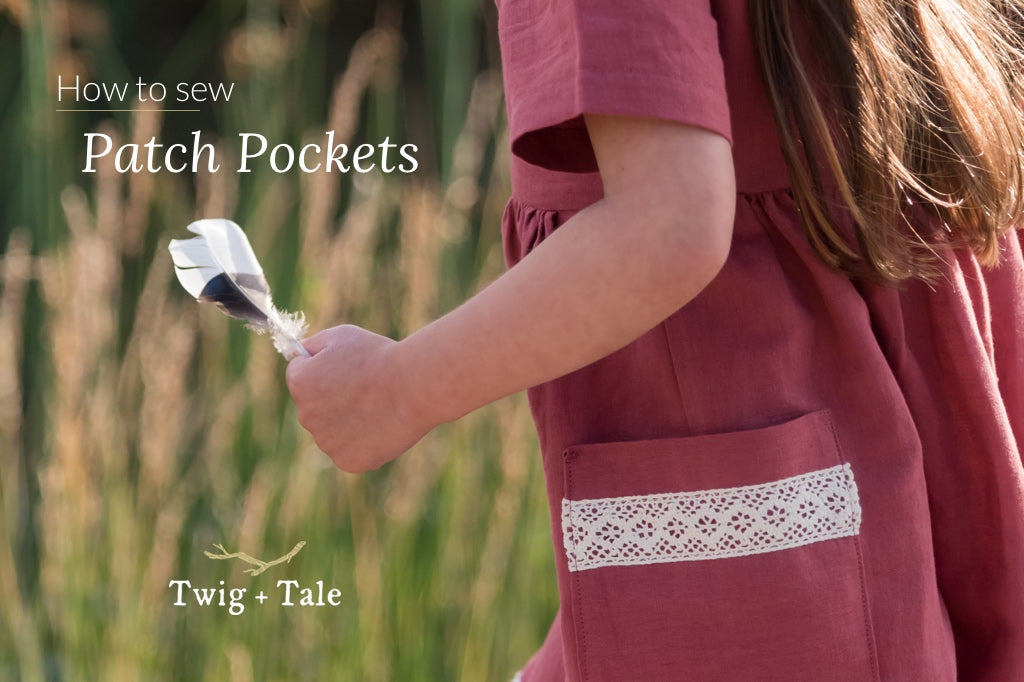
Generously-sized pockets are an essential feature of a functional garment. Patch pockets, which are applied flat to the outside of a garment, are a simple way to add some storage capacity. They are easy to access, and big enough to stash a phone and keys, or all those little treasures that seem to accumulate over the course of a day.
Here, we demonstrate two ways to sew a patch pocket - lined and unlined. They are shown here with the Fable Dress, but can be used on any project where you'd like to add a simple pocket.
![]()
The two patch pocket options are:
-
Lined pockets - this is the option of choice if you wish to embroider your pocket because the lining will conceal the back of the stitching.
-
Unlined pockets - this option uses less fabric and is suitable if you are using a heavier weight of fabric.
DOWNLOAD PATTERN PIECES BY CLICKING HERE
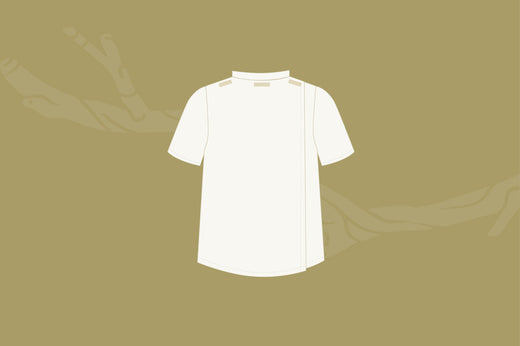
Lined Pockets
Cut out 2 main and 2 lining pocket pieces. For the lined version, trim off the top of the pocket to the notch.

2. Place one main and one lining pocket piece with right sides together. Stitch around the pocket with a 3/8" (1cm) seam allowance, leaving a gap for turning.

3. Trim the corners.

4. Press the seams open.

5. Turn the pocket over and press the turning gap edge from the other side.

6. Poke out the corners.

7. Position the pocket on the skirt piece with the turning gap at the bottom. When the pocket is top-stitched to the skirt, the gap will be closed and there will be a nice smooth edge at the top of the pocket.

8. Align the top of the pocket with the placement line. The placement is a guide, so feel free to place them wherever you desire.

9. Top-stitch the pocket to the skirt, backtacking at the upper corners for extra strength.

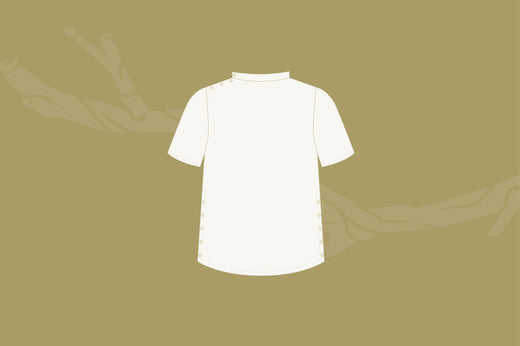
Unlined pockets
1. DOWNLOAD PATTERN PIECES BY CLICKING HERE
Double fold the top edge using the notches as a guide. Press, and stitch along the edge of the foldline.

2. Fold all remaining edges 3/8" (1cm) to the wrong side and press.

3. Position the pocket on the skirt using the placement line as a guide, as above.

4. Topstitch the pocket to the skirt, backtacking at the upper corners for extra strength.

That's it! You now have some functional patch pockets on your garment!
Please feel free to join us at the Twig + Tale Facebook group where you can ask questions, look for inspiration, and of course share photos of your creations. You can also find us on Instagram - be sure to tag your projects #twigandtale so that we can find you too!
![]()
Read more about the Fable Dress here:
- Introducing the Fable Dress
- How to do a Broad Shoulder Adjustment for the Fable Dress
- How to Make a Simple Front Fable Dress
- How to do a FBA or SBA for the Fable Dress
- How to Make a Maxi Length Fable Dress
- How to Add Ruffles to the Fable Dress
- How to Add Piping to a Princess Seam