Use this pattern adjustment tutorial to make a Fuller Bust Adjustment (FBA) to a top with a flat front, that has no dart or other shaping, such as the Breeze Shirt, Pixie Coat or the Men's/Straight Fit Pathfinder Vest (this will create bust shaping for those who prefer a vest without princess seam shaping).
This adjustment creates a dart for shaping and extra ease around the bust. Note that it is intended for those who need to increase the bust measurement by two or more sizes. If you need to increase by only one size (up to 2"/5cm), you may want to use this simplified tutorial for doing an FBA on a flat front garment.

Materials
Gather some basic materials to adjust the pattern pieces:
- Top Front pattern piece (we're using the Breeze Shirt)
- measuring tape
- scrap paper
- tape
- ruler
- pen/pencil
- scissors
Measure
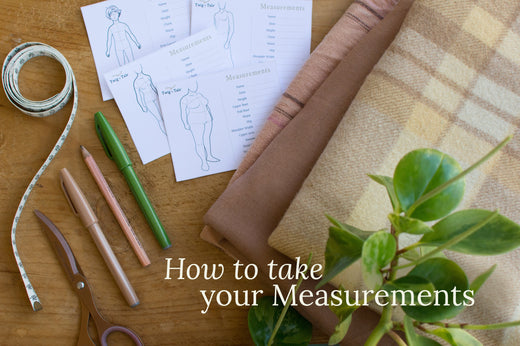
To determine the size of adjustment necessary, measure your upper bust and full bust.
The upper bust measurement is taken around the body, with the tape snugged up to the underarms, and above the breasts.
The full bust measurement is taken around the fullest part of the breasts.

Determine your base size based on the Upper Bust measurement in the garment size chart. If your full bust measurement is two or more sizes larger than your upper bust measurement, use the Fuller Bust Adjustment (FBA) with a dart, as described in this tutorial.
Note: If your full bust is 1 size larger than your upper bust, refer to this tutorial instead: Fuller Bust Adjustment (FBA) for a Flat Front Garment
Calculate the difference between your actual full bust measurement and the full bust measurement in the size chart.
In our example, there is a 4" (10cm) difference.
We will divide the difference in half, since we will be working on half of the Front pattern piece (because the pattern piece is cut on the fold). So, in our example, we will add 2" (5cm) to the pattern piece. If you are adding more than 4" (10cm) to each side front you may need to split the difference into two darts (described below).
Before you begin adjusting your pattern pieces, compare your bust apex point with the bust apex point marked on the pattern. Everyone is different, so this will ensure you are adding the extra ease to the right place for your body.

To take the bust apex measurement, place the end of the measuring tape at your high shoulder point (about where your neck starts to curve away from the shoulder) then measure down to the fullest part of your bust. Note that the bust apex is not necessarily the same as your nipple position.
Be aware that the bust apex position depends on whether or not you wear supportive underwear (bra). When taking your measurement, wear a similar under garment to what you will wear under the finished top.
To compare your measurement to the pattern, lay your measuring tape onto the pattern with the end of the tape 3/8" (1cm) from the neck point of the front and mark on the pattern where your bust apex falls. Mark this on the pattern and use this point as a reference for this adjustment. Here's an example:

Adjust pattern pieces
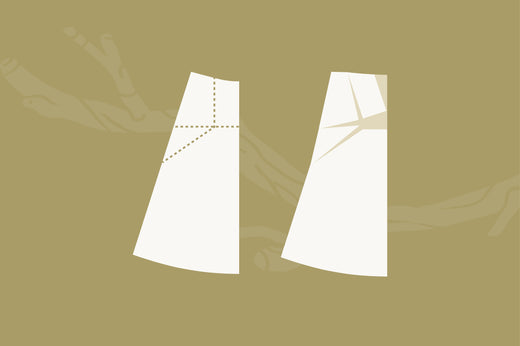
1. Draw a vertical line, parallel to the centre front, that runs through the bust apex point (as determined above). Draw a line from the bust apex to the side seam at whatever angle your heart desires. Then, mark in the stitching line at the shoulder, 3/8"/1cm from the edge.
Cut along the vertical line from the hem, up to but not through the seam allowance at the shoulder, leaving a bit of paper intact to create a pivot point. Cut through the entire angled line drawn to the side of the pattern piece.

2. At this point, It's a good idea to place a larger sheet of paper under the pattern so that pieces can be taped in place as adjustments are made.
Pivot out the armhole section at the shoulder until the gap at the bust apex point measures the amount you need to add in (2"/5cm in our example). Tape in place.

3. Pivot out the lower side section at the hem until the gap at the bust apex point is the same as above. Tape in place.

If you also have a larger abdomen, you may wish to pivot out the hem to leave a gap through the lower front to add extra ease, like this:

4. Cut through the lengthen/shorten line on the centre front section, then slide both the centre and side lower sections down by half the amount you added above (1"/2.5cm in our example). Tape both in place.


Adding two darts:
If you need to add two darts, follow Steps 1-6 as described above. At Step 7, mark a gap at the centre line that measures 1/4 the total gap amount. Then, add half the gap to either side of the 1/4 markings. These will be the ends of two darts either side of the gap. Creating two darts, with a gap in between, will prevent the darts from overlapping each other on the side seams.
Mark centre lines for the two new darts, pointing toward the bust apex point. Draw in the stepped back point for the dart end on each line and then draw 4 new dart stitching lines.
Your new pattern piece will look something like this:

Fold out the darts as above steps to create a smooth side seam and blend the edges.


To keep the centre straight, it helps to draw a line to use as a guide before sliding the lower centre front piece down. It can be tricky to move the lower side front section without wiggling it around, so you may wish to tape a couple of strips of paper joining it to the lower centre front before moving.